Making a concertina photo book
I like sharing my work online on Instagram and Flickr and getting the dopamine hit of a few likes, but here’s a puzzle: why are people happy to spend 3 minutes listening to a song or 90 minutes watching a movie — but when it comes to a picture on screen, you get a few seconds?
I’ve discovered the secret is to show someone a book of your images. Then they do take longer over it and appreciate it more.
At a personal level, there’s also something special about seeing the physical output of your photography in print form. It feels like it’s making an impact on the world, no matter how small.
You can of course order a book from a publisher like Blurb but it is hugely more satisfying (and much quicker) to print and create your own. This also gives you control over aspects like the size, the paper and the finish.
The Concertina Book
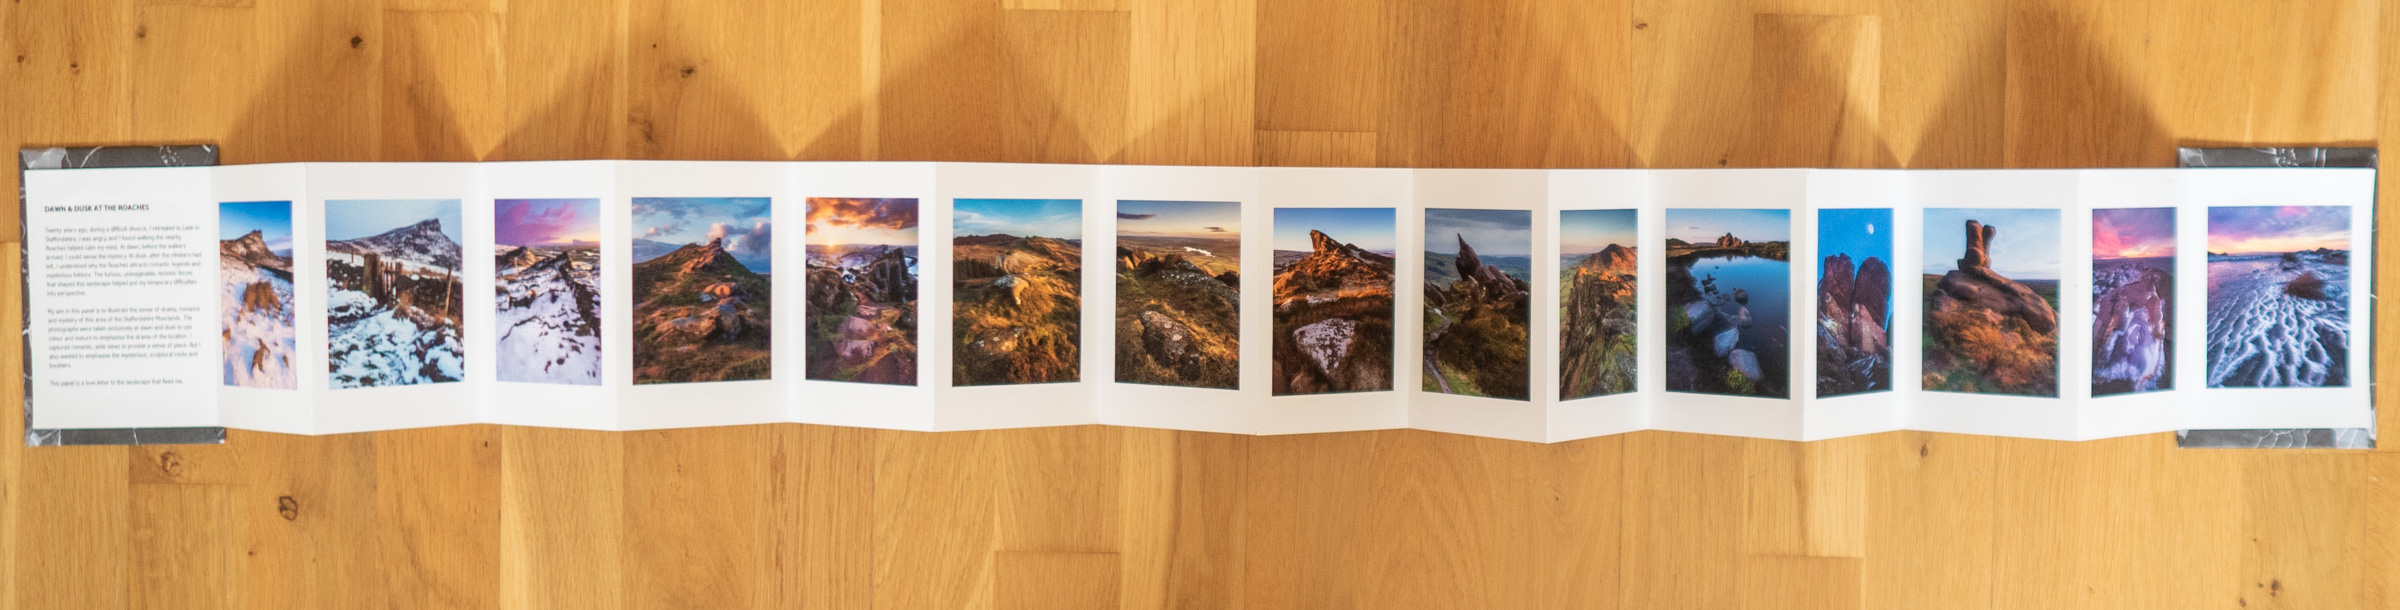
One of the simplest books you can make yourself is a concertina or accordion book. One reason I like this format is that you can use it like a conventional book, by turning the pages. But you can also open the book out and display it, showing all of the photographs at once.
There are different flavours of accordion book but my preference is for the self-hinged accordion book, as you can make this as long as you want (within reason). I print my accordion books on A3 photo paper. When cut horizontally, that creates an accordion with 8 panels and with just a single join.
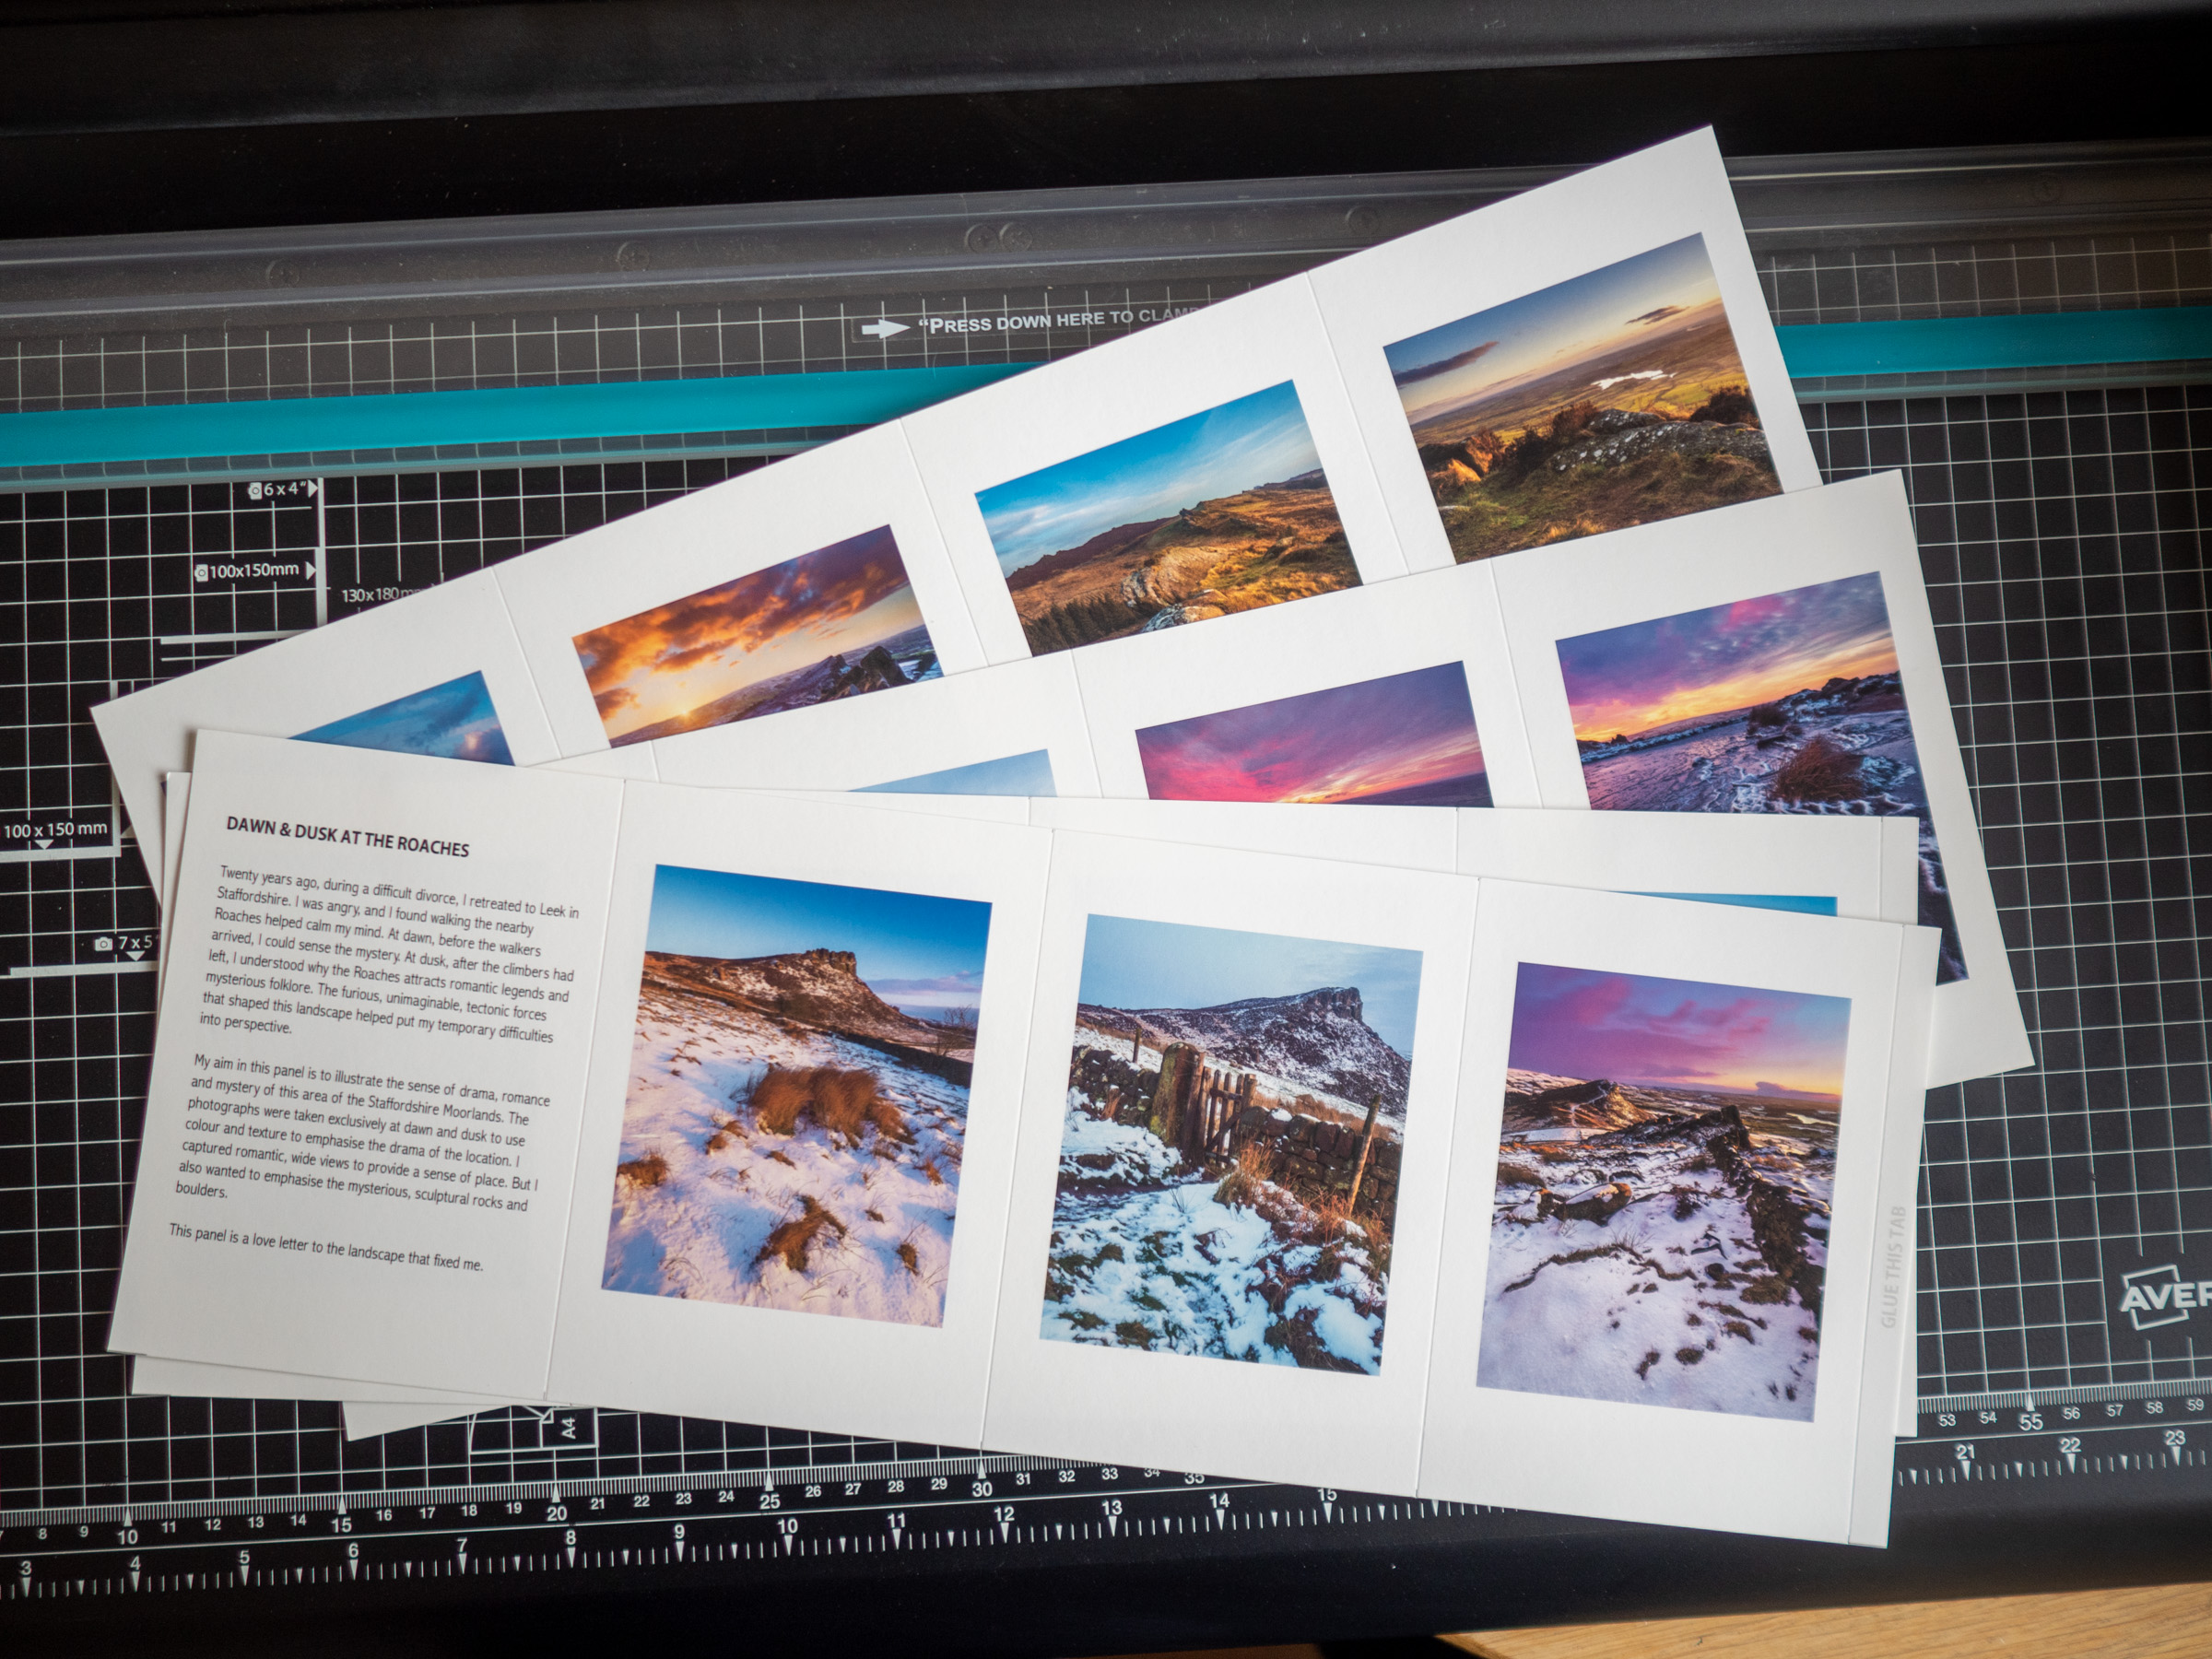
I decided to create an accordion book to display my successful ARPS panel. Since this comprises 15 images and a statement of intent, I needed to create a 16 panel accordion.
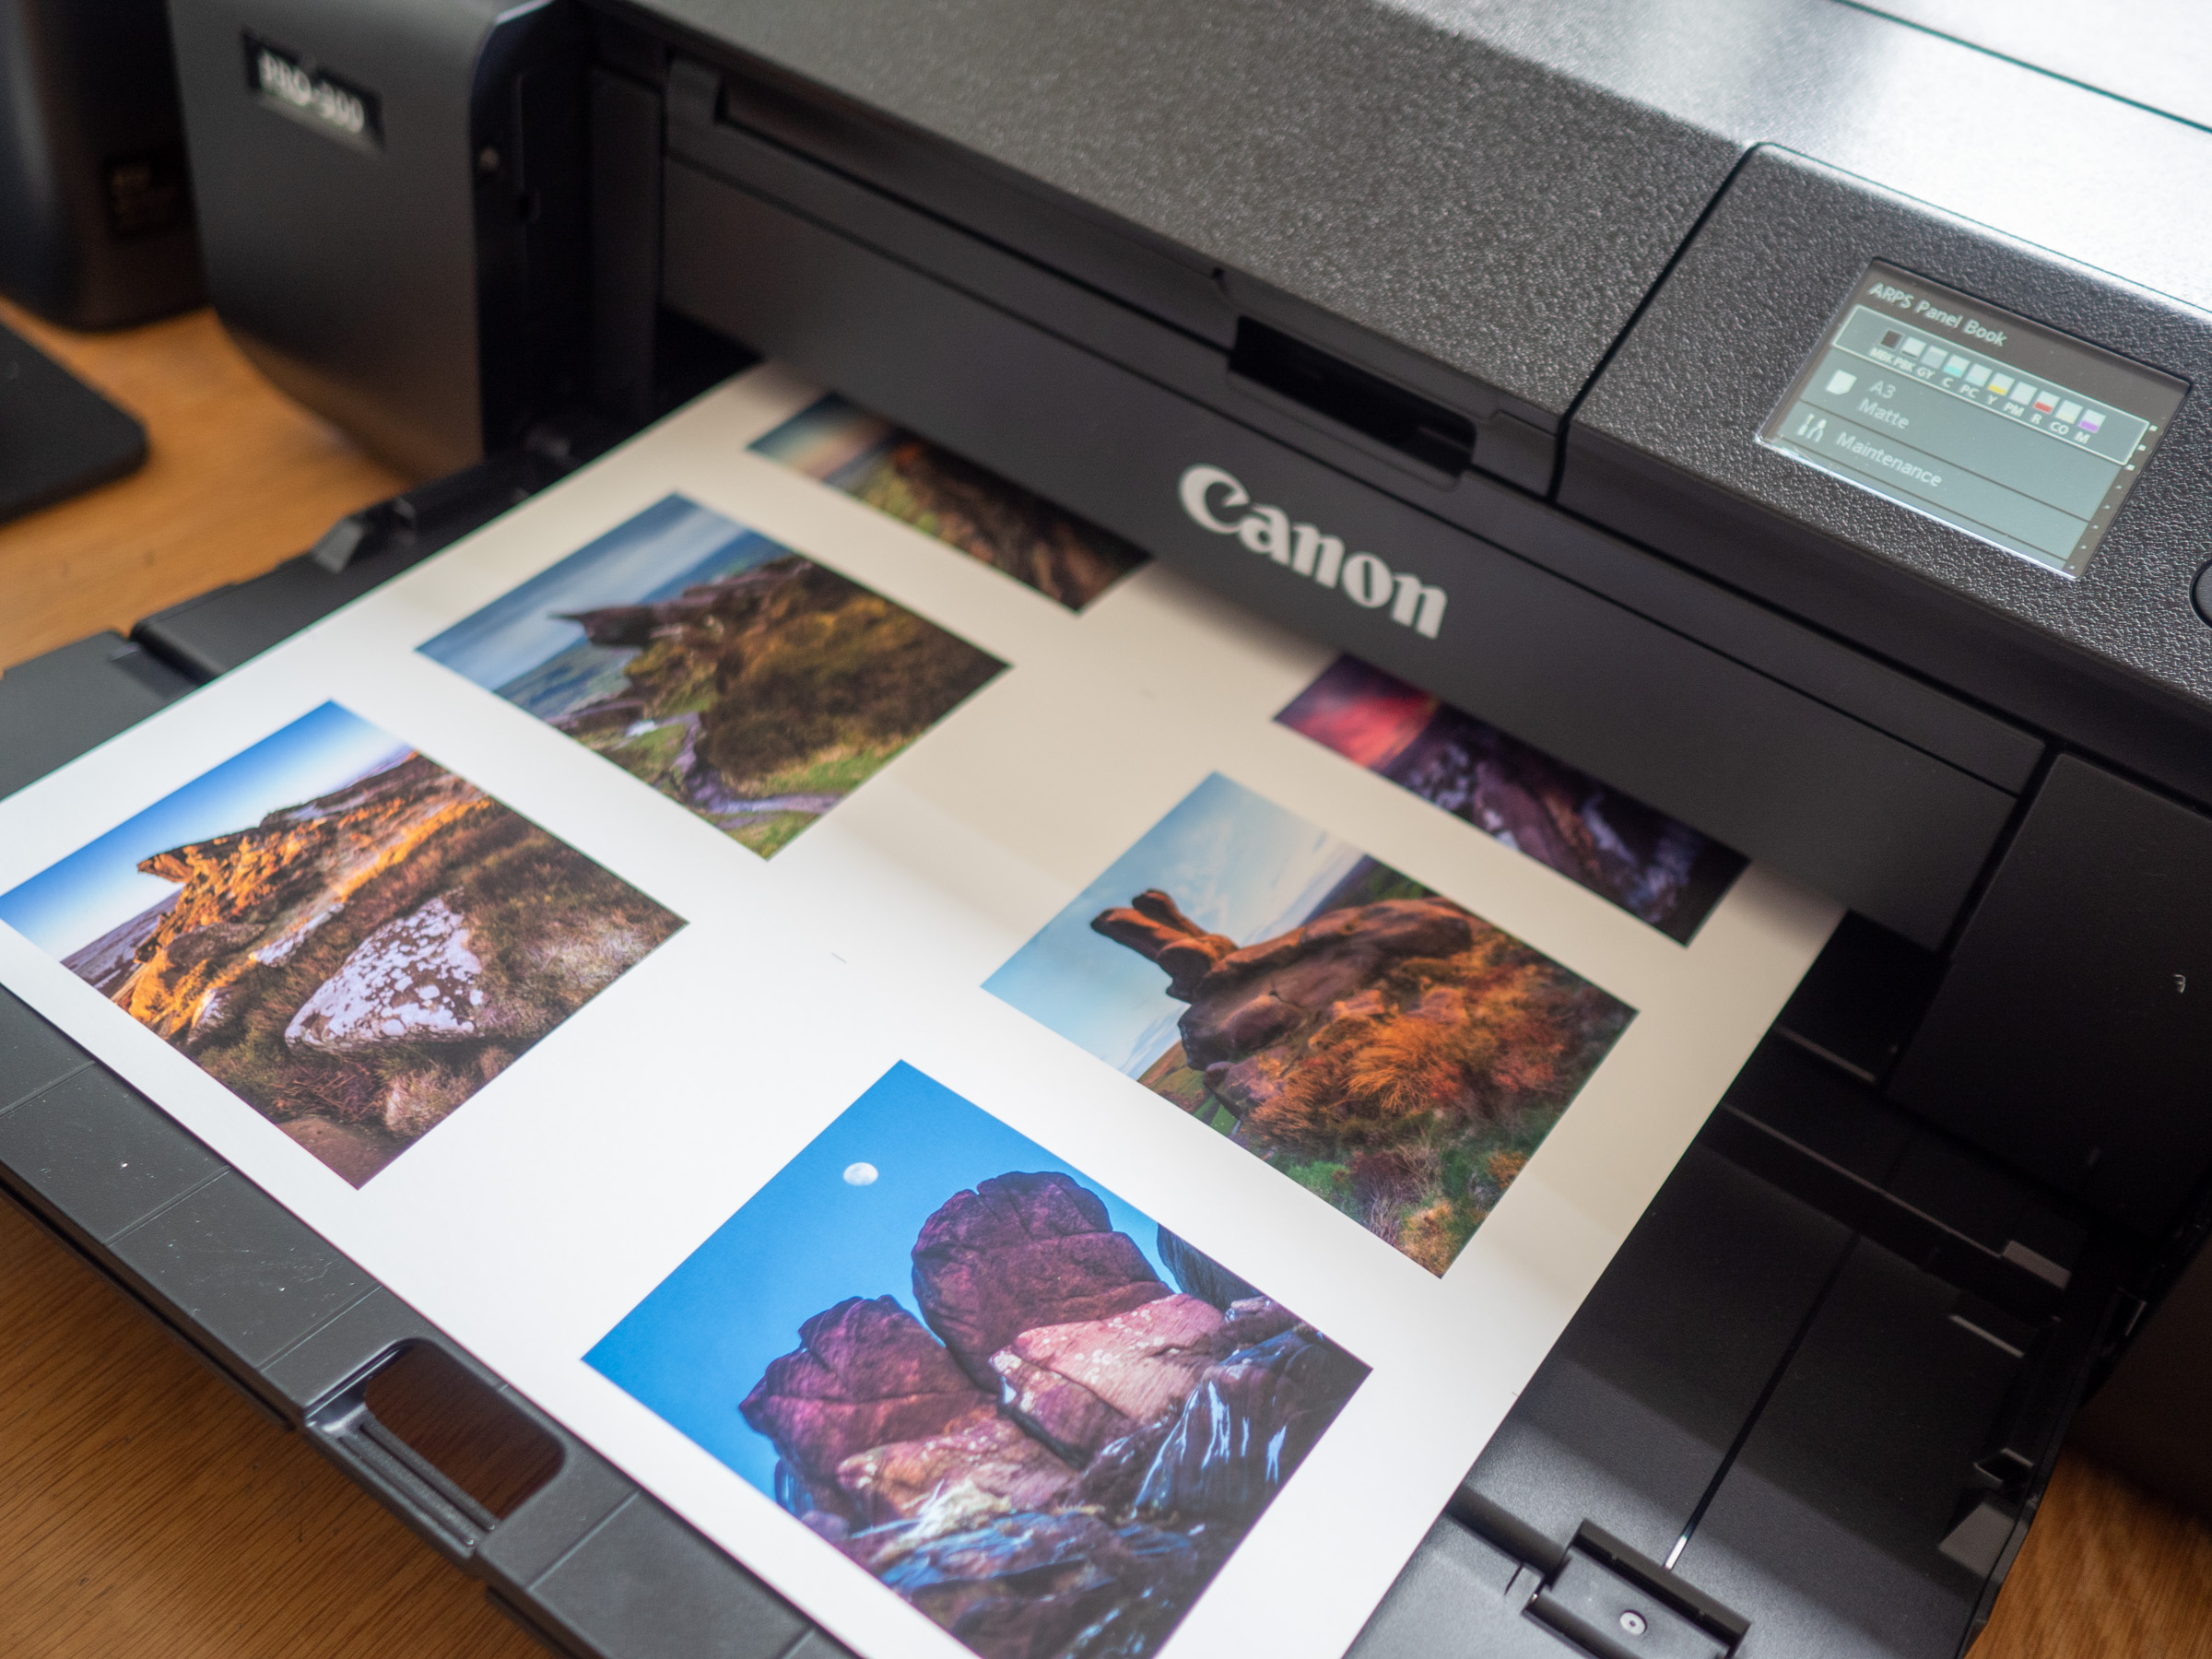
The simplest approach is first to create an accordion out of paper and then glue in your photographs afterwards. But what’s the challenge in that? Instead, I wanted to print my images directly on the paper.
The difficulty here is creating a print template that works. I first tried with Lightroom but Lightroom just doesn’t have the functionality to do this. In contrast, it’s fairly straightforward to do this with Affinity Publisher.
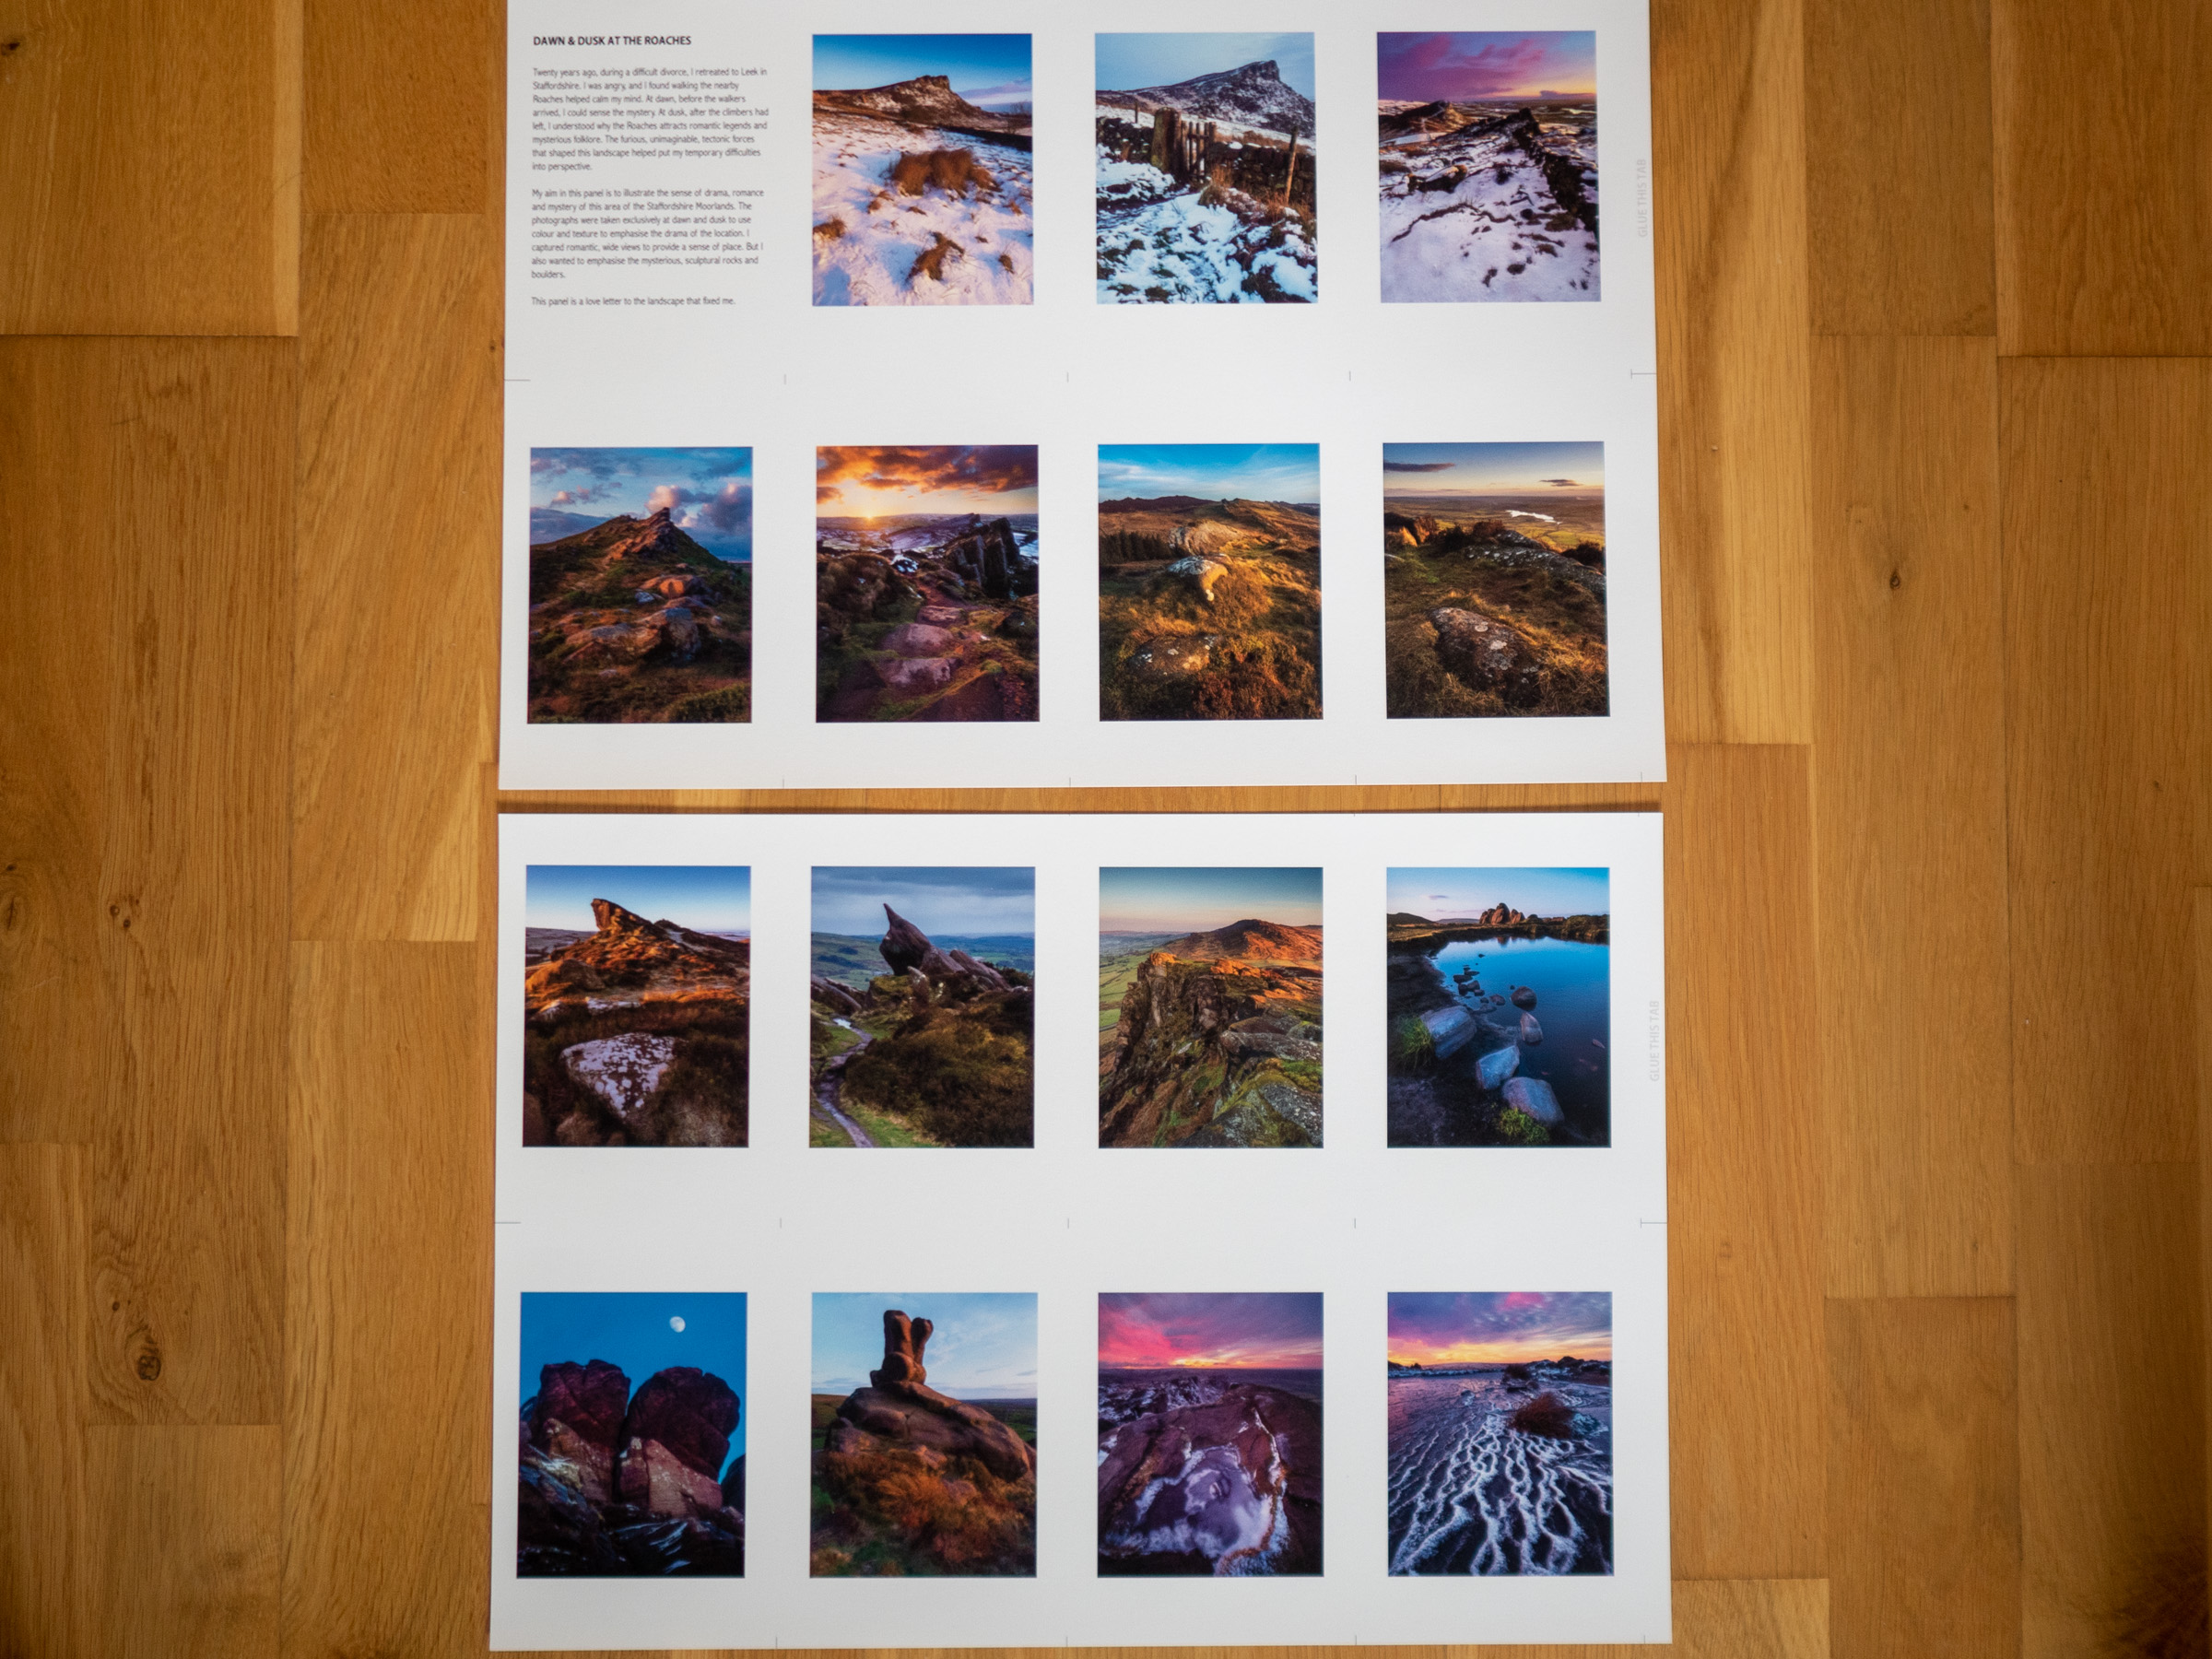
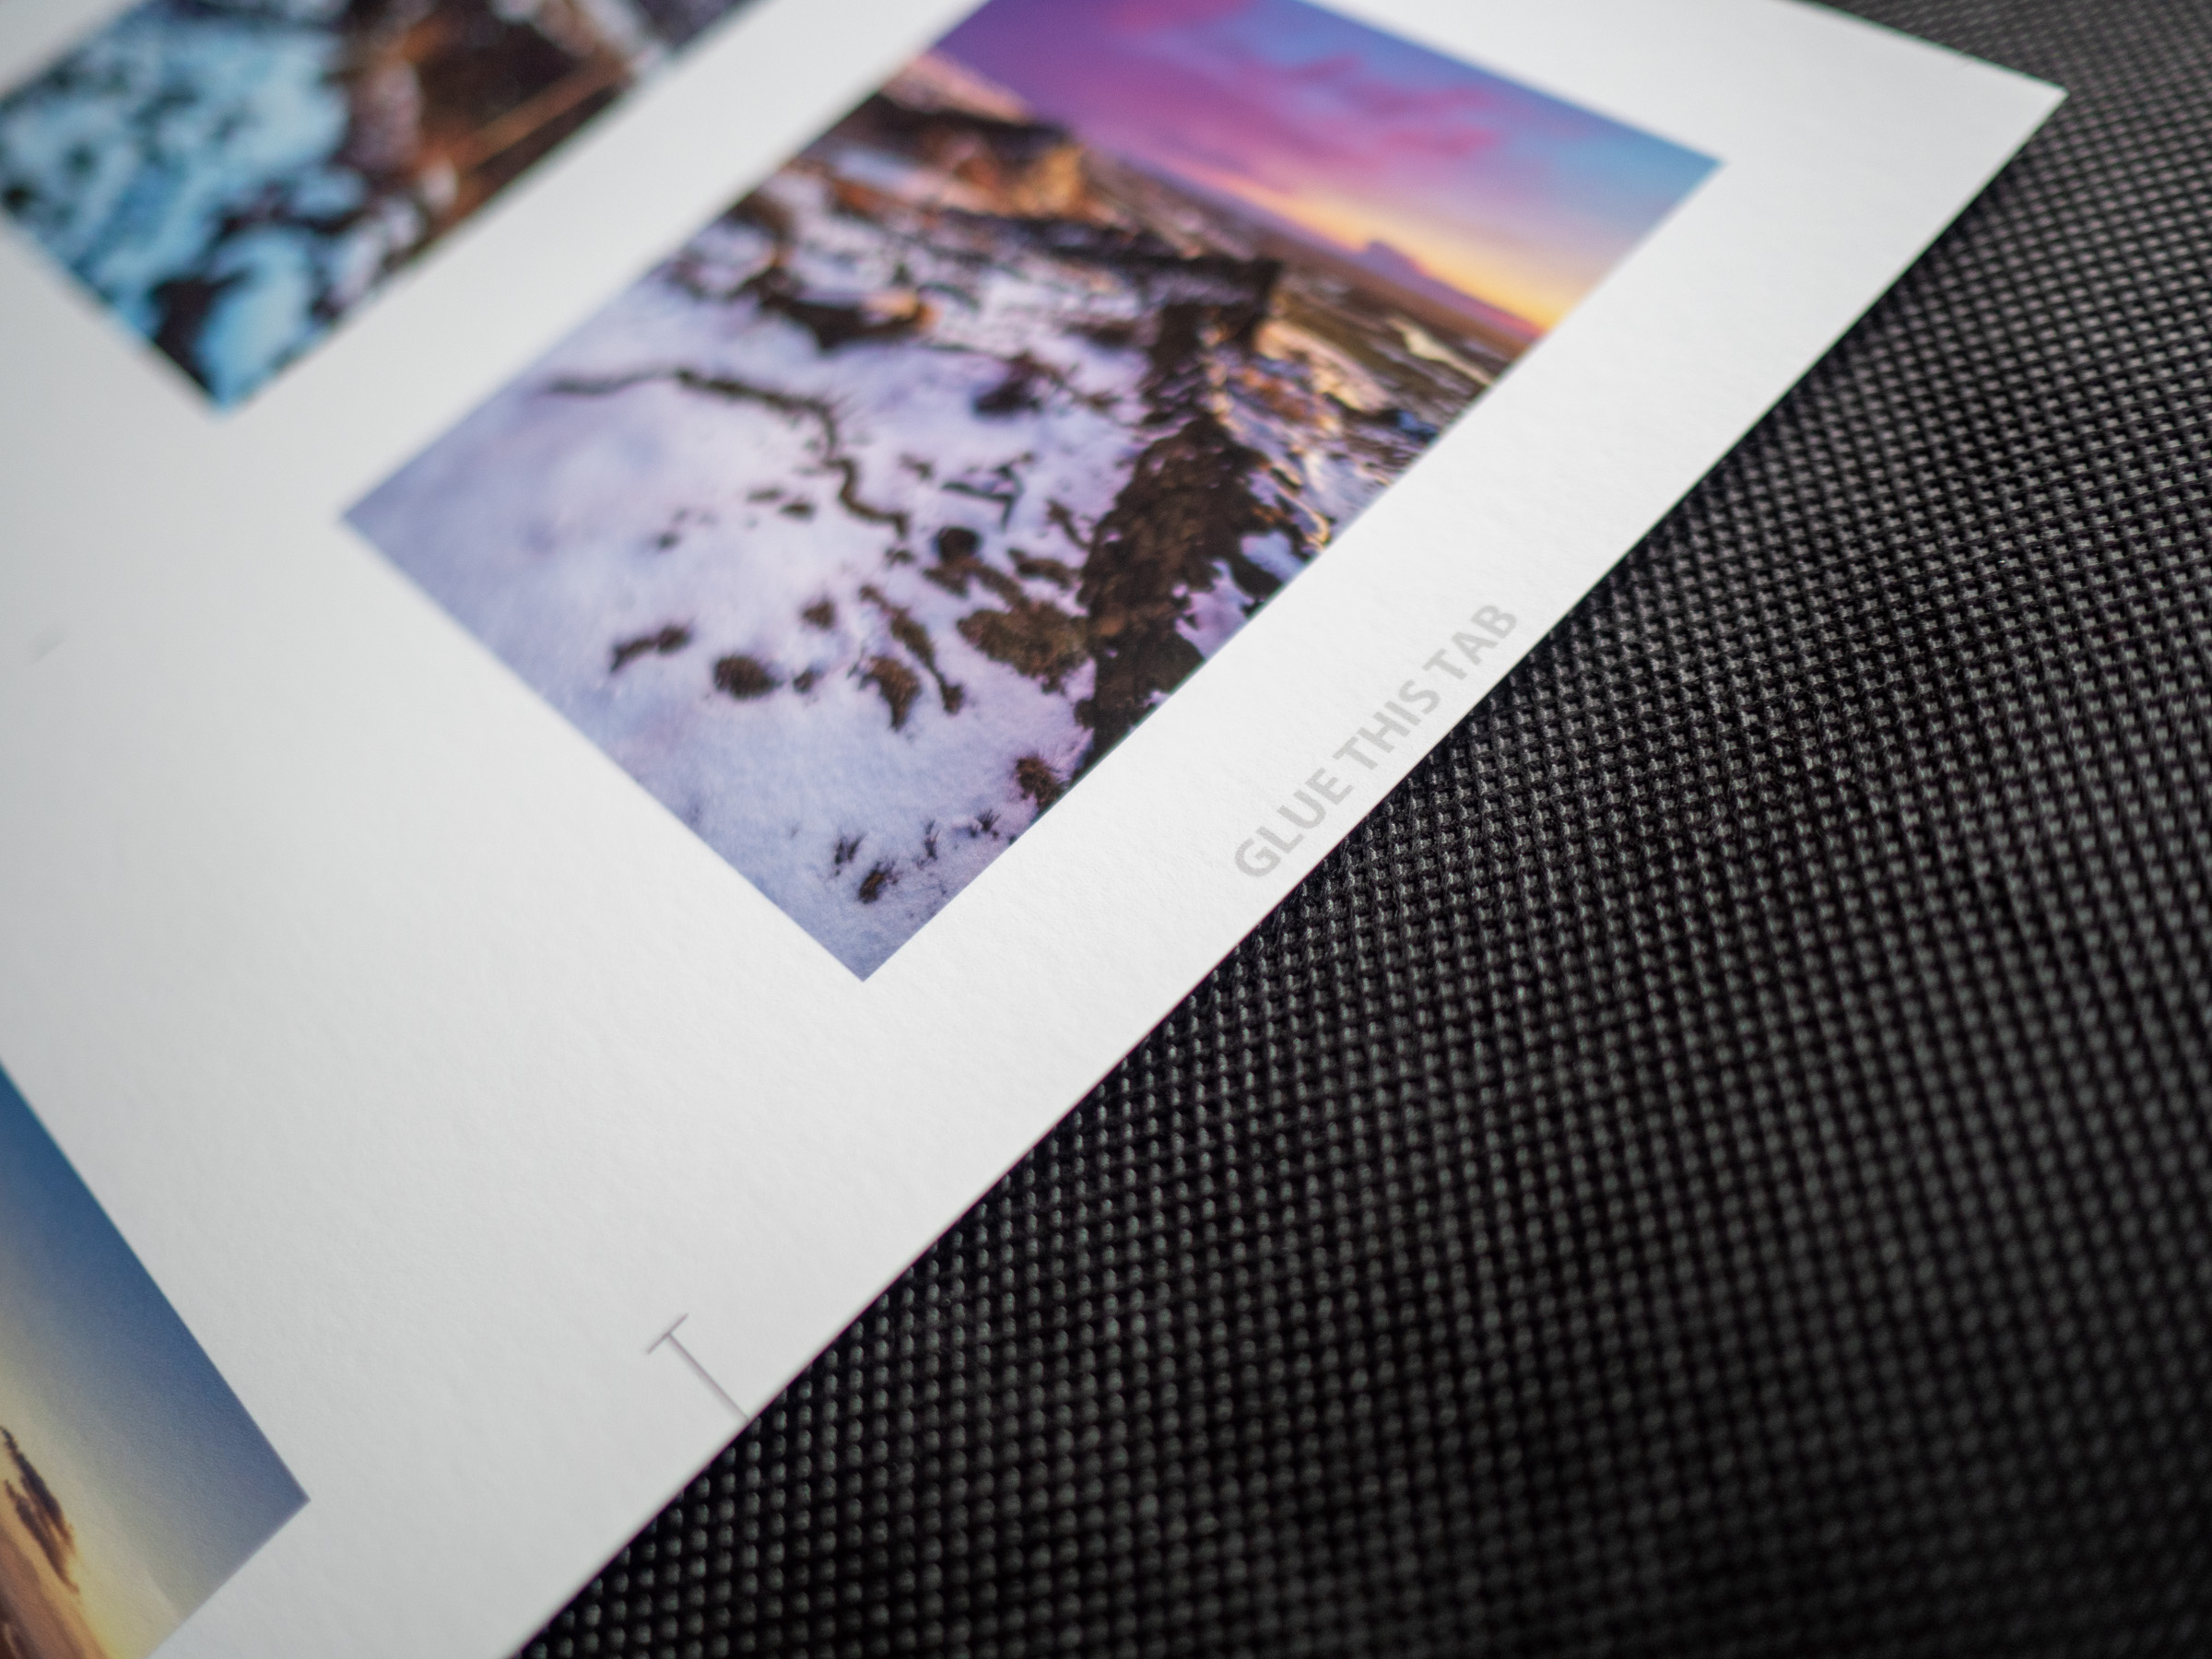
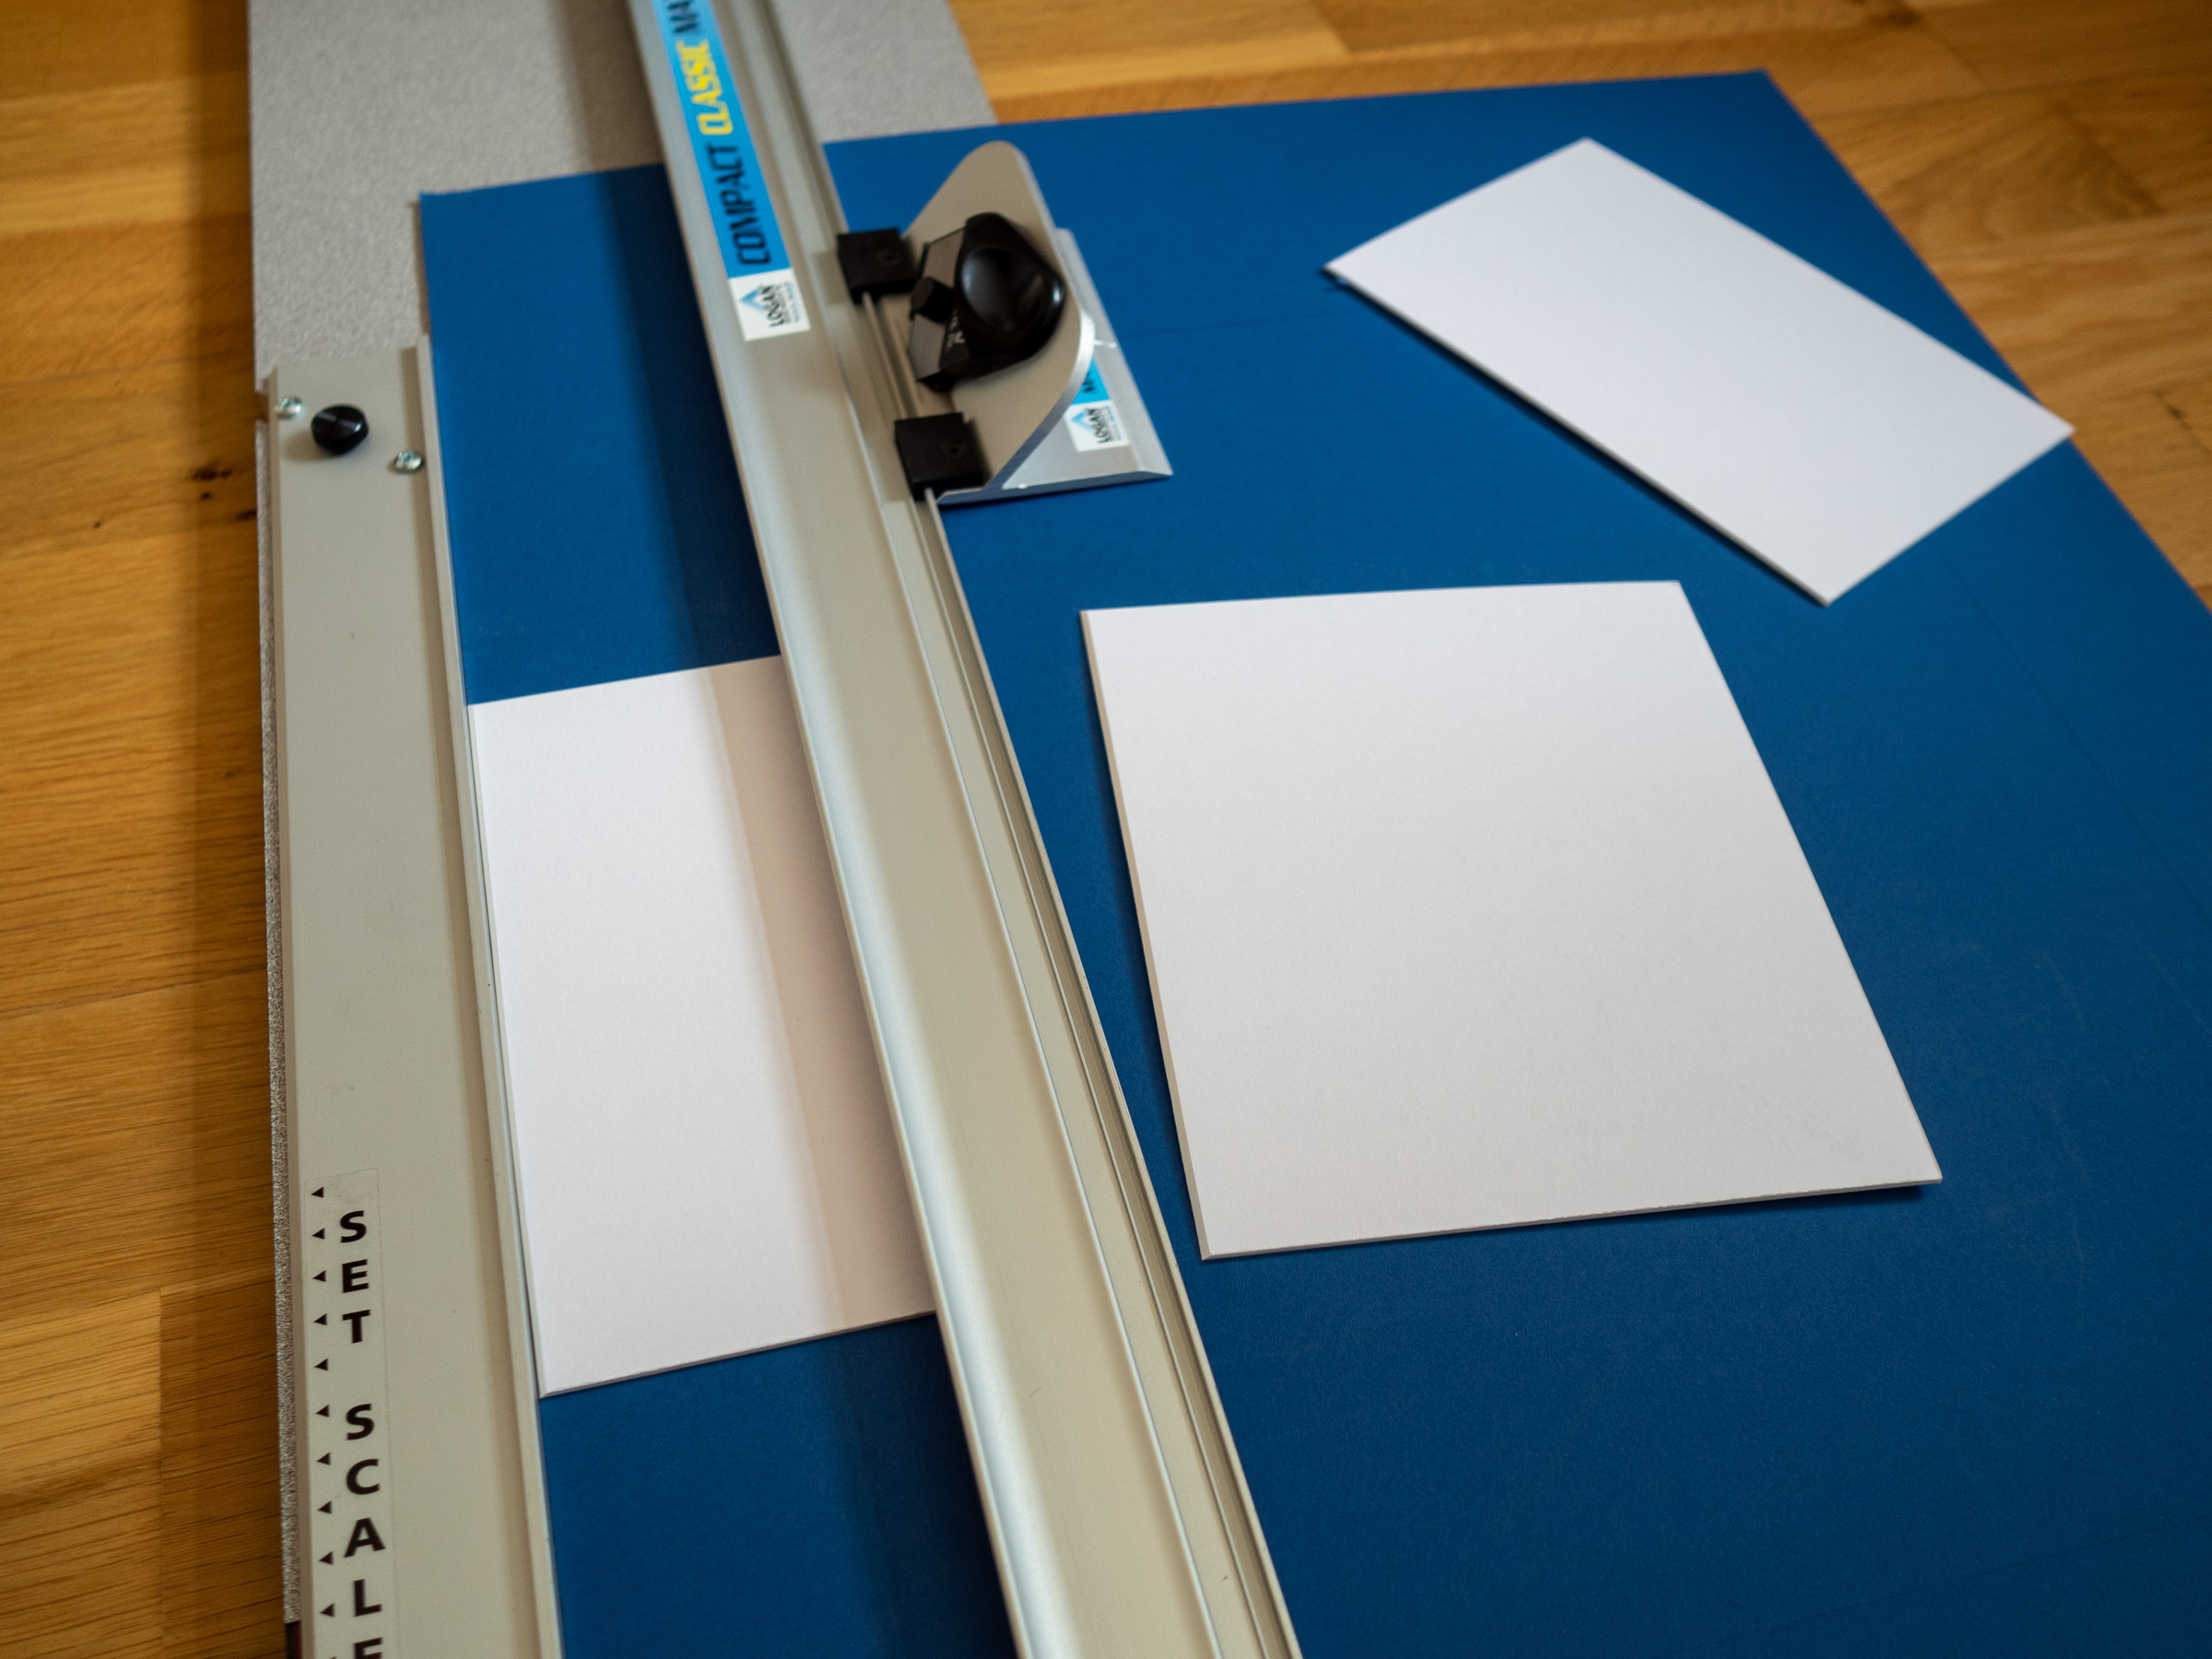
I created a template in Affinity Publisher with crop marks so I knew where to cut, fold and glue.
The crop marks come in useful when you guillotine the paper and it helps you know exactly where to fold the print.
This image shows the two sheets of A3 cut into the four strips that will make the accordion.
Note that small extra border on the right hand side of the topmost strip. You use that to glue this strip of images to the next strip. I use a border of about 13mm.
This image shows the view from the back.
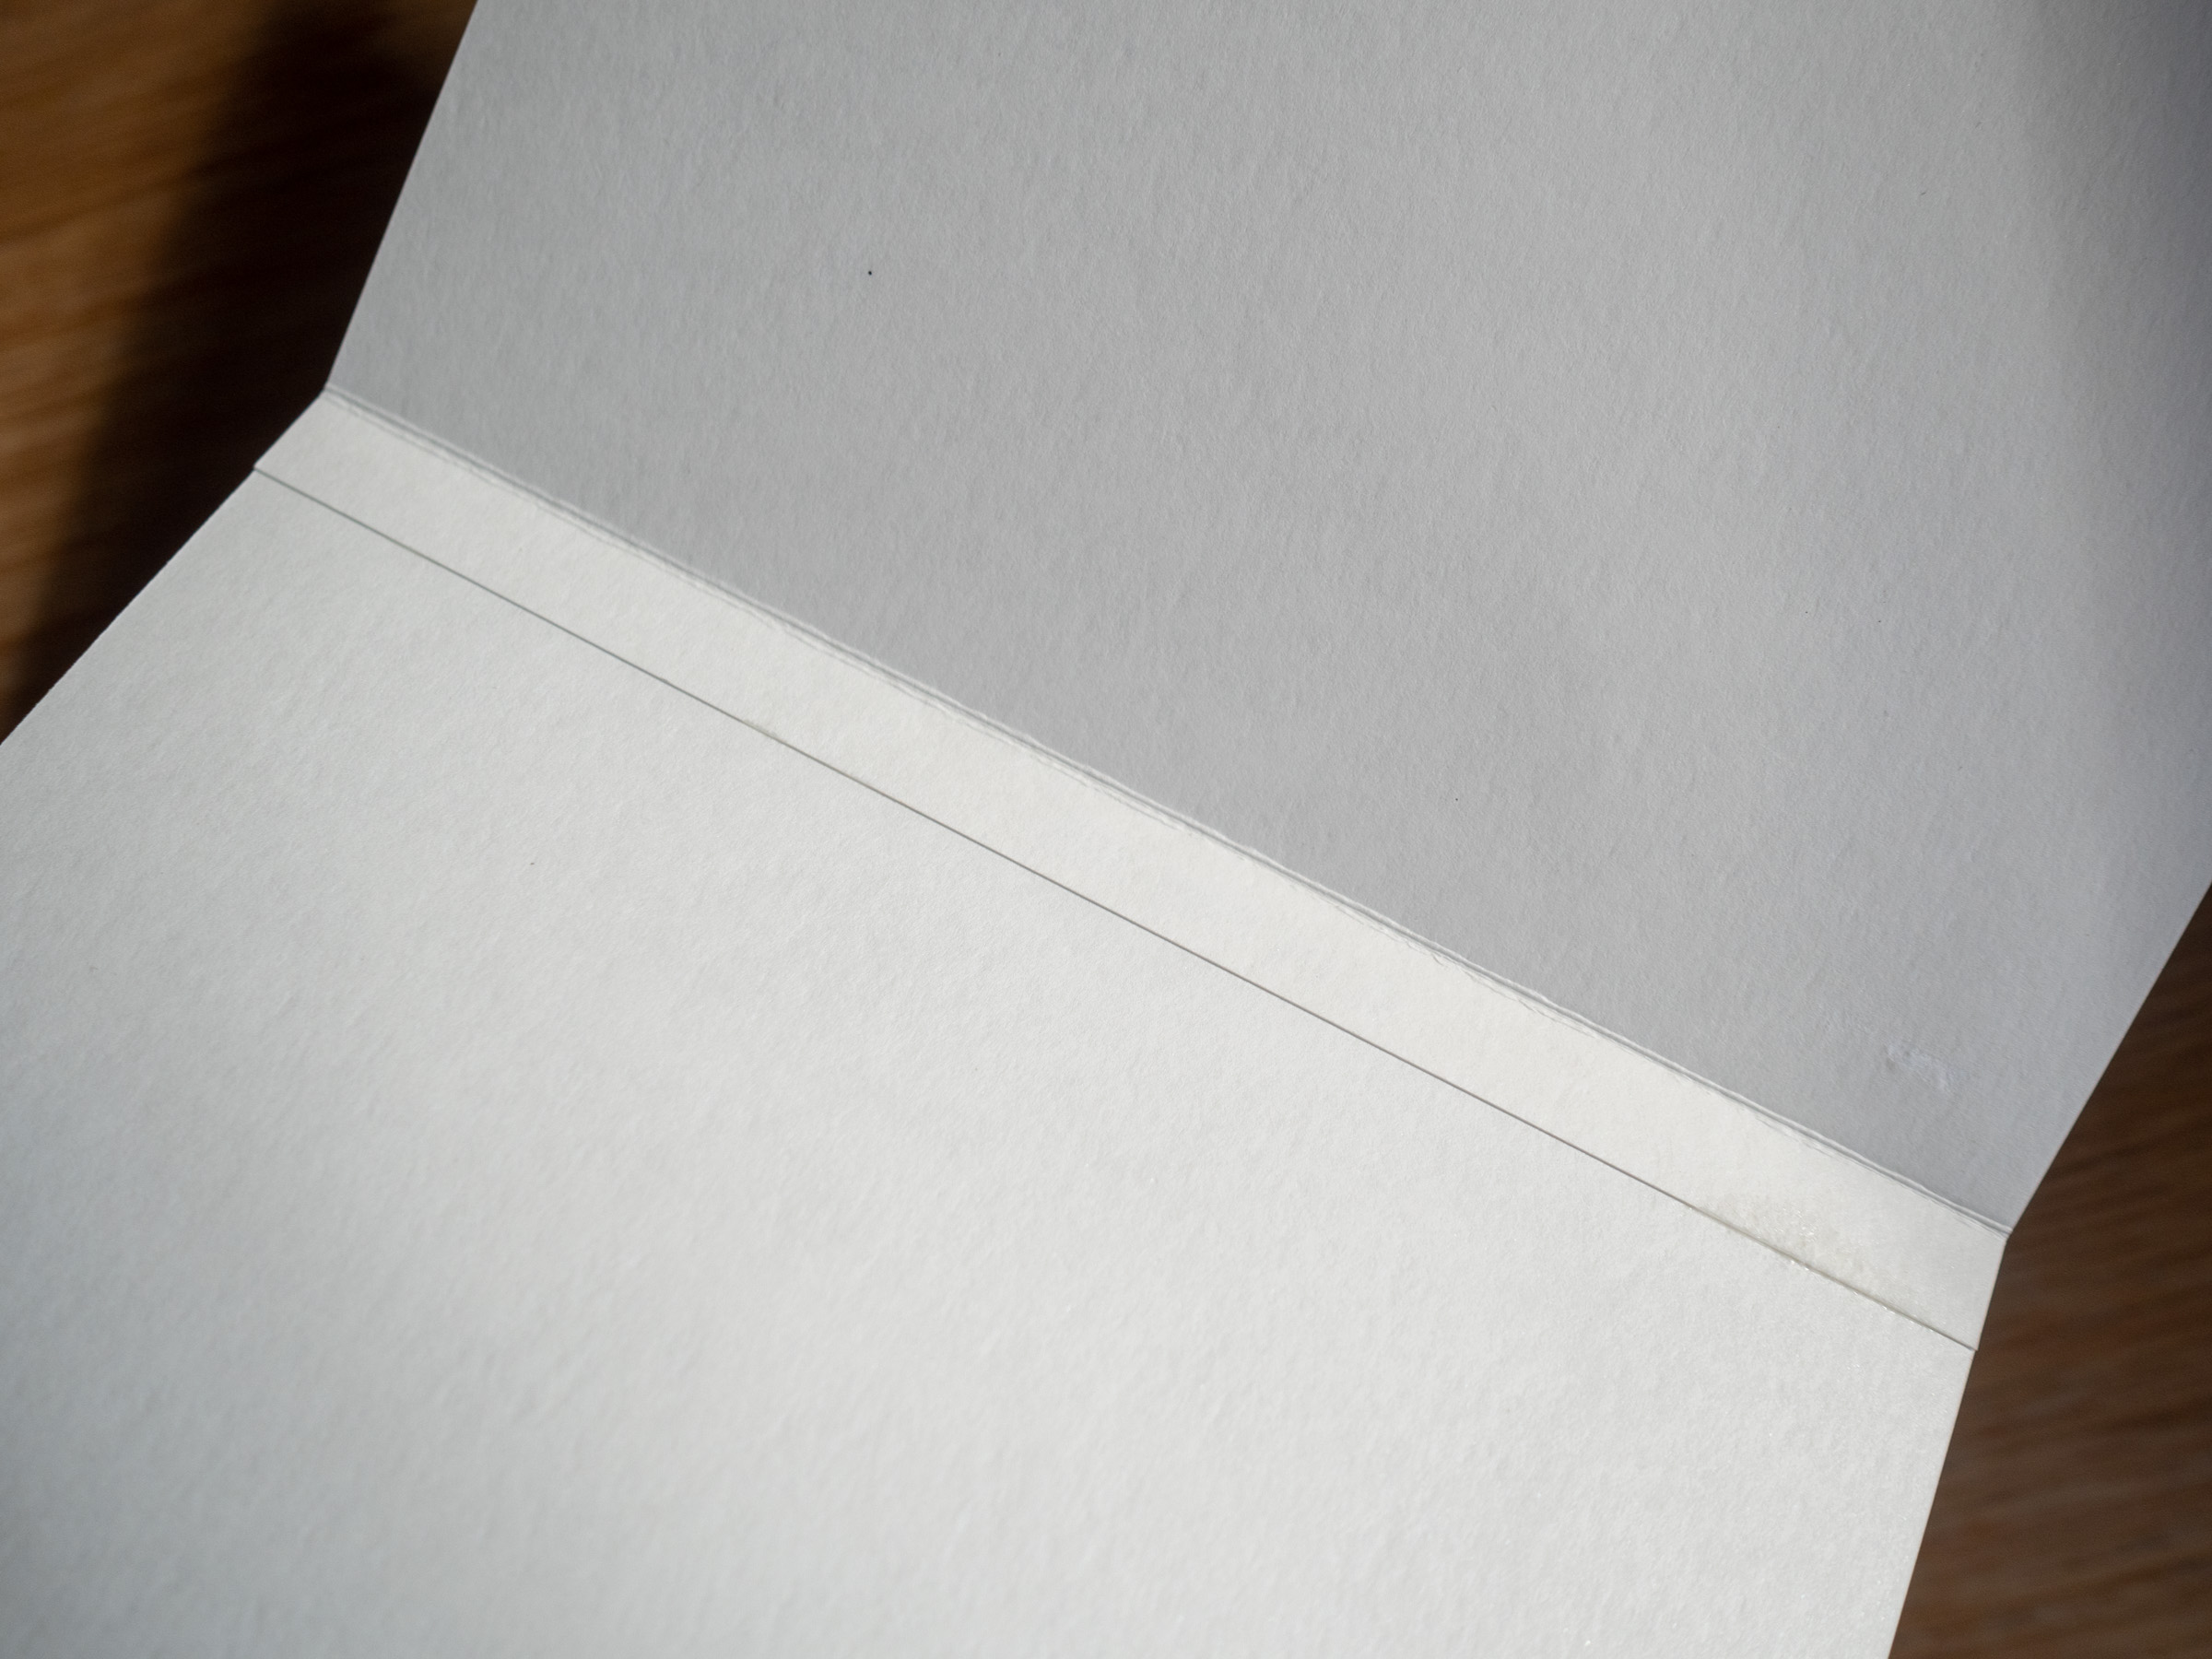
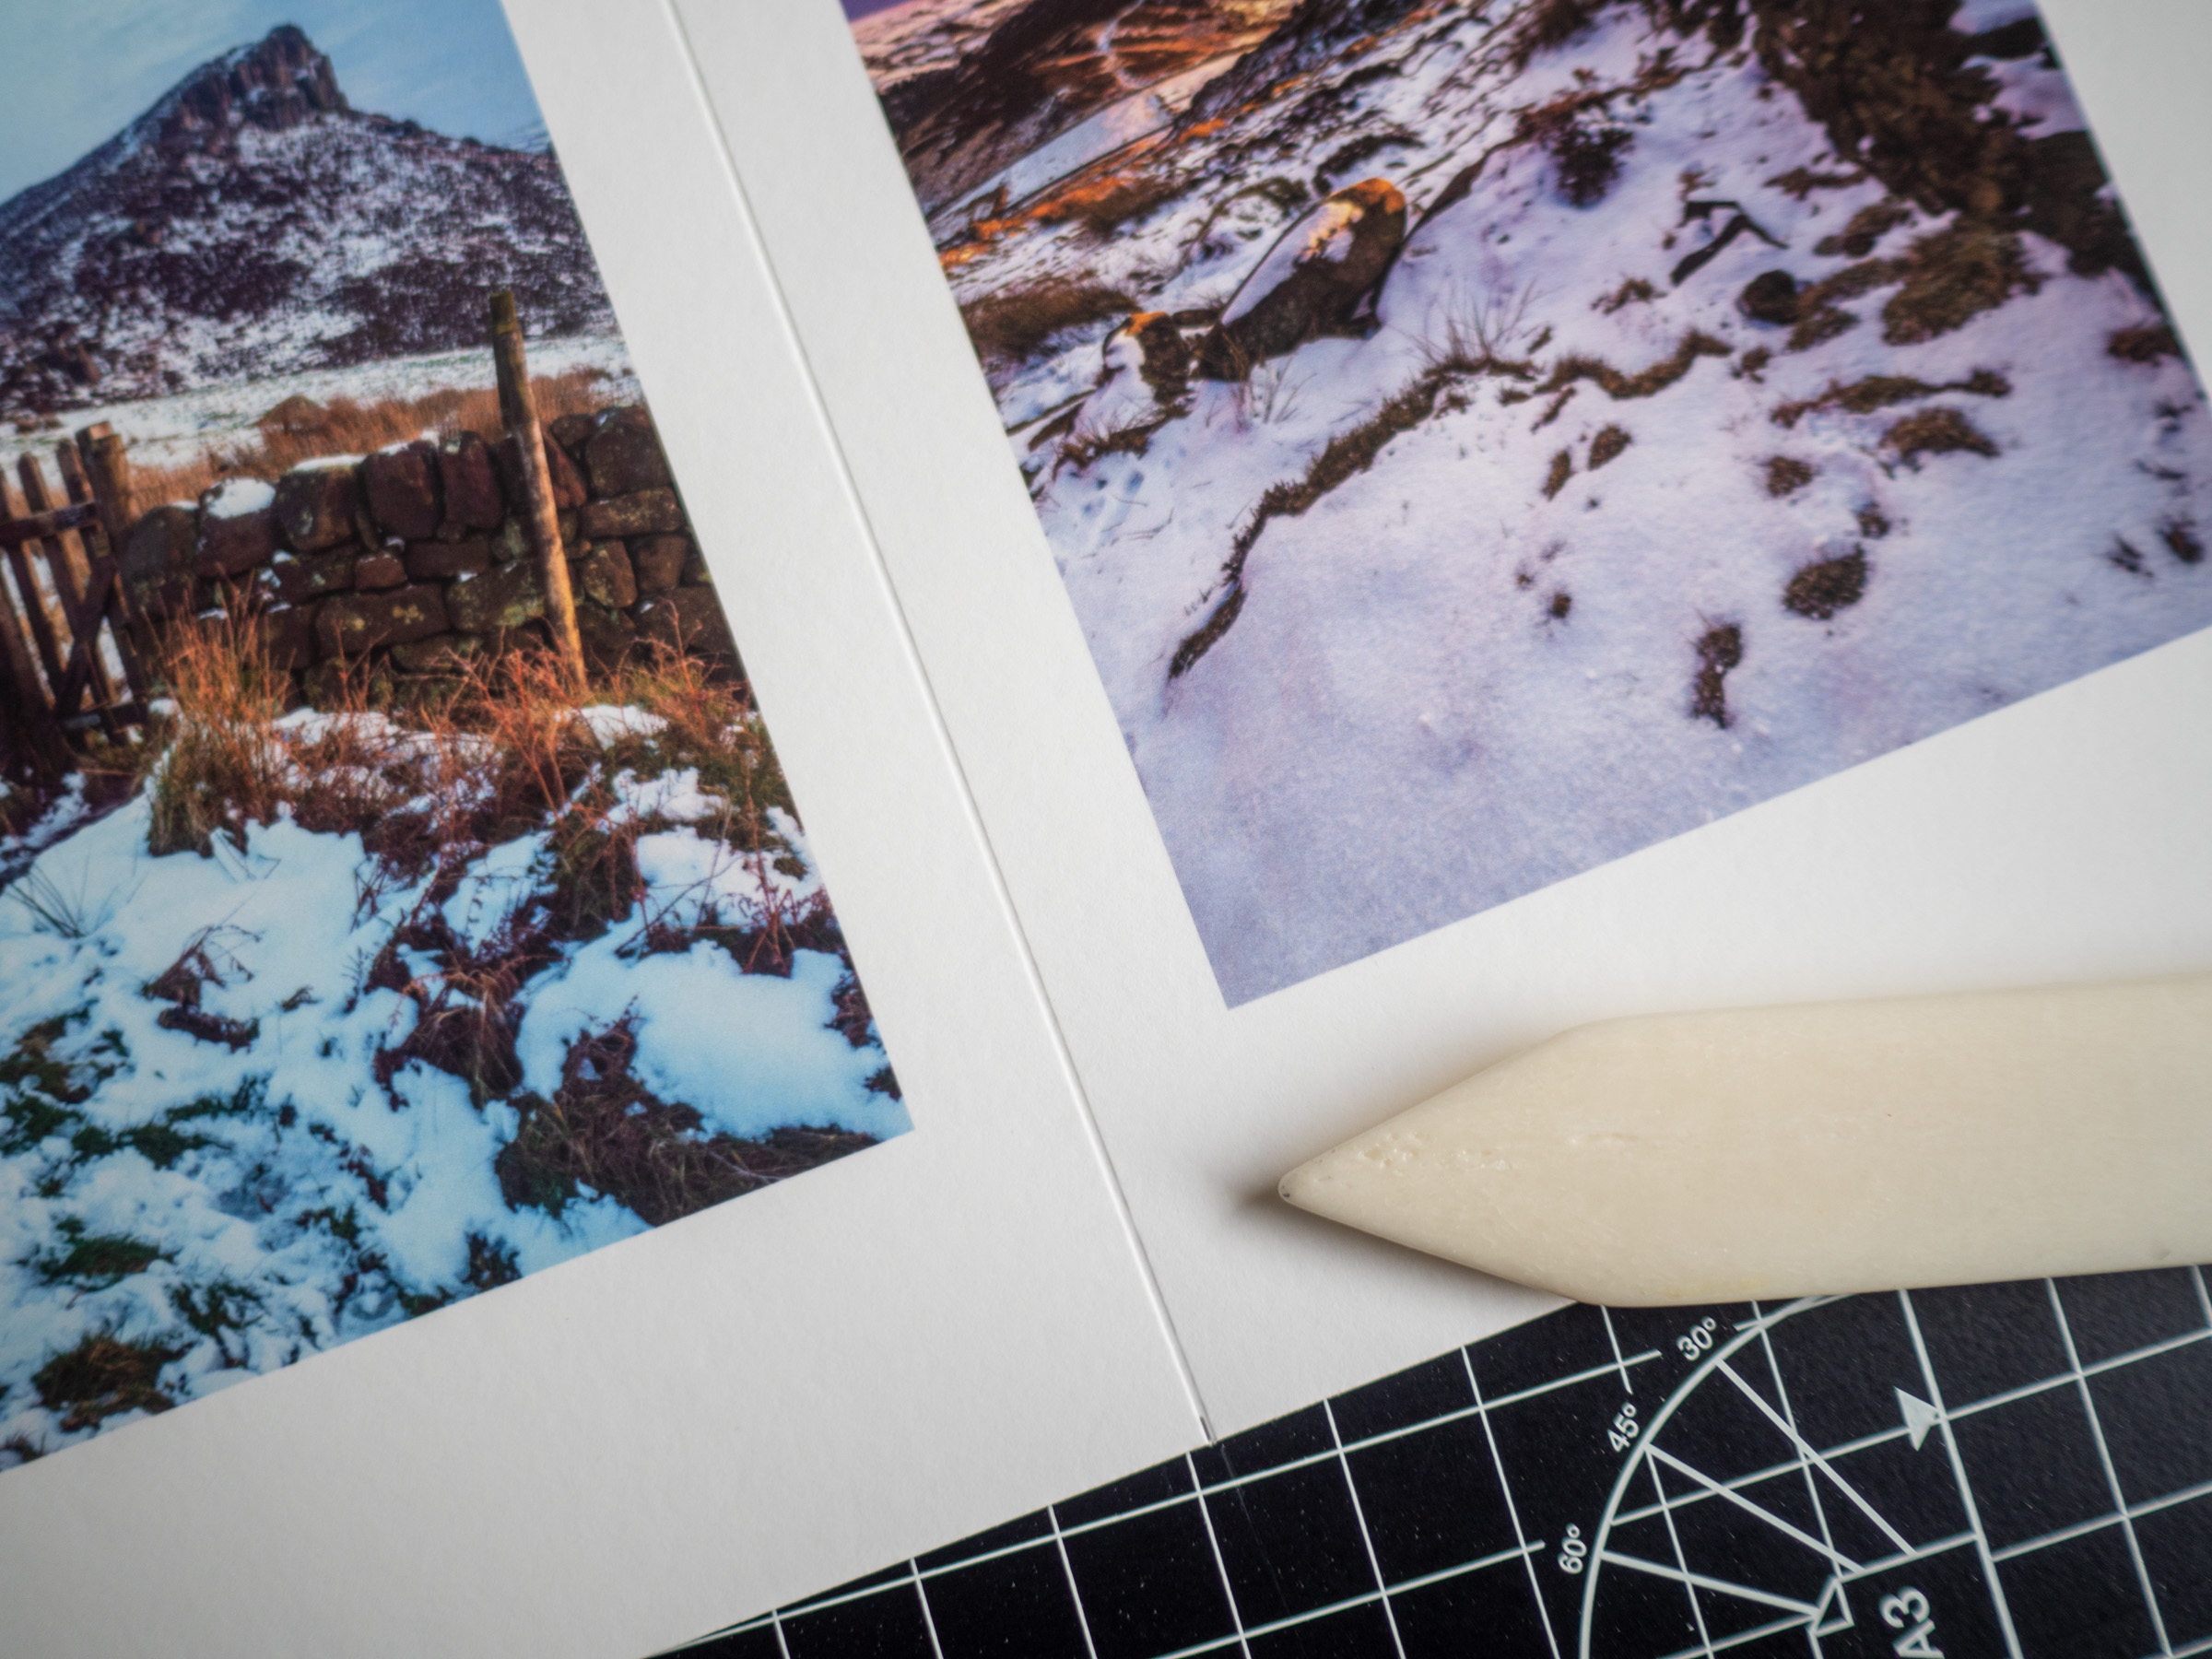
To ensure the pages in the strip fold easily, it really helps to use a bone folder. This creates a groove in the paper. Before I got a bone folder I used a craft knife but you need to be careful not to slice through the paper. With a bone folder you can press as hard as you like. Plus it looks super professional.
For the front and back covers of the accordion, I use whatever cardboard I have lying around. Amazon packaging works fine although here I used picture mounting card.
I then use art paper to improve the look of the covers. I stick the art paper to the cardboard using PVA glue.
There’s trick to folding the art paper so that the covers look nice.
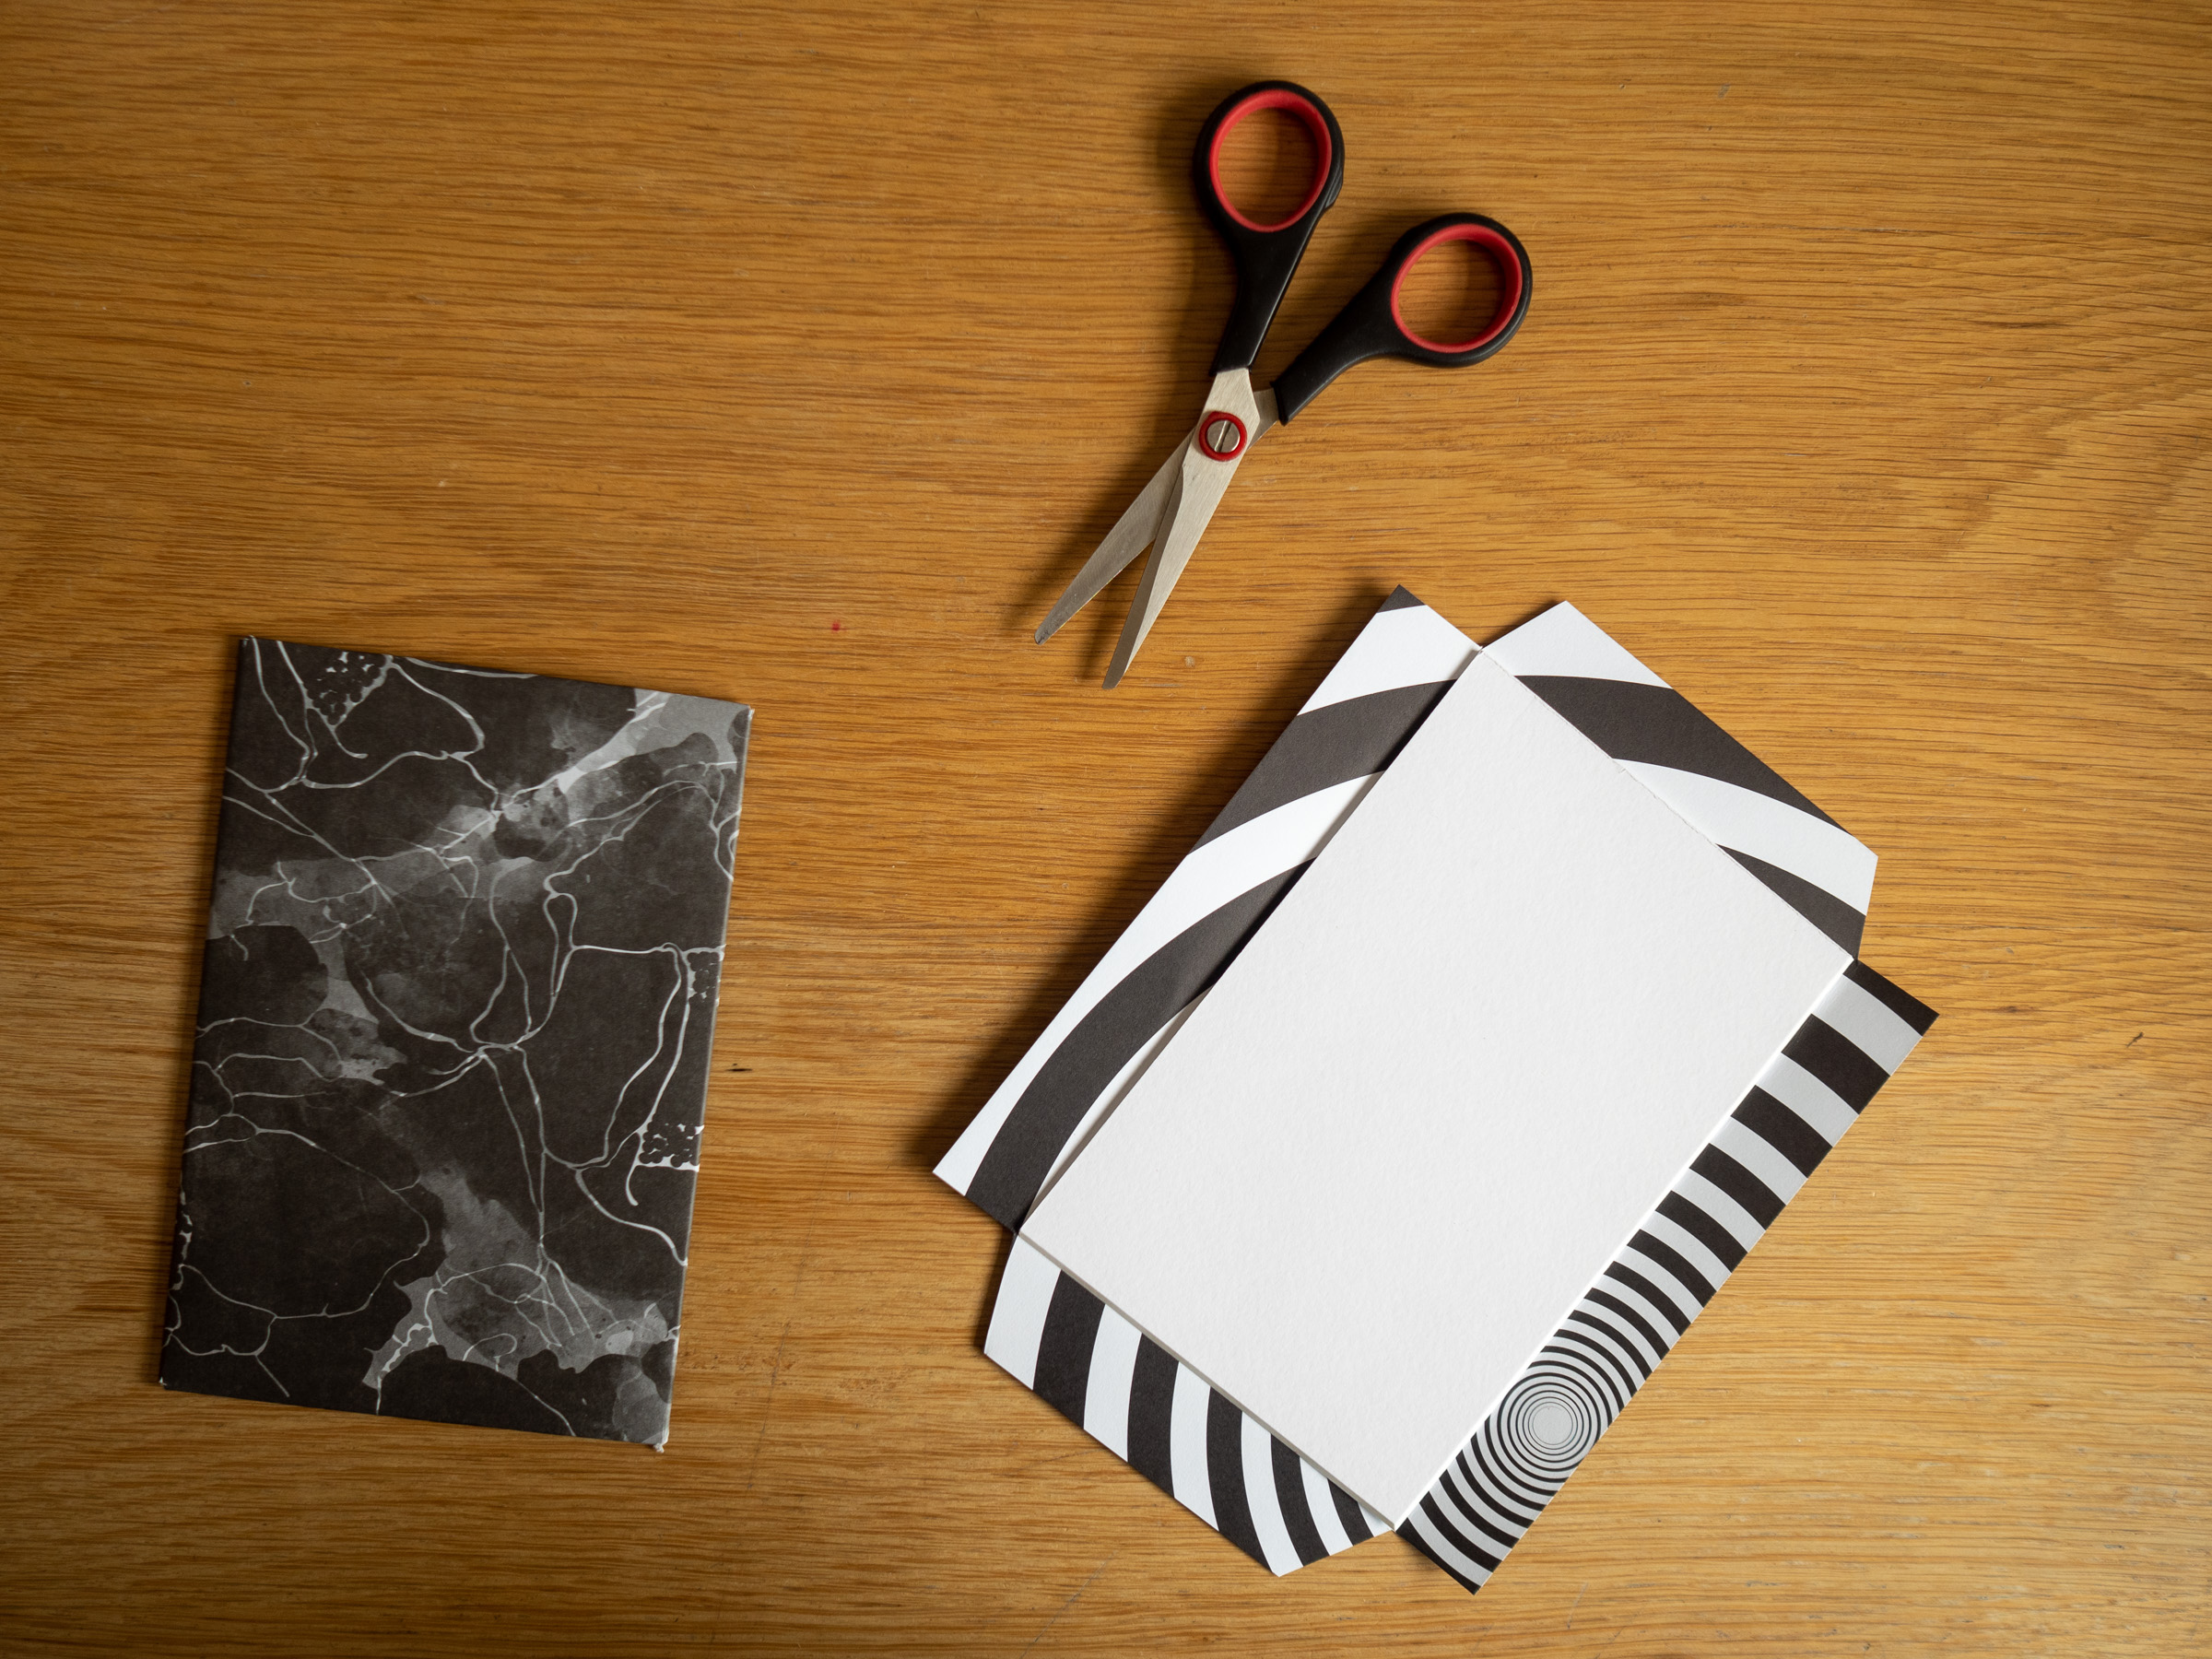
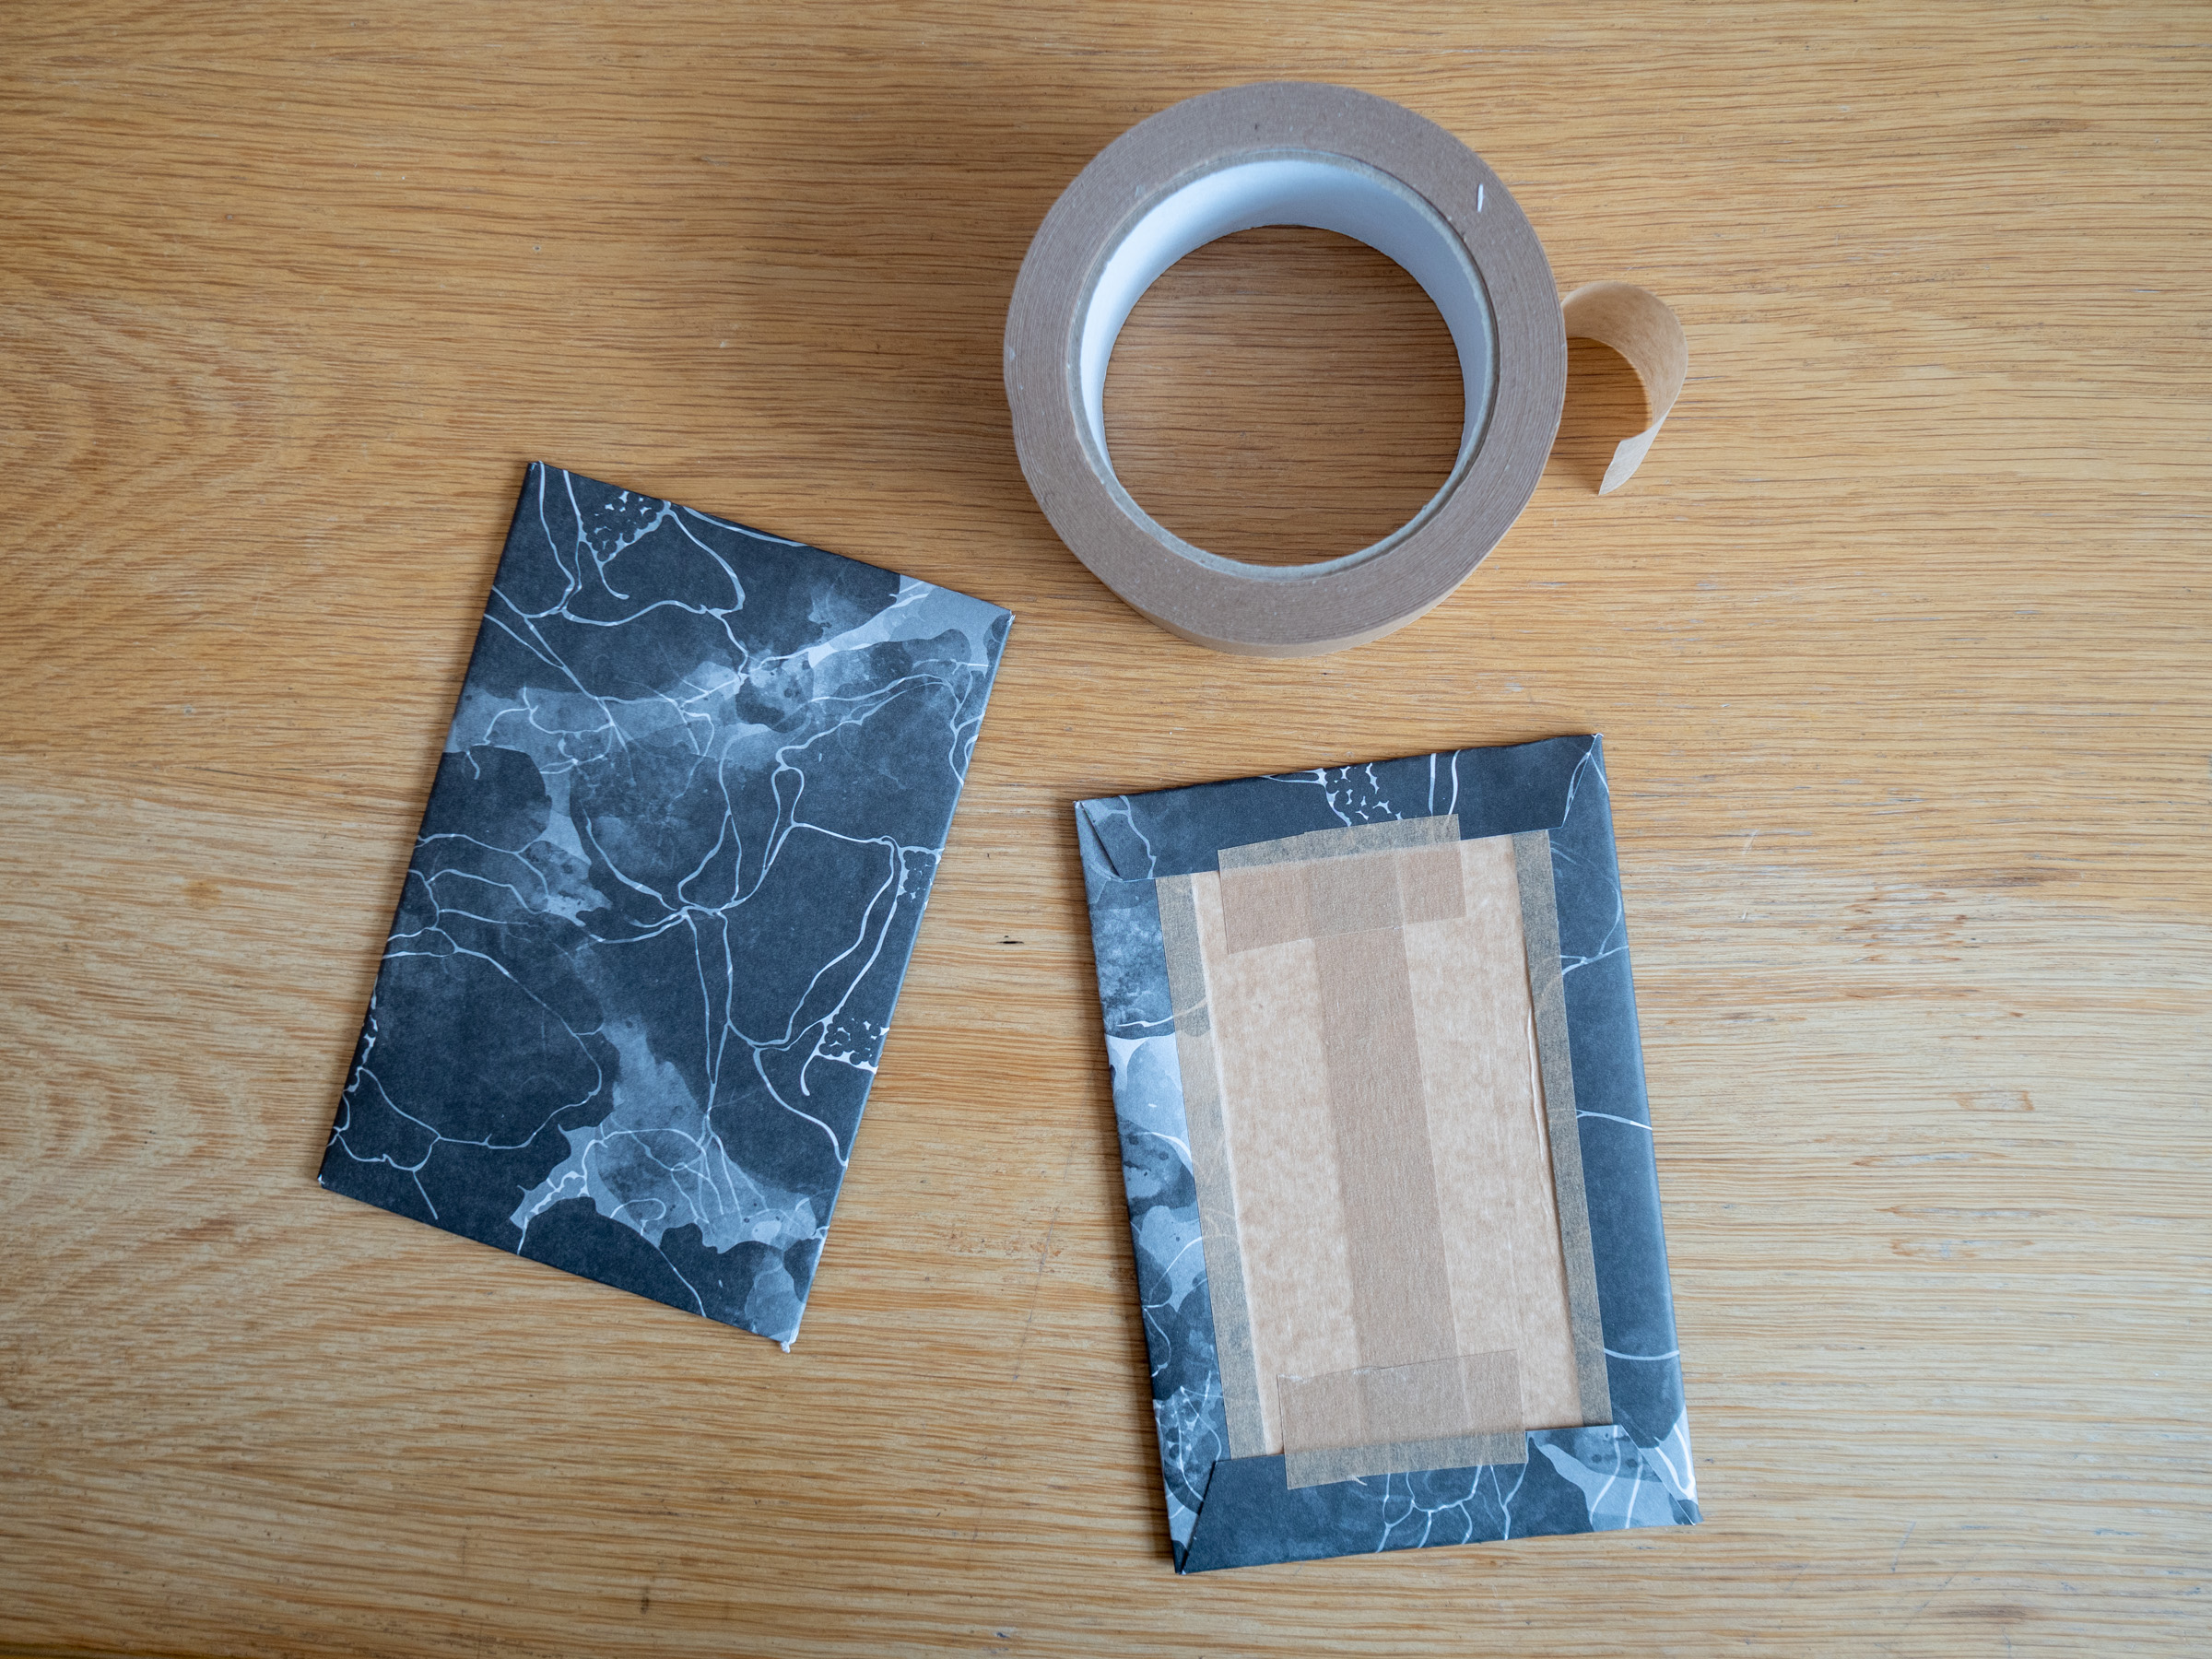
I cut one edge at 90-degrees and the other edge at an angle.

When you fold it over and stick it down, the edges almost look professional.
Don’t worry about the masking tape in this picture — that gets covered up when you stick the accordion book together.
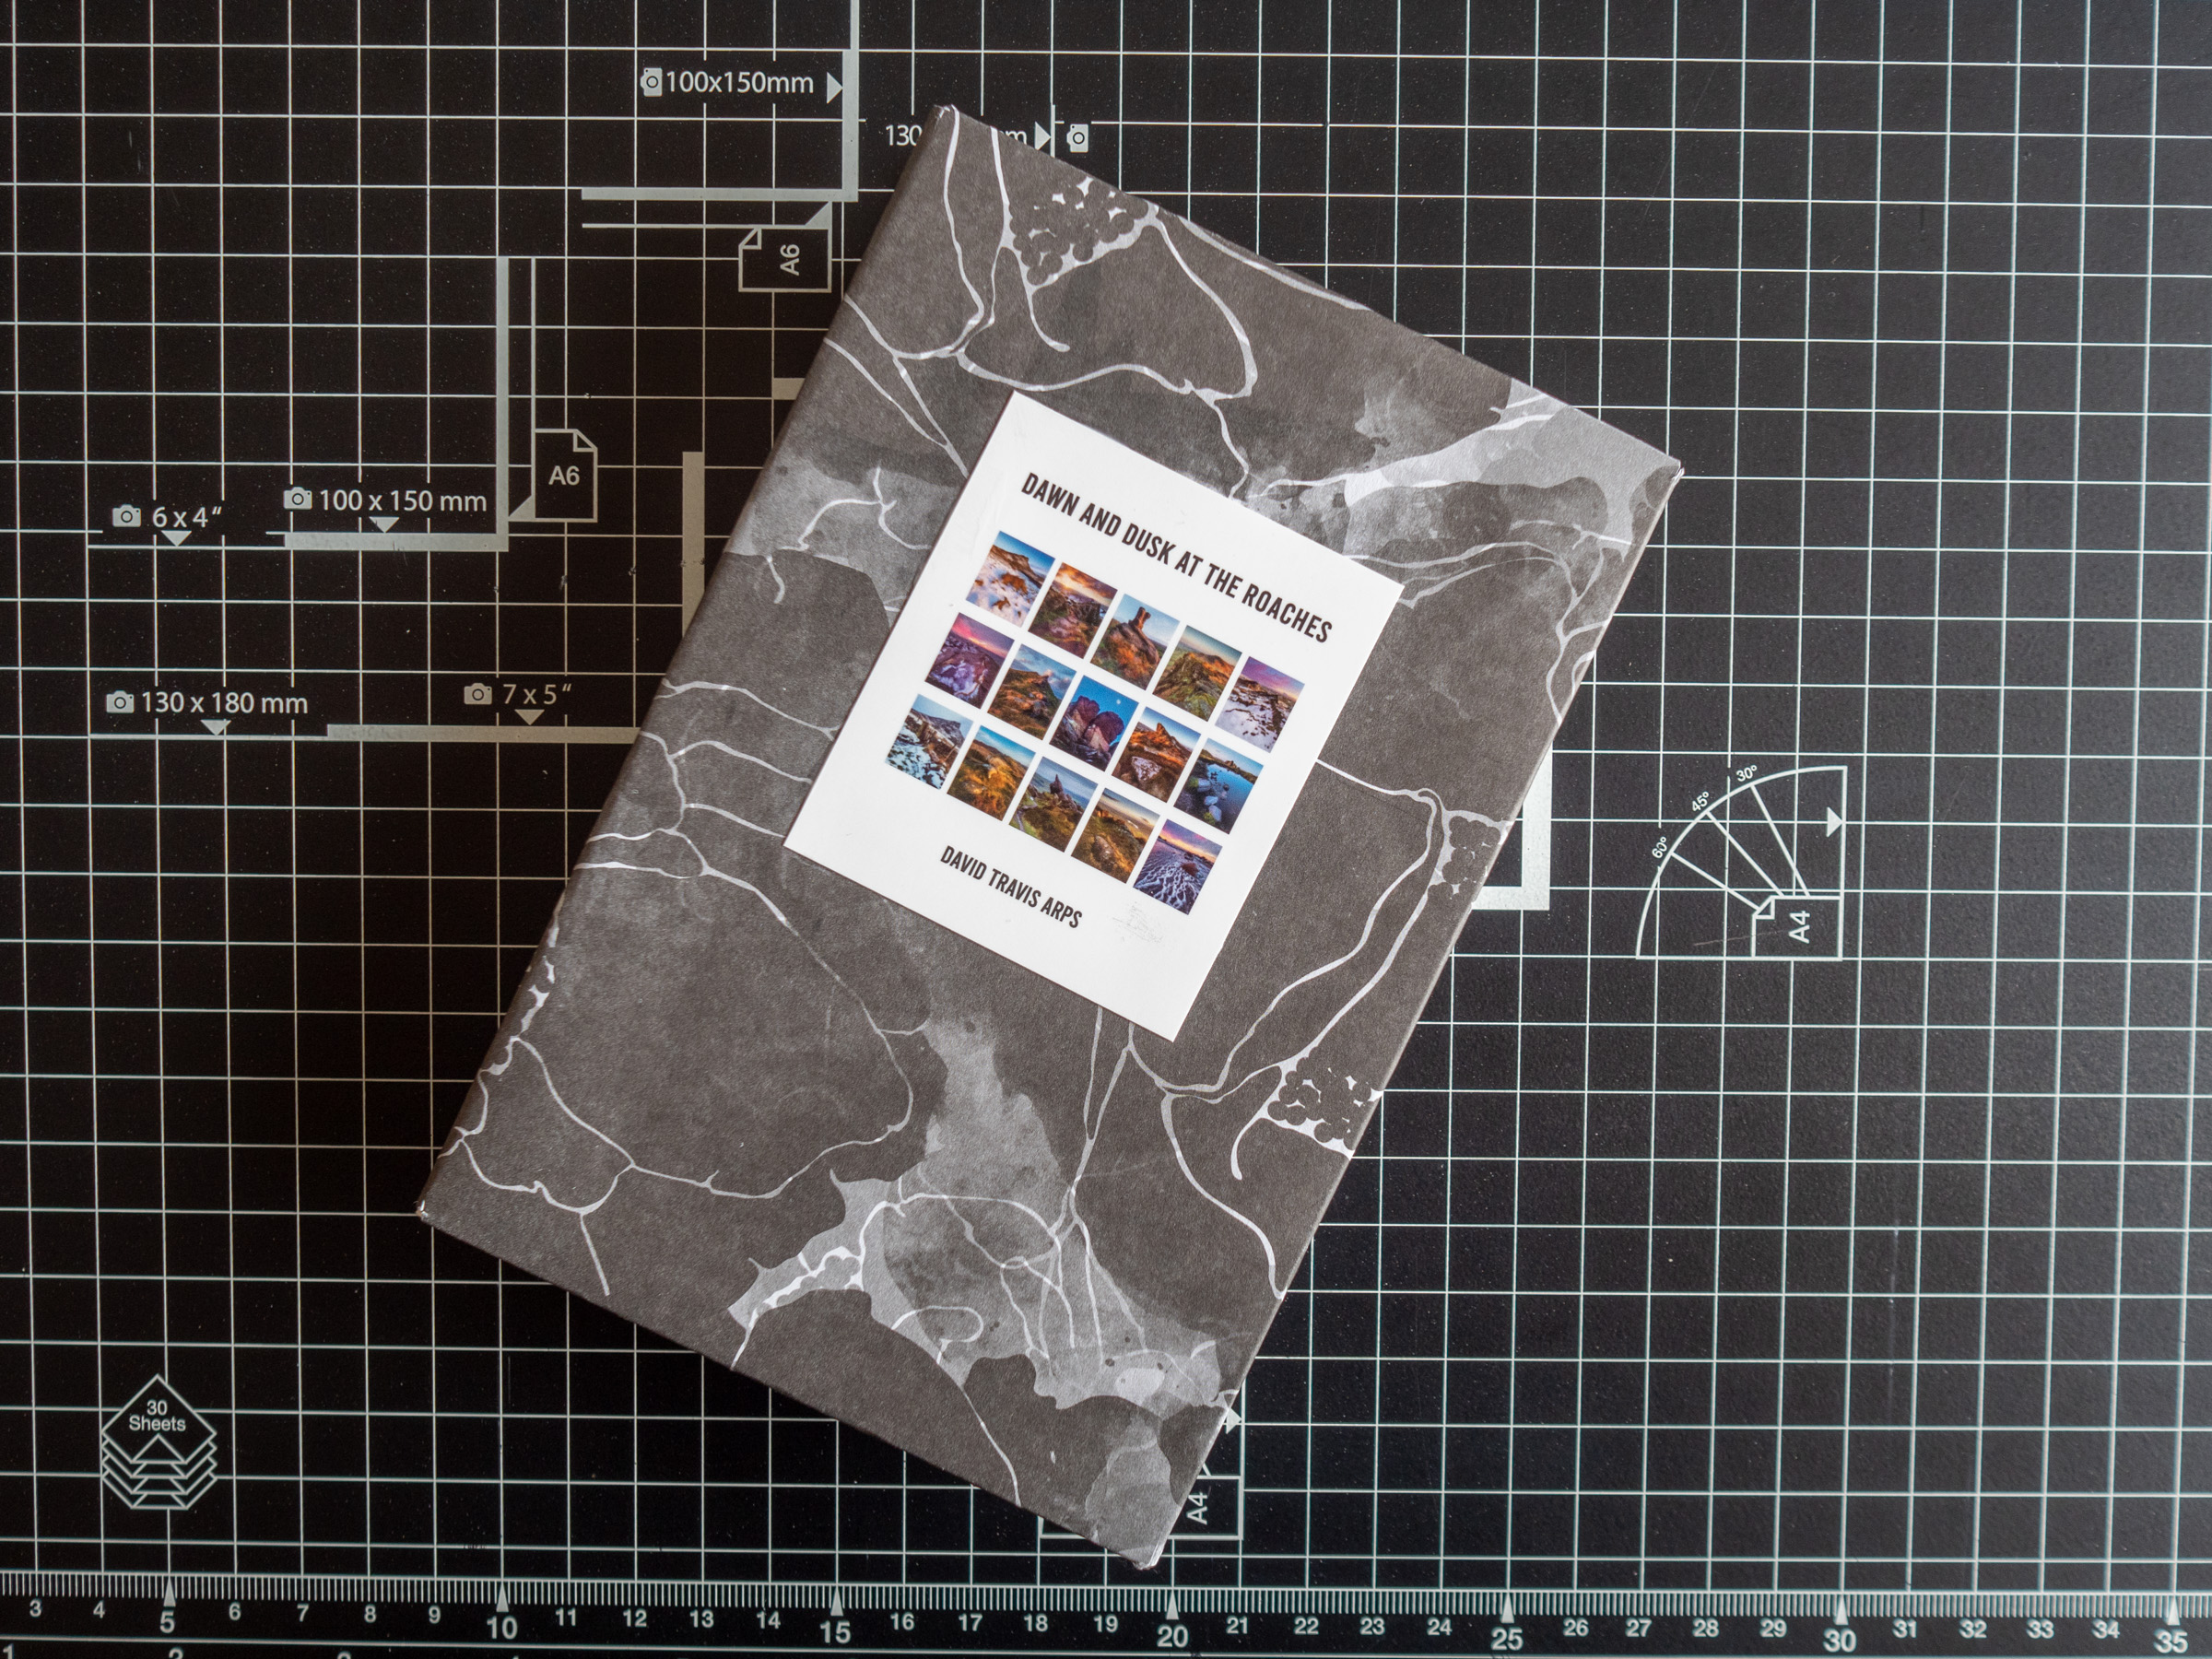
Here's the book completed.
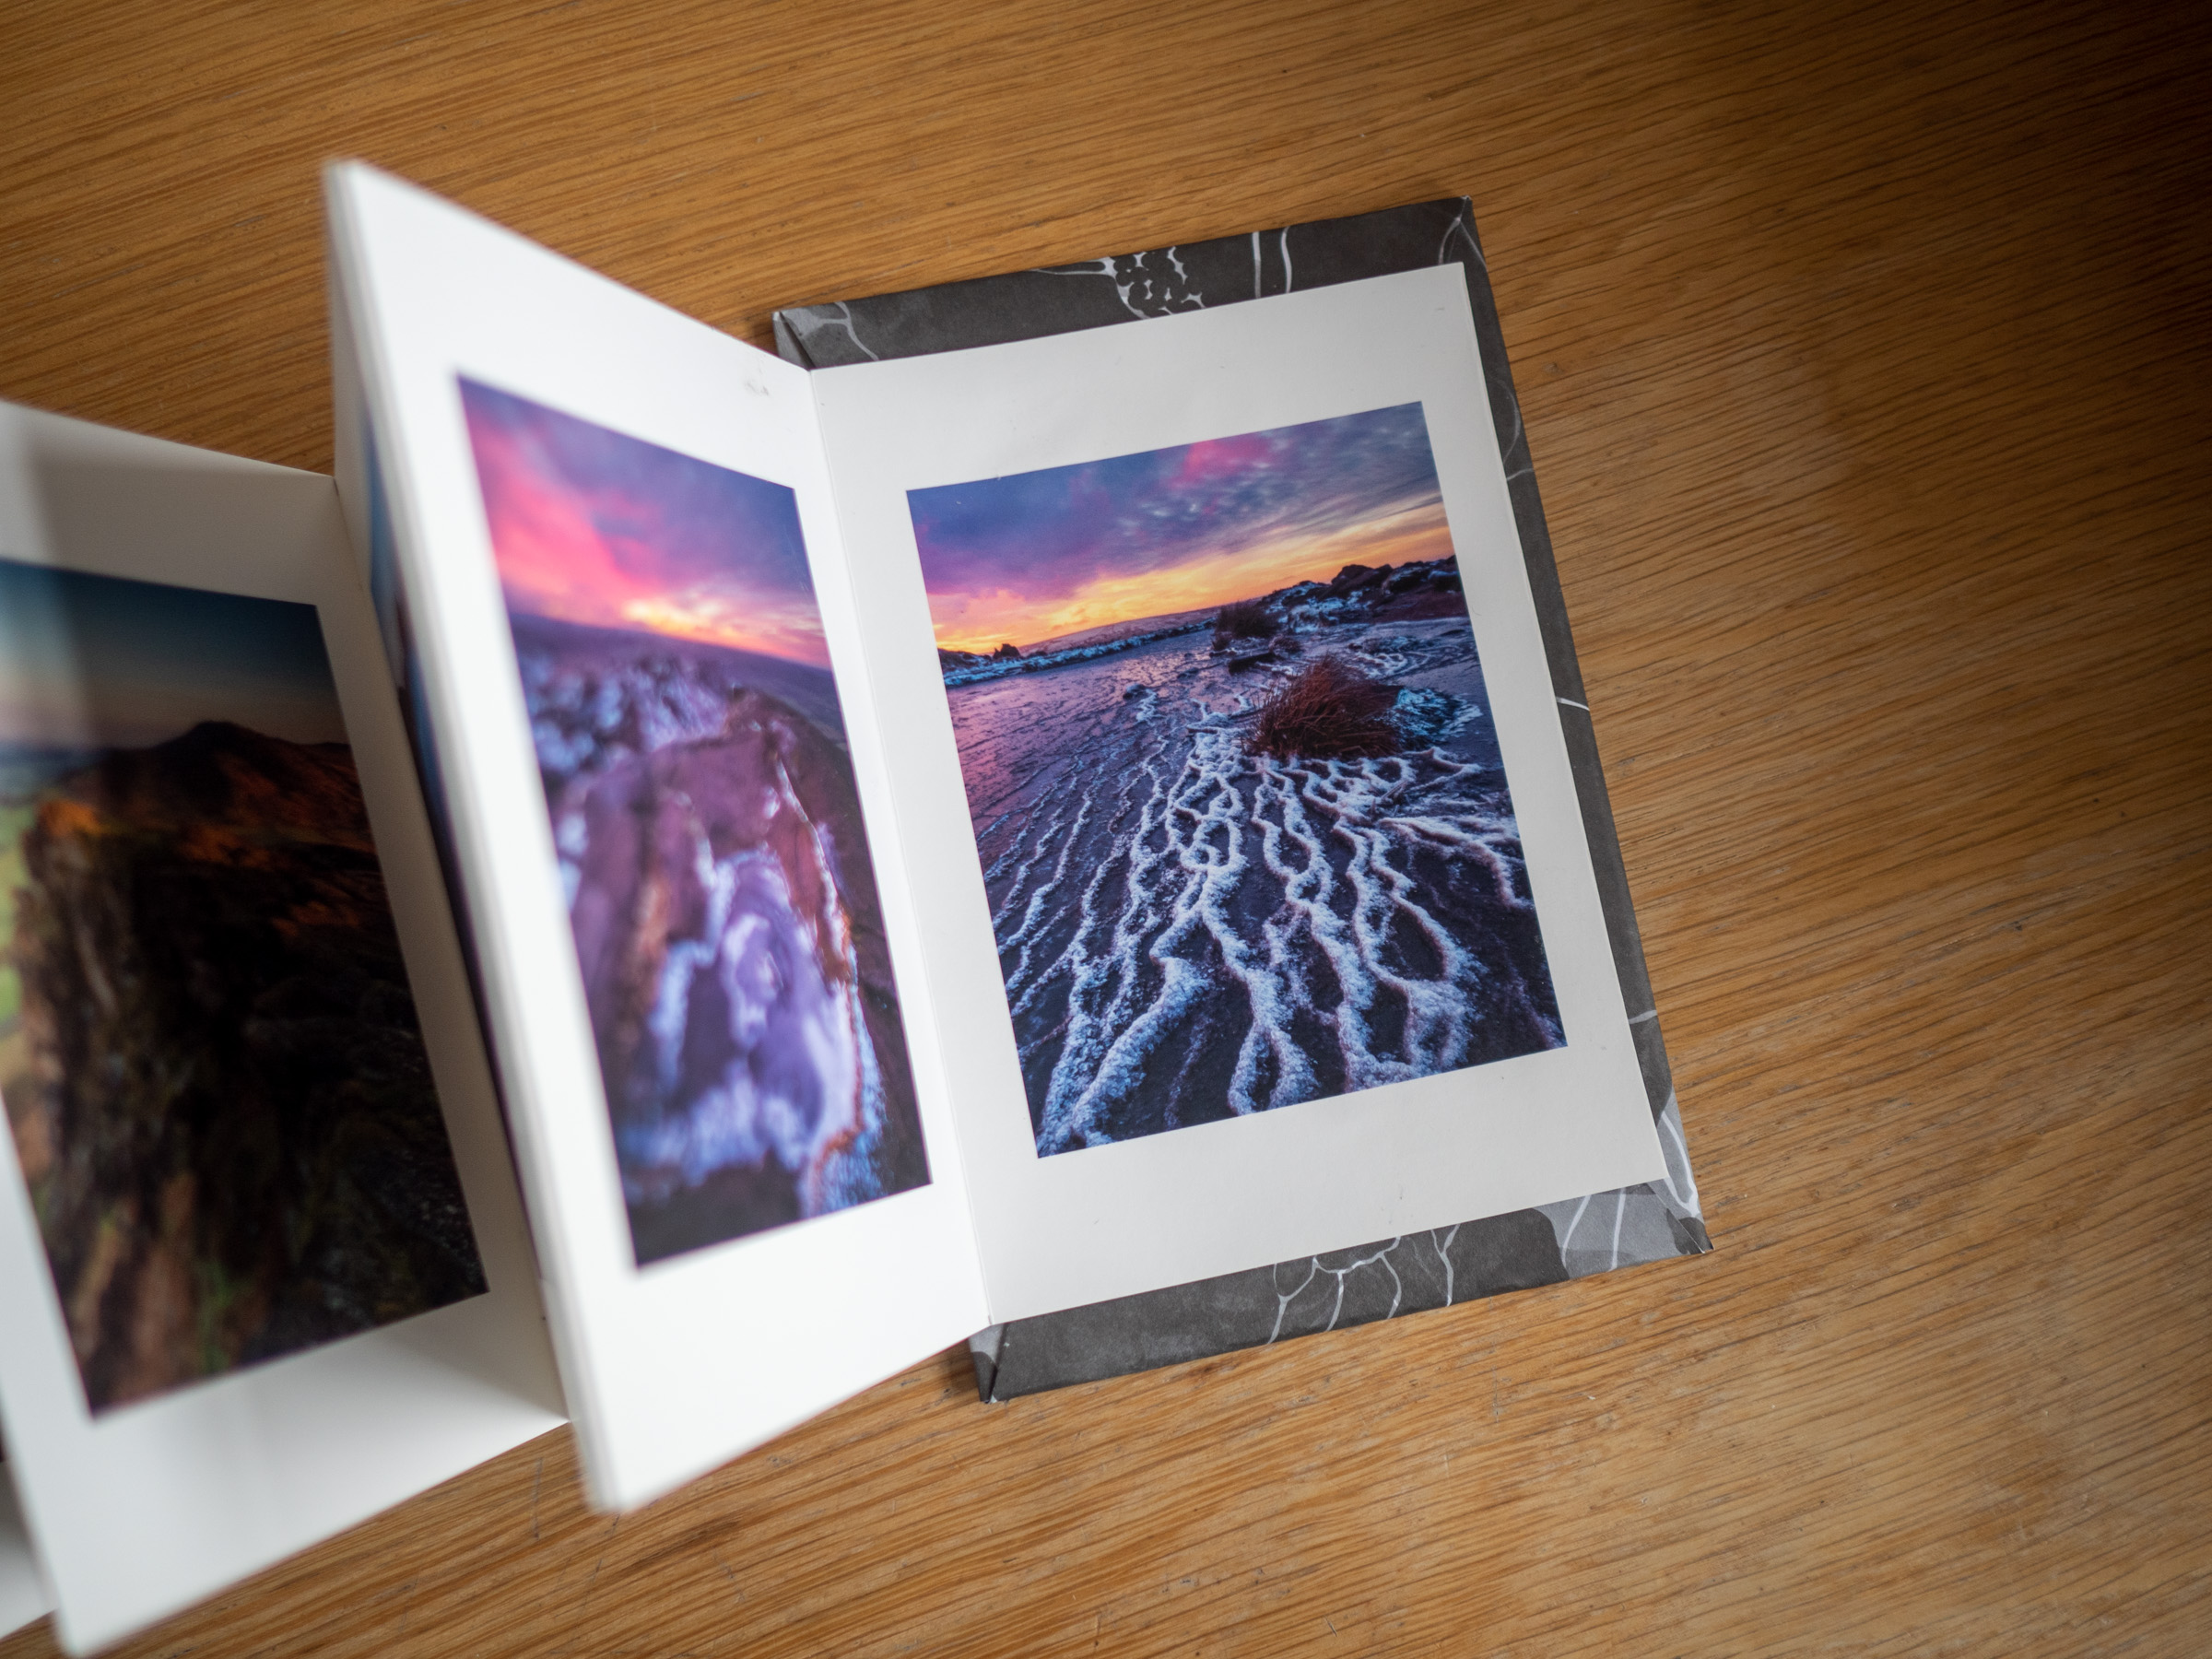
Finally, I print out a cover image on photo paper and stick it to the front cover.
Accordion books don’t want to stay folded at first so you need to persuade them to lay flat by placing them under something heavy for a few hours. My top tip (learnt from experience) is to postpone compressing the book until the glue has fully dried. Otherwise, the glue may leak onto other pages of your accordion.
Reflecting on this book, one thing I would prefer is to have the end pages (the pages glued to the covers) to be blank, like they are in a conventional book. I couldn’t leave out any of the images as it shows my ARPS panel, so the only way I could have done this was by adding an extra hinge. Adding an extra hinge for just two pages didn’t seem worth it at the time. I think I would also use smaller covers and cut the card so it is just slightly (2mm or so) larger than the paper. I think my covers are too big.
Once you get the hang of creating these, they are fast to make. This took about an hour to put together.