Introduction
In August, I organised a photography exhibition that contained 65 images from 25 photographers. Planning an exhibition has long been a goal of mine but I had no experience organising one. Here’s what I learnt.
Selling the initial idea
I raised the idea of an exhibition a year earlier when I was a committee member at my local photography club. I expected all of the committee members to be in favour but that wasn’t the case. One member raised concerns: Will committee members end up doing all the work if no-one from the club volunteers? Since most members favour digital images, will we get enough print submissions to make an exhibition viable? How much will it cost to print and mount the images? Who will steward the exhibition to prevent theft?
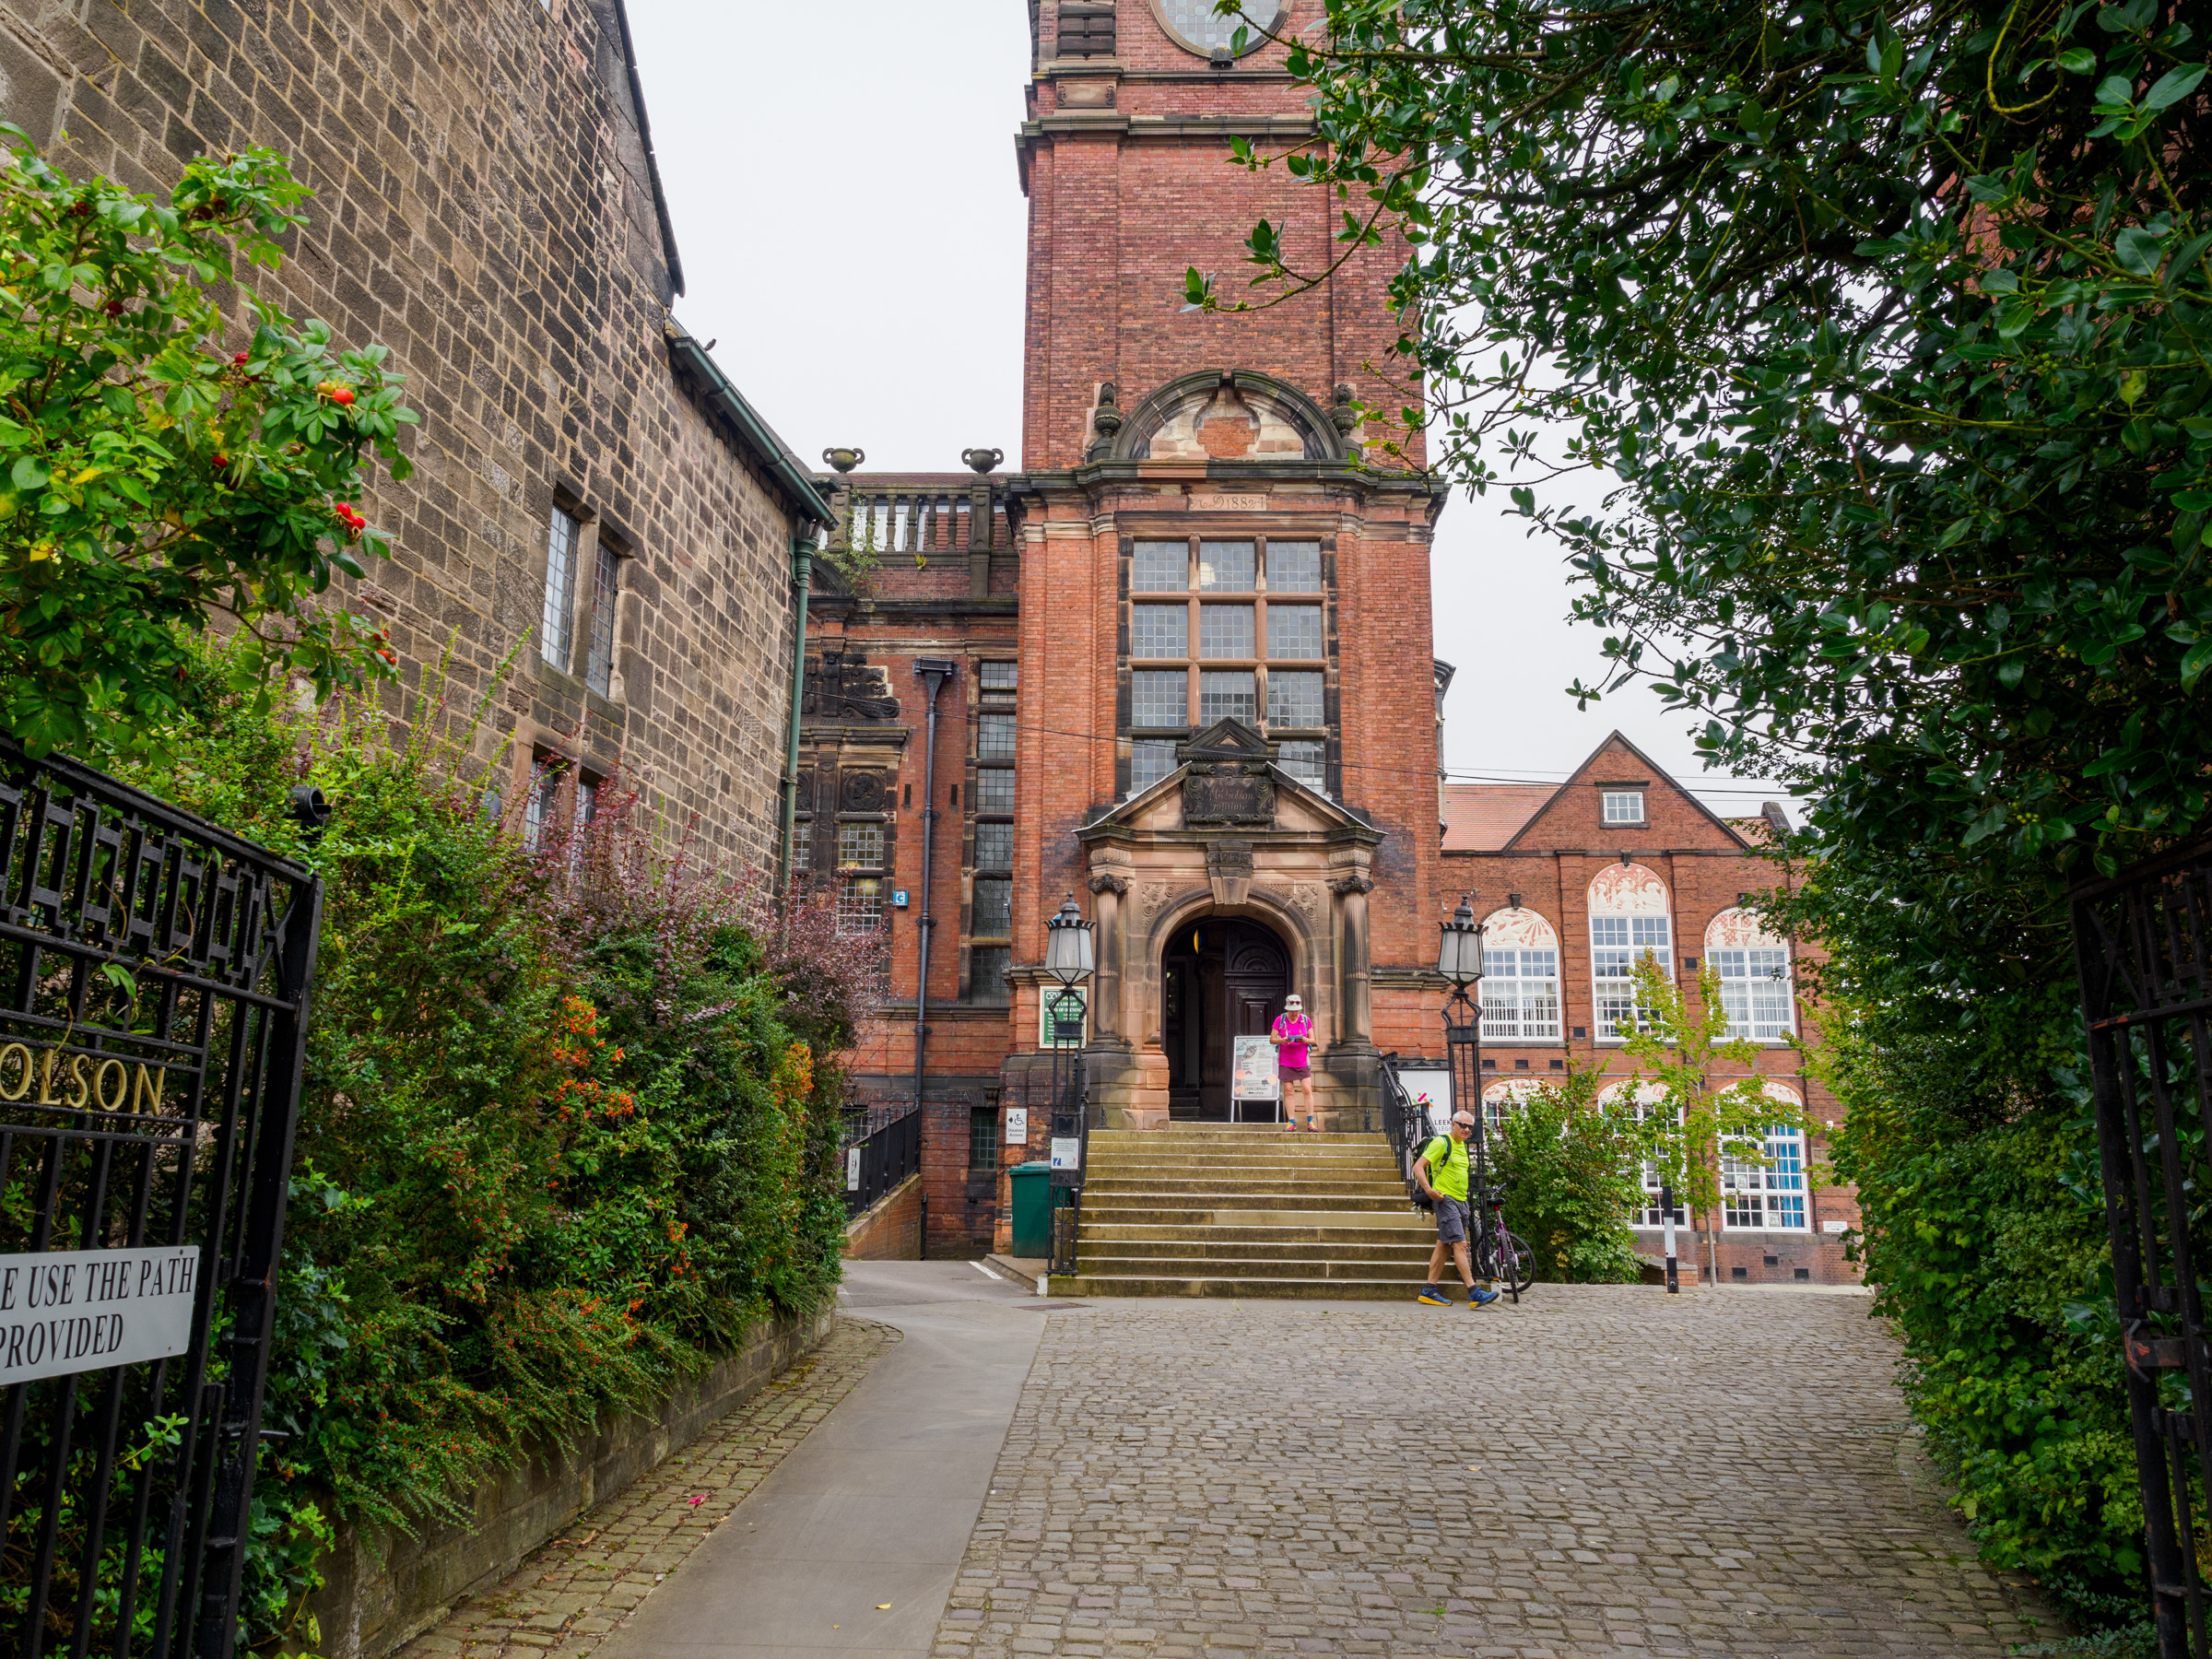
The Nicholson Institute in Leek.
Gaining sponsorship
I considered each of these valid objections and realised I could address some of them by obtaining financial sponsorship. I knew that my vision for the exhibition—about 30 images, mounted in identical, glass-fronted frames—would not be cheap. But if I could raise sponsorship to cover printing, mounting and framing the photographs then I thought that would address the objections about cost and workload.
My photography club is lucky to have a relationship with Petrofer, who are incredibly supportive of the printed image. So I contacted the MD with the idea. I provided an estimate of costs and I was delighted when we got the green light.
Recruiting volunteers
My next step was to find volunteers who would help select the images and hang them in the gallery. Contrary to the assertion that “no-one will volunteer”, over half the members of the club agreed to help. There was clearly a feel-good atmosphere surrounding the exhibition.
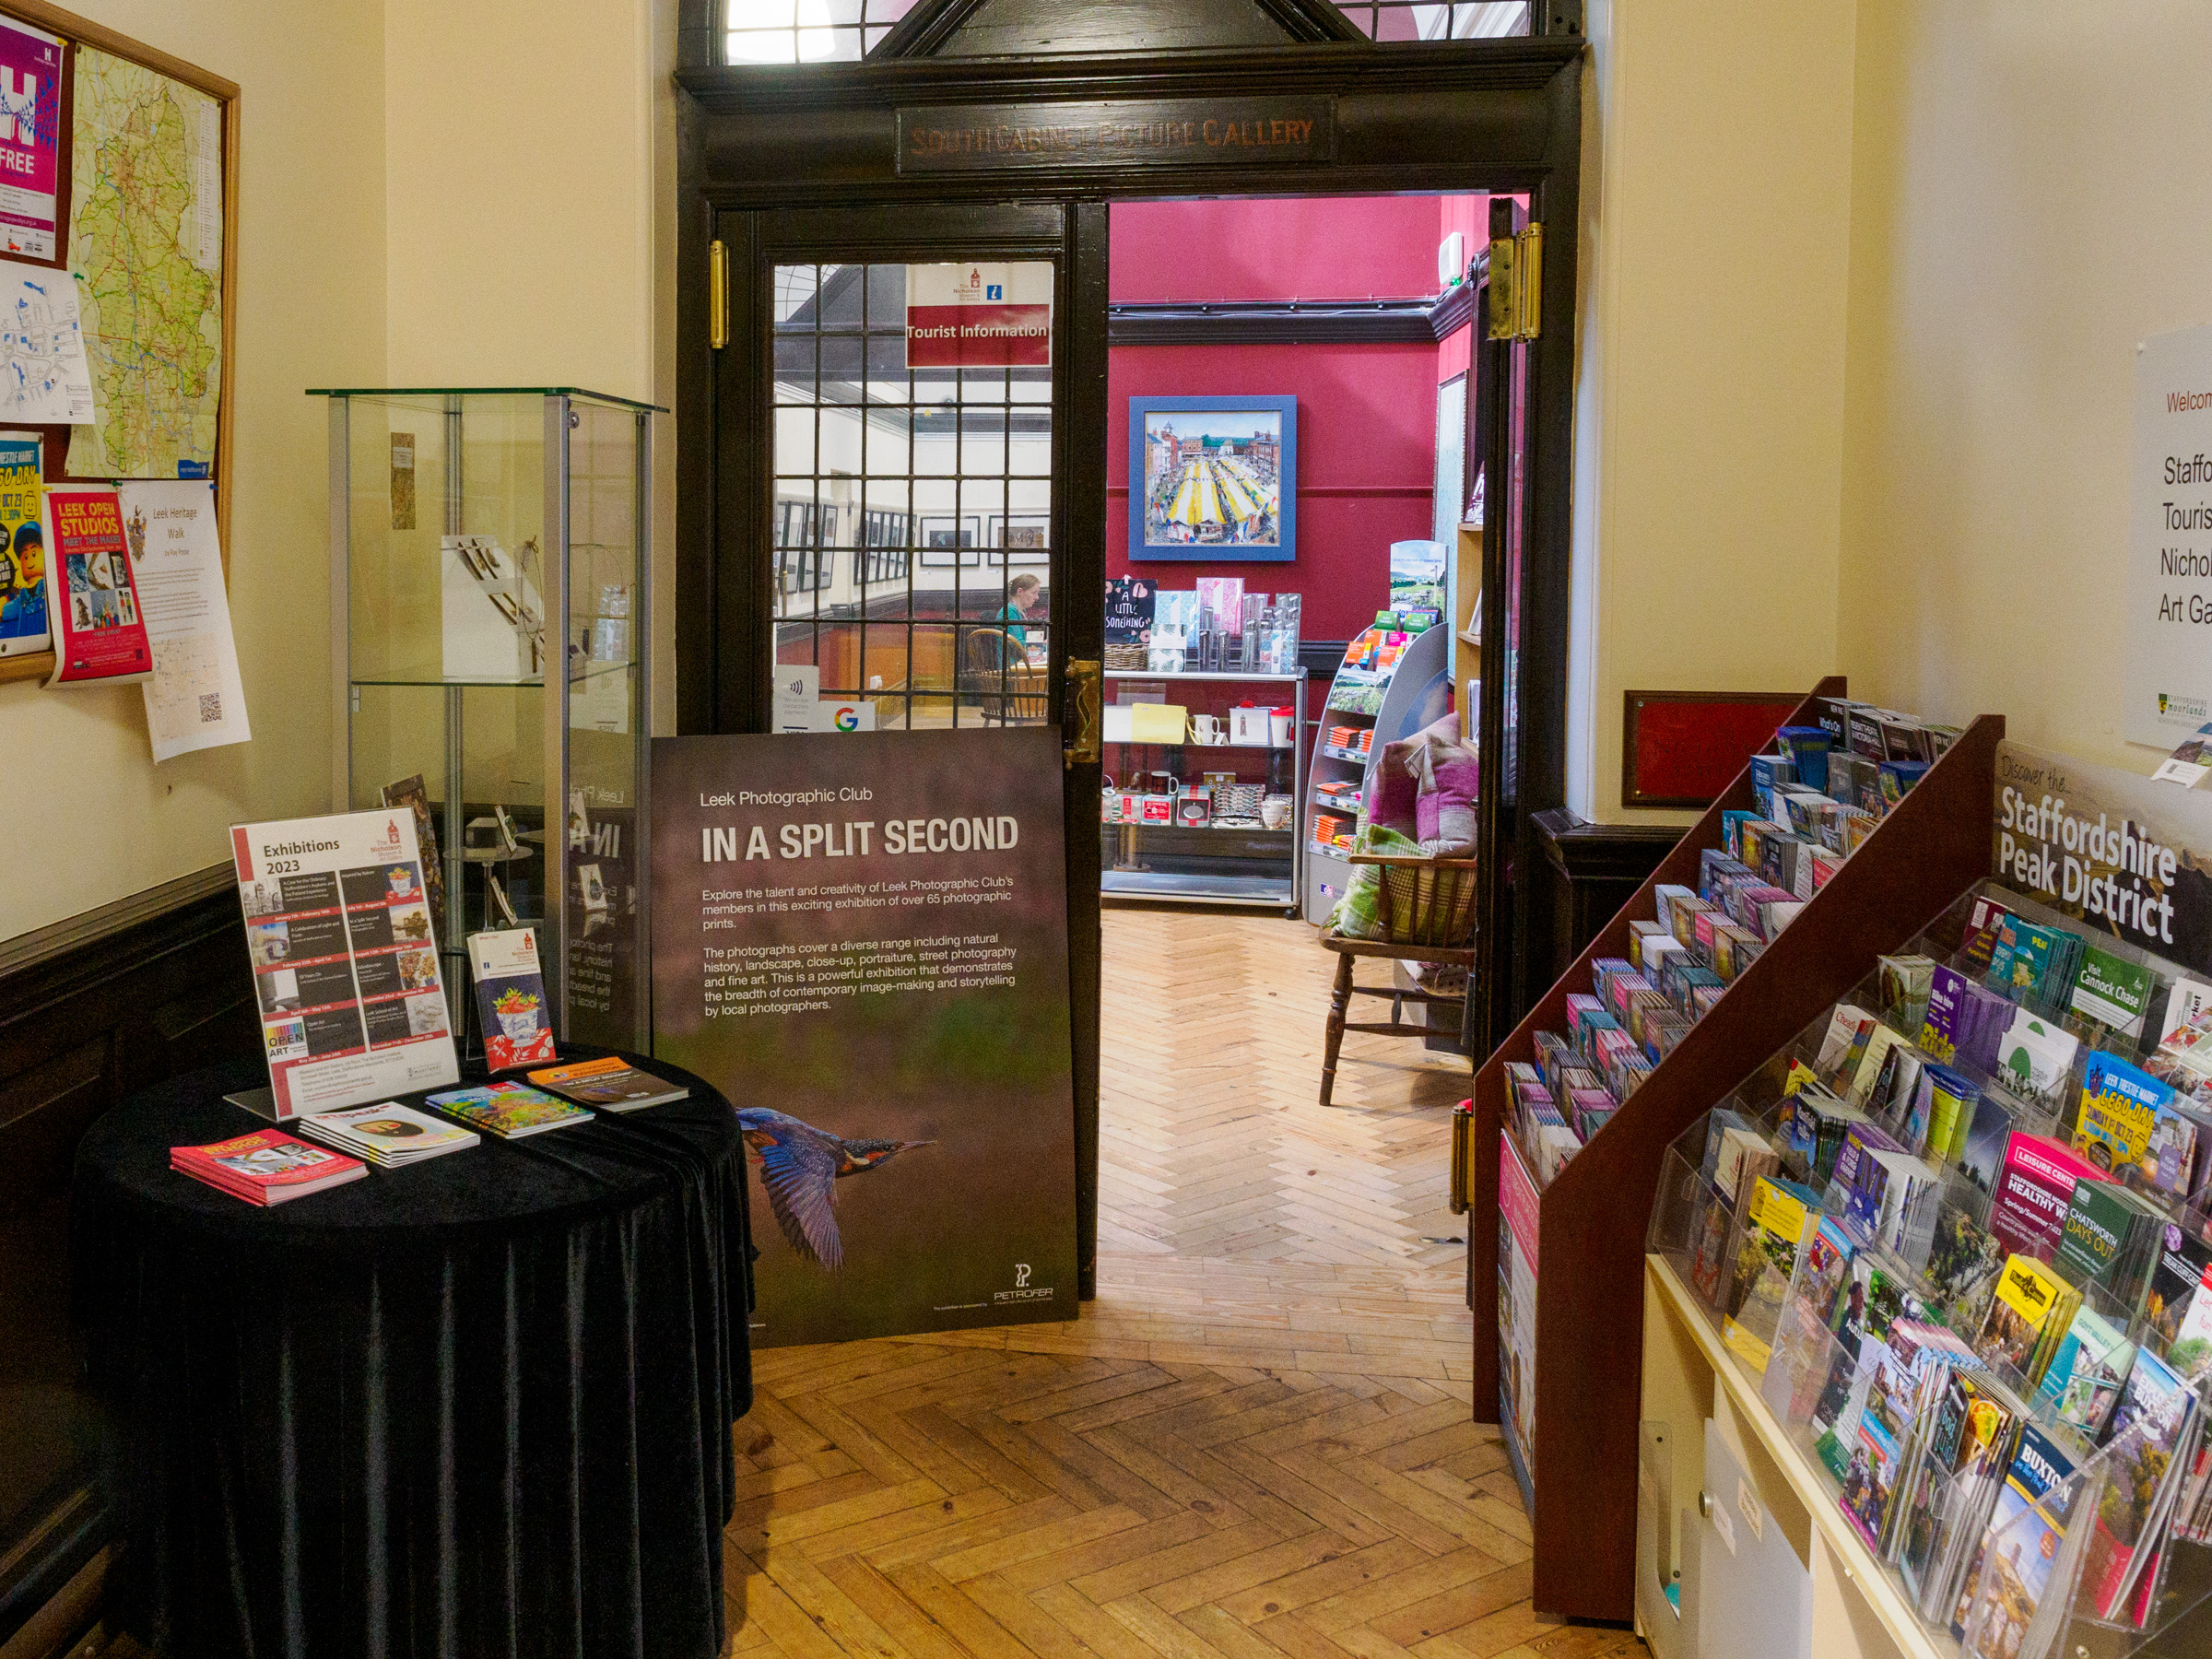
The entrance to the gallery.
Identifying a venue
I contacted the Nicholson Gallery in Leek as it regularly hosts exhibitions. It’s a local government building and a wonderful space to display photographs, with bags of natural light. At least one member of staff is always present during opening hours which meant we wouldn’t need to find volunteers to steward the exhibition. I contacted the gallery at just the right time as they were putting together their program for the following year.
To remind myself of the space, I visited the gallery with some volunteers. We quickly realised that my initial idea of 30 photographs was too few for the space. We would need more than double. Since my budget (and the sponsorship) was based on 30 images, I needed a different plan. I worked out that if the volunteers took on the grunt work of actually mounting and framing the prints then we could purchase more frames.
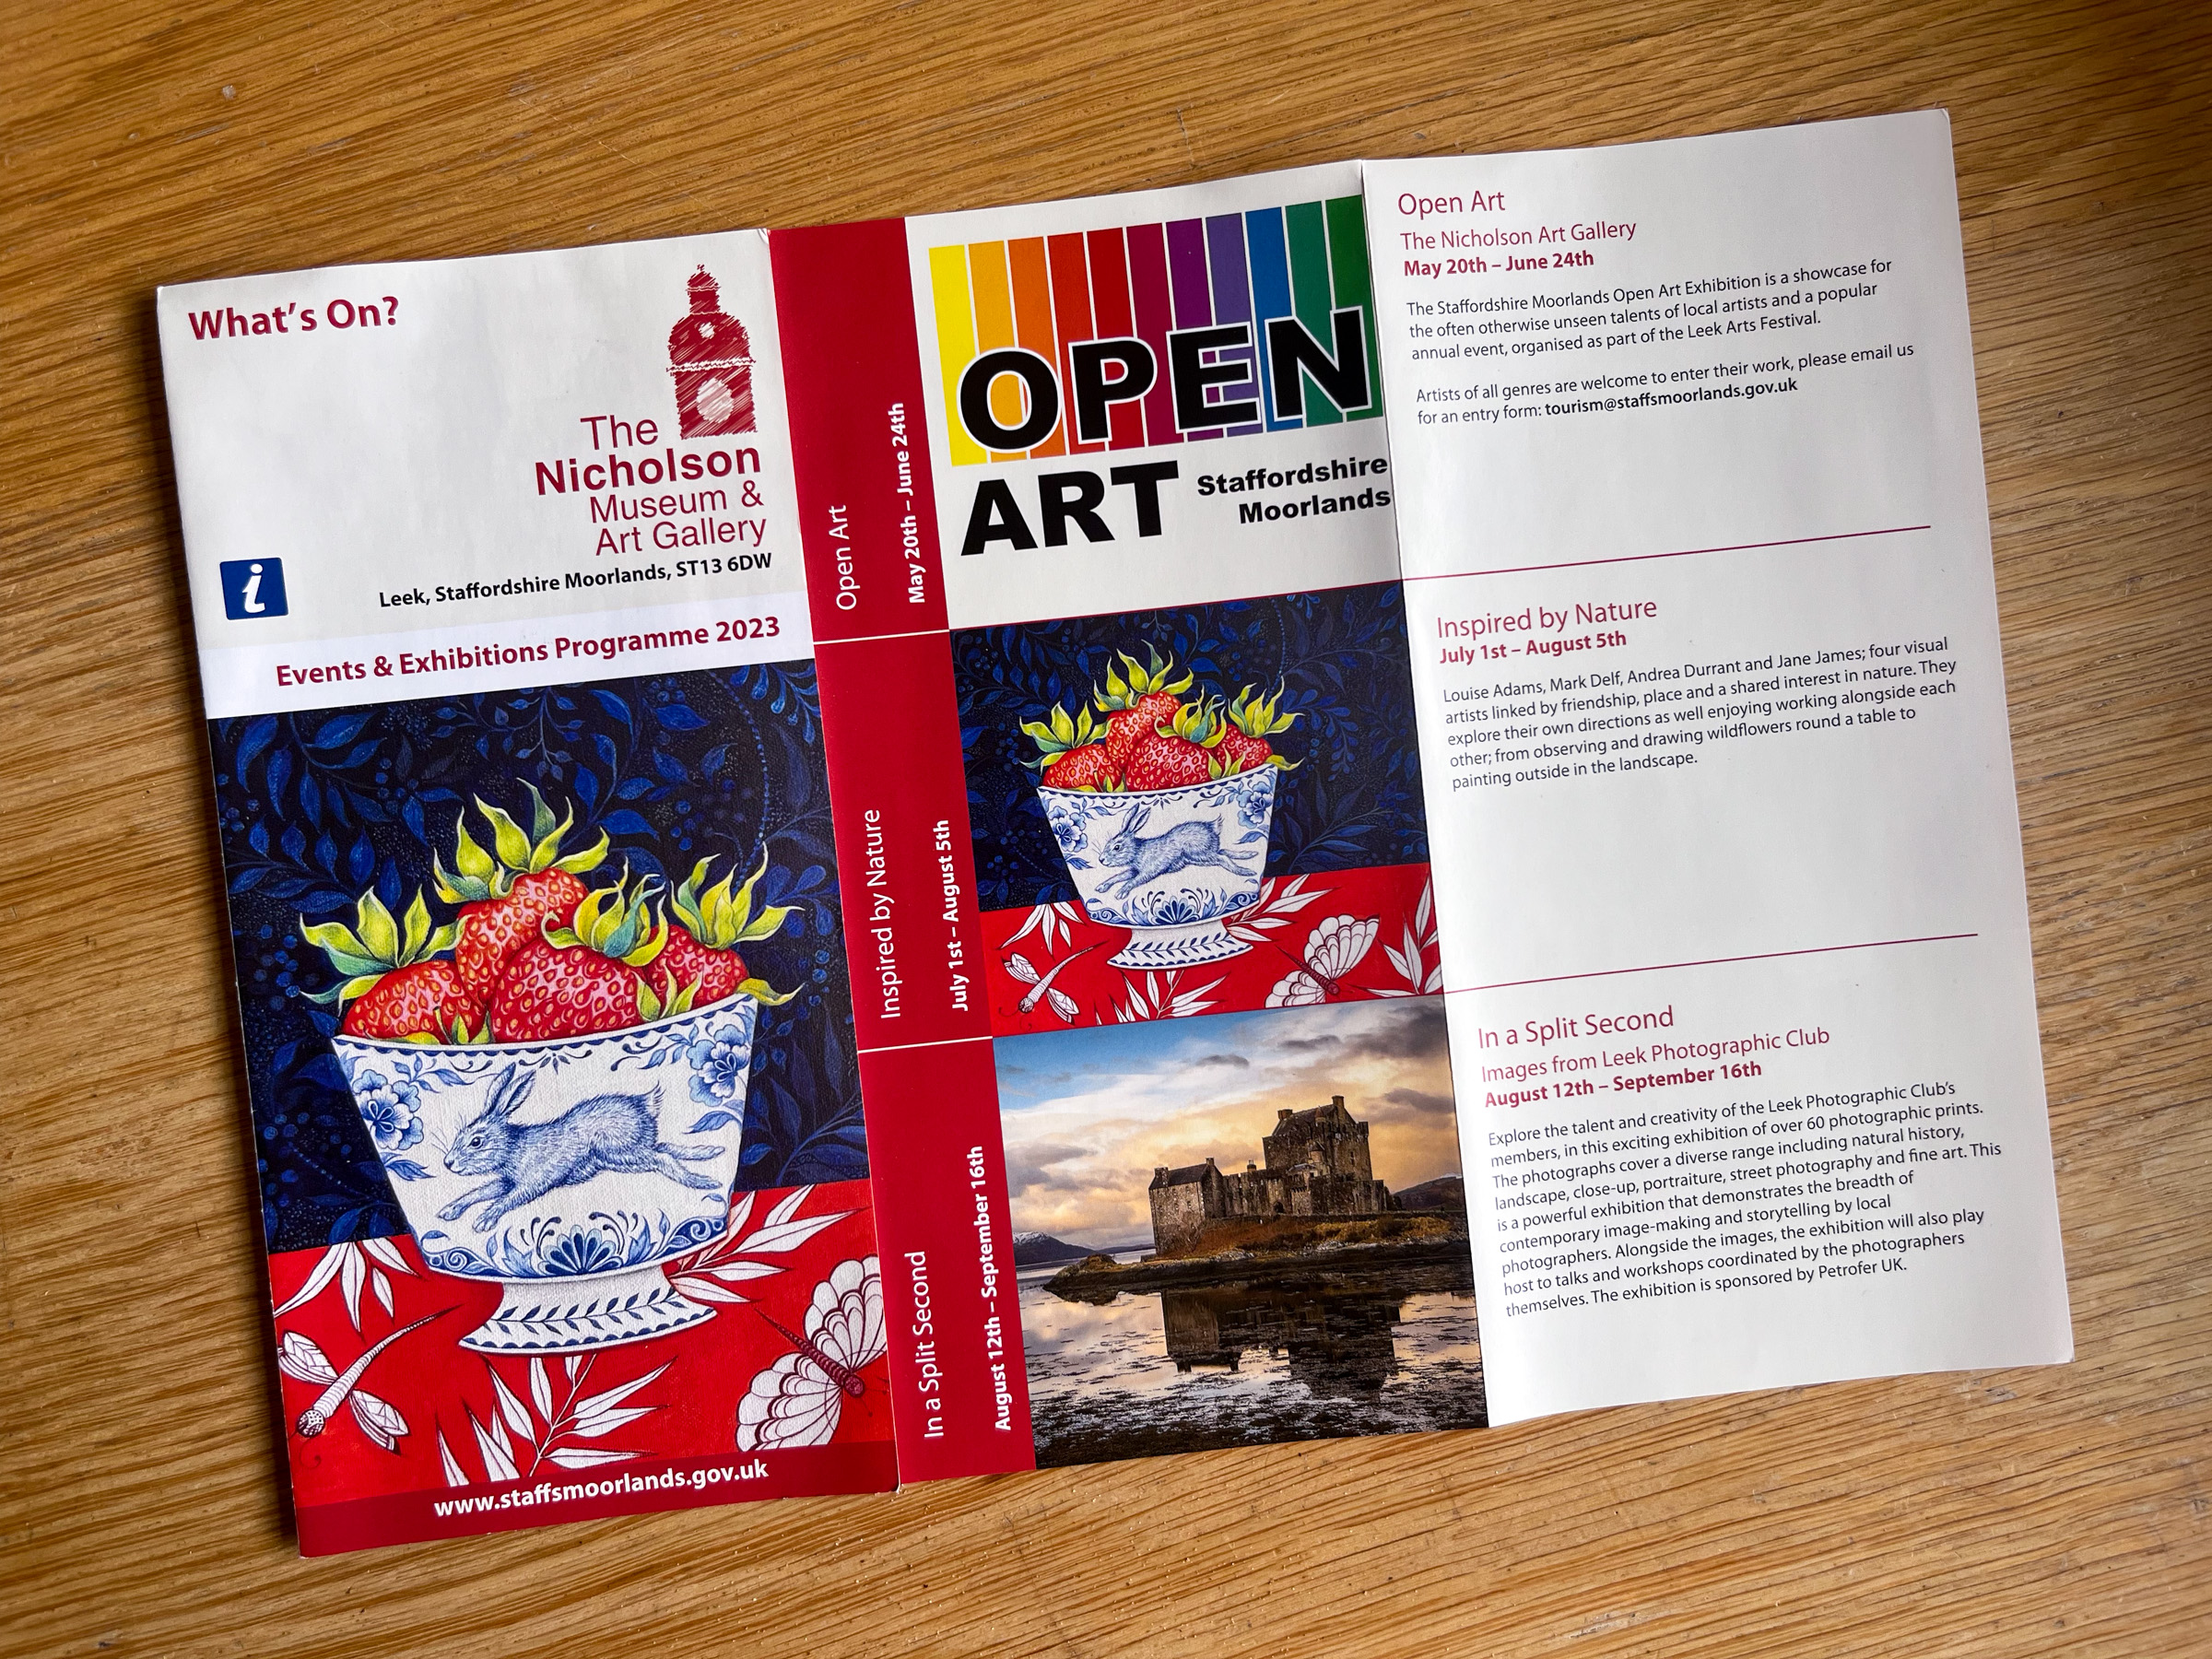
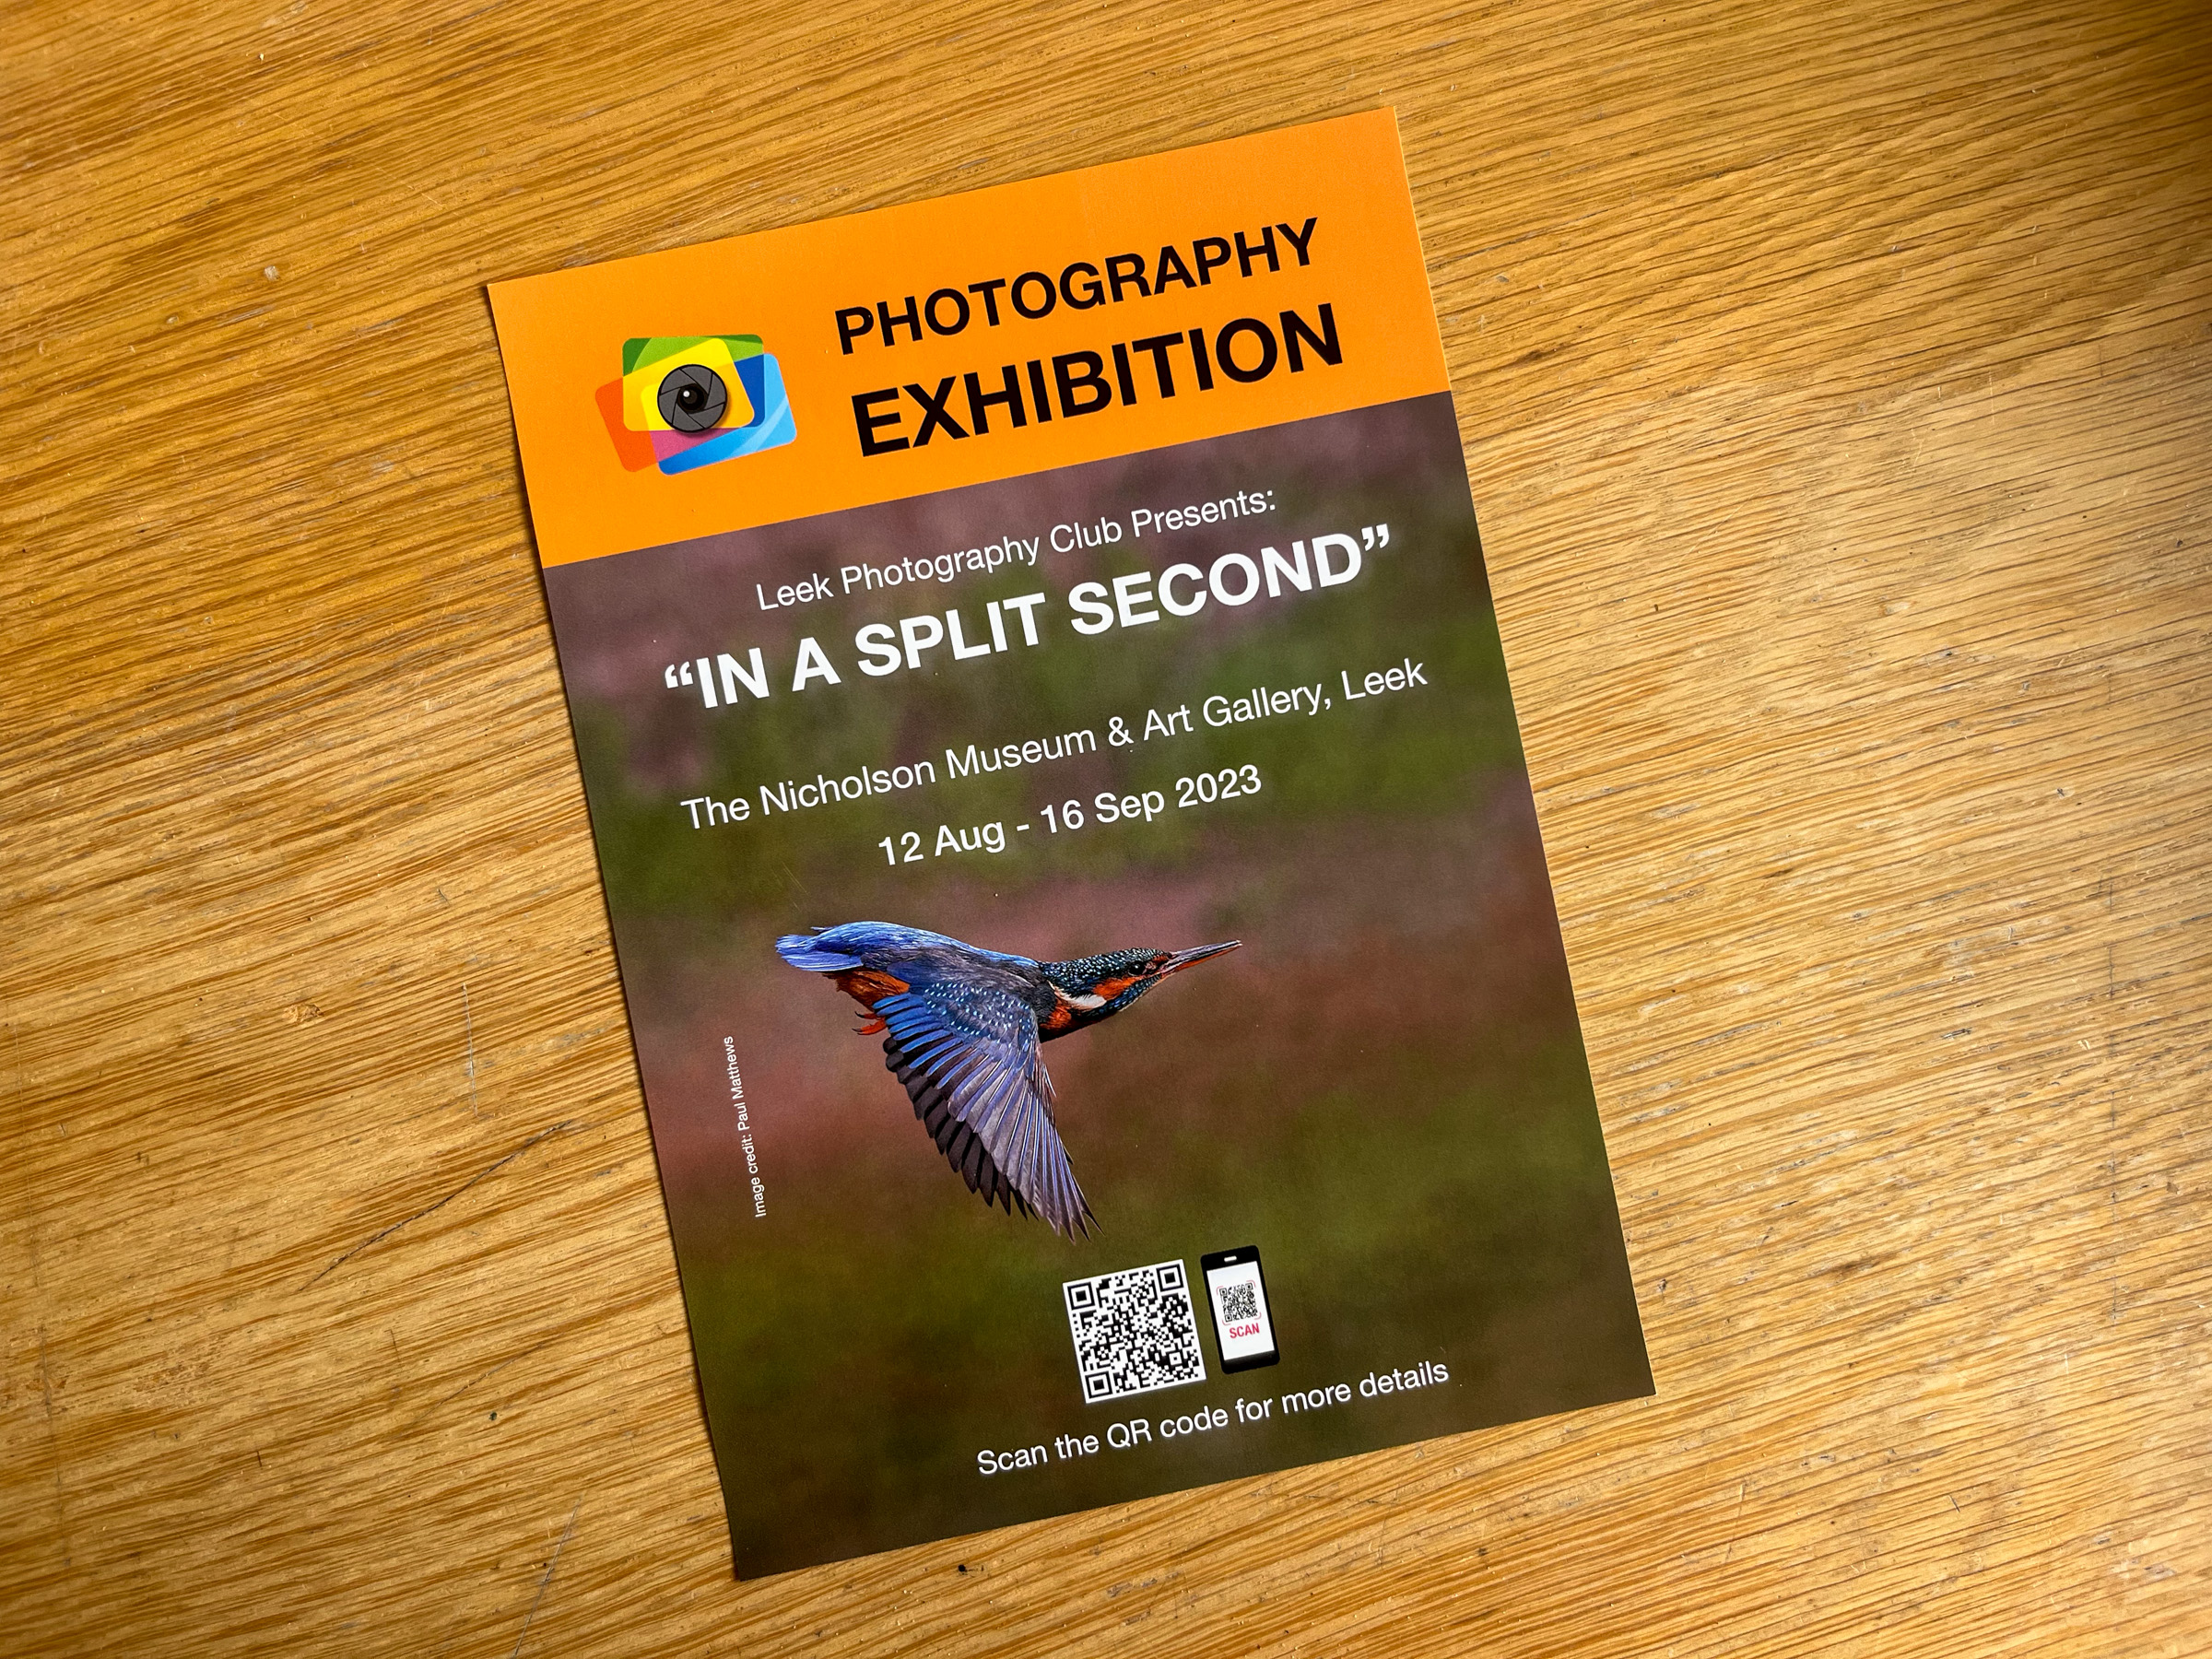
A flyer produced by the Nicholson Gallery featuring the exhibition, 'In a Split Second'.
Selecting the images
I wanted the exhibition to showcase the very best images from club members but I also wanted it to be inclusive. So I asked each member to submit up to six images for consideration. In total, we had 142 images sent in for consideration.
I sent thumbnails of the images to the volunteers and I asked them to select one image per photographer that they think should make the cut. I then set up a working group of 5 members whose job was to make the final selection of images. This was to make sure that the images formed a cohesive group.
Rather than crowd around a screen, we made the final selection by reviewing 6” x 4” prints. We also used the prints to decide on a detailed hanging plan for the exhibition.
Once we had the hanging plan, I got full size prints made (each was around 16” x 12”). Some members printed their own images but the majority (about 65%) were printed by a lab. The quality of the lab prints was OK but they were noticeably lower quality than the prints members had made themselves. One of the lab prints had to be discarded as it didn’t meet the quality standard we had set (although this was due to the quality of the original image rather than the printing).
Mounting and framing the images
I had initially planned to hold a framing day where volunteers from the club would cut mounts, clean the glass, frame the images and do a final quality check. But it proved difficult to organise and I found it easier to do this myself. It wan’t a trivial undertaking but after about three days I emerged blinking from my office with 65 mounted and framed prints.
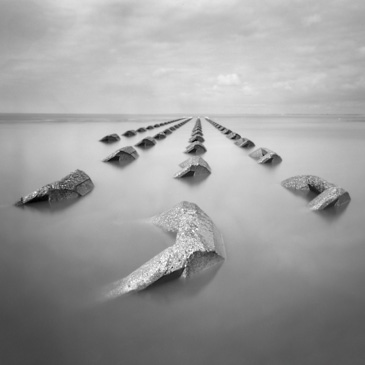
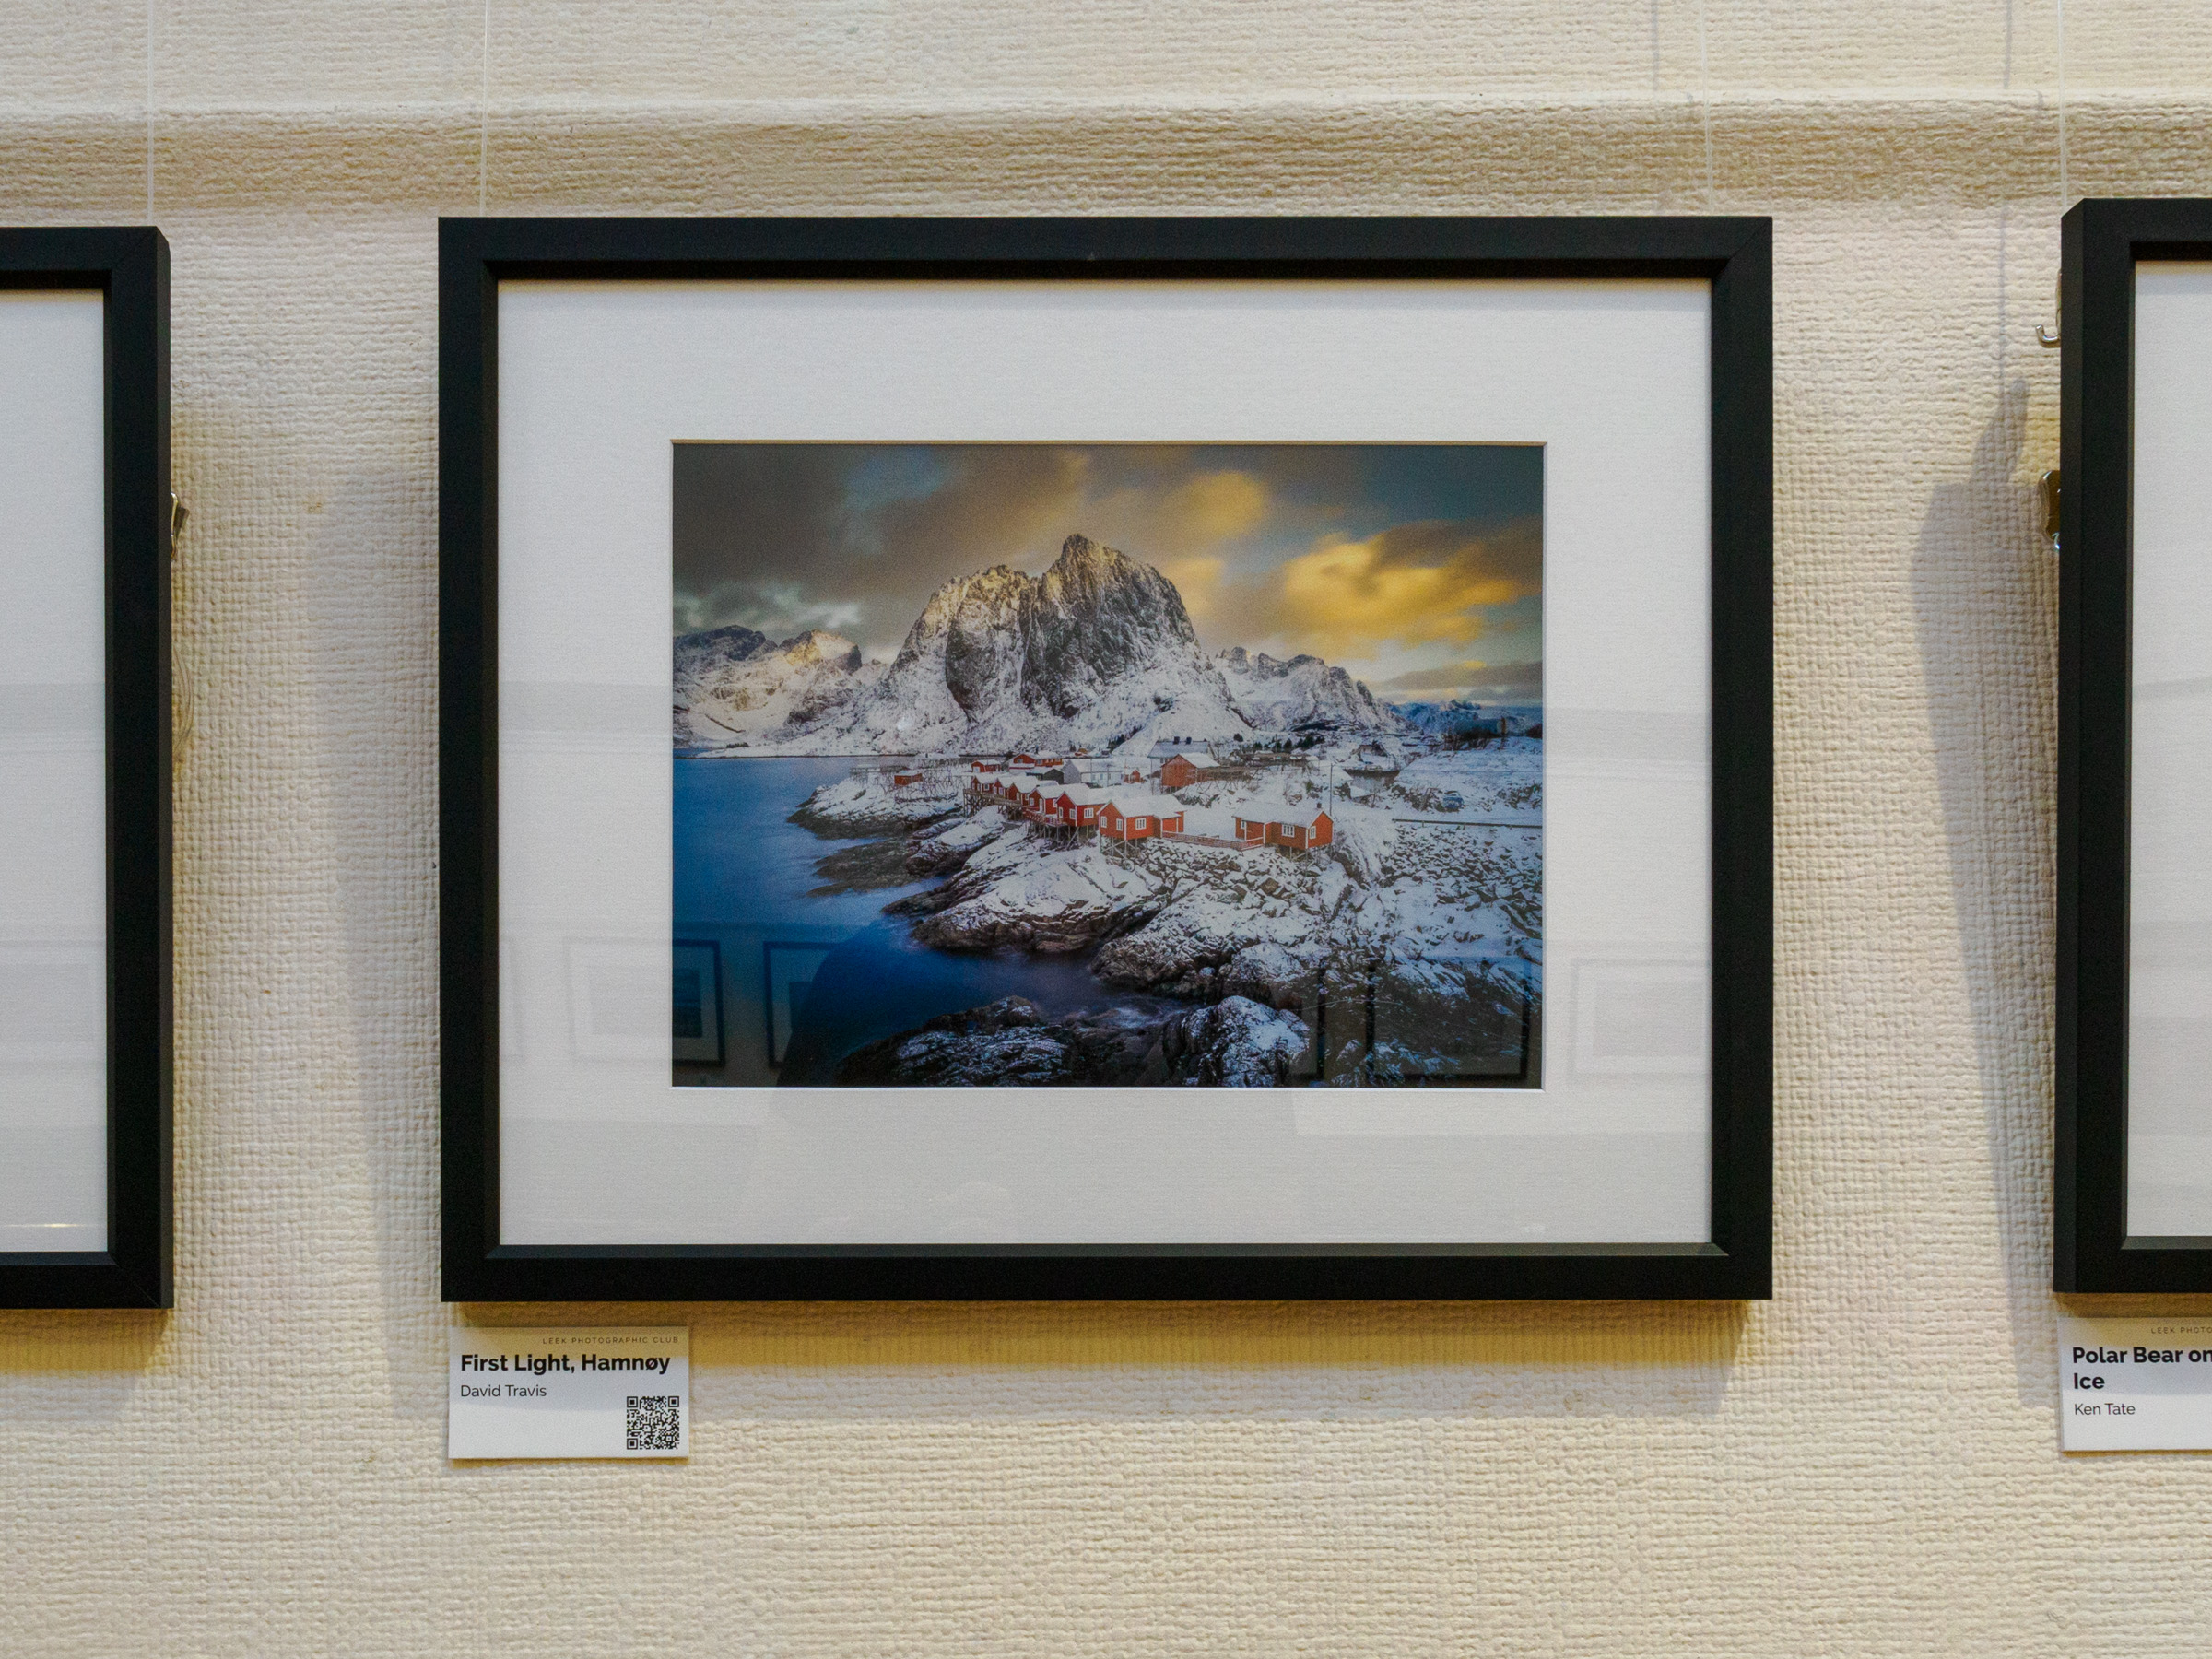
One of my photographs in the exhibition. It’s hard to capture the quality of the frames in a photograph but they were excellent.
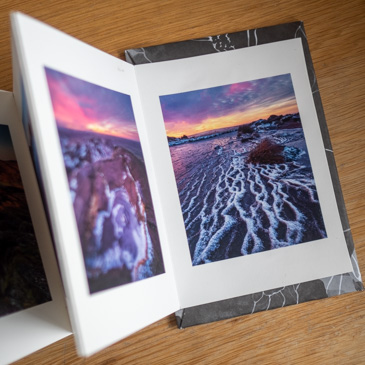
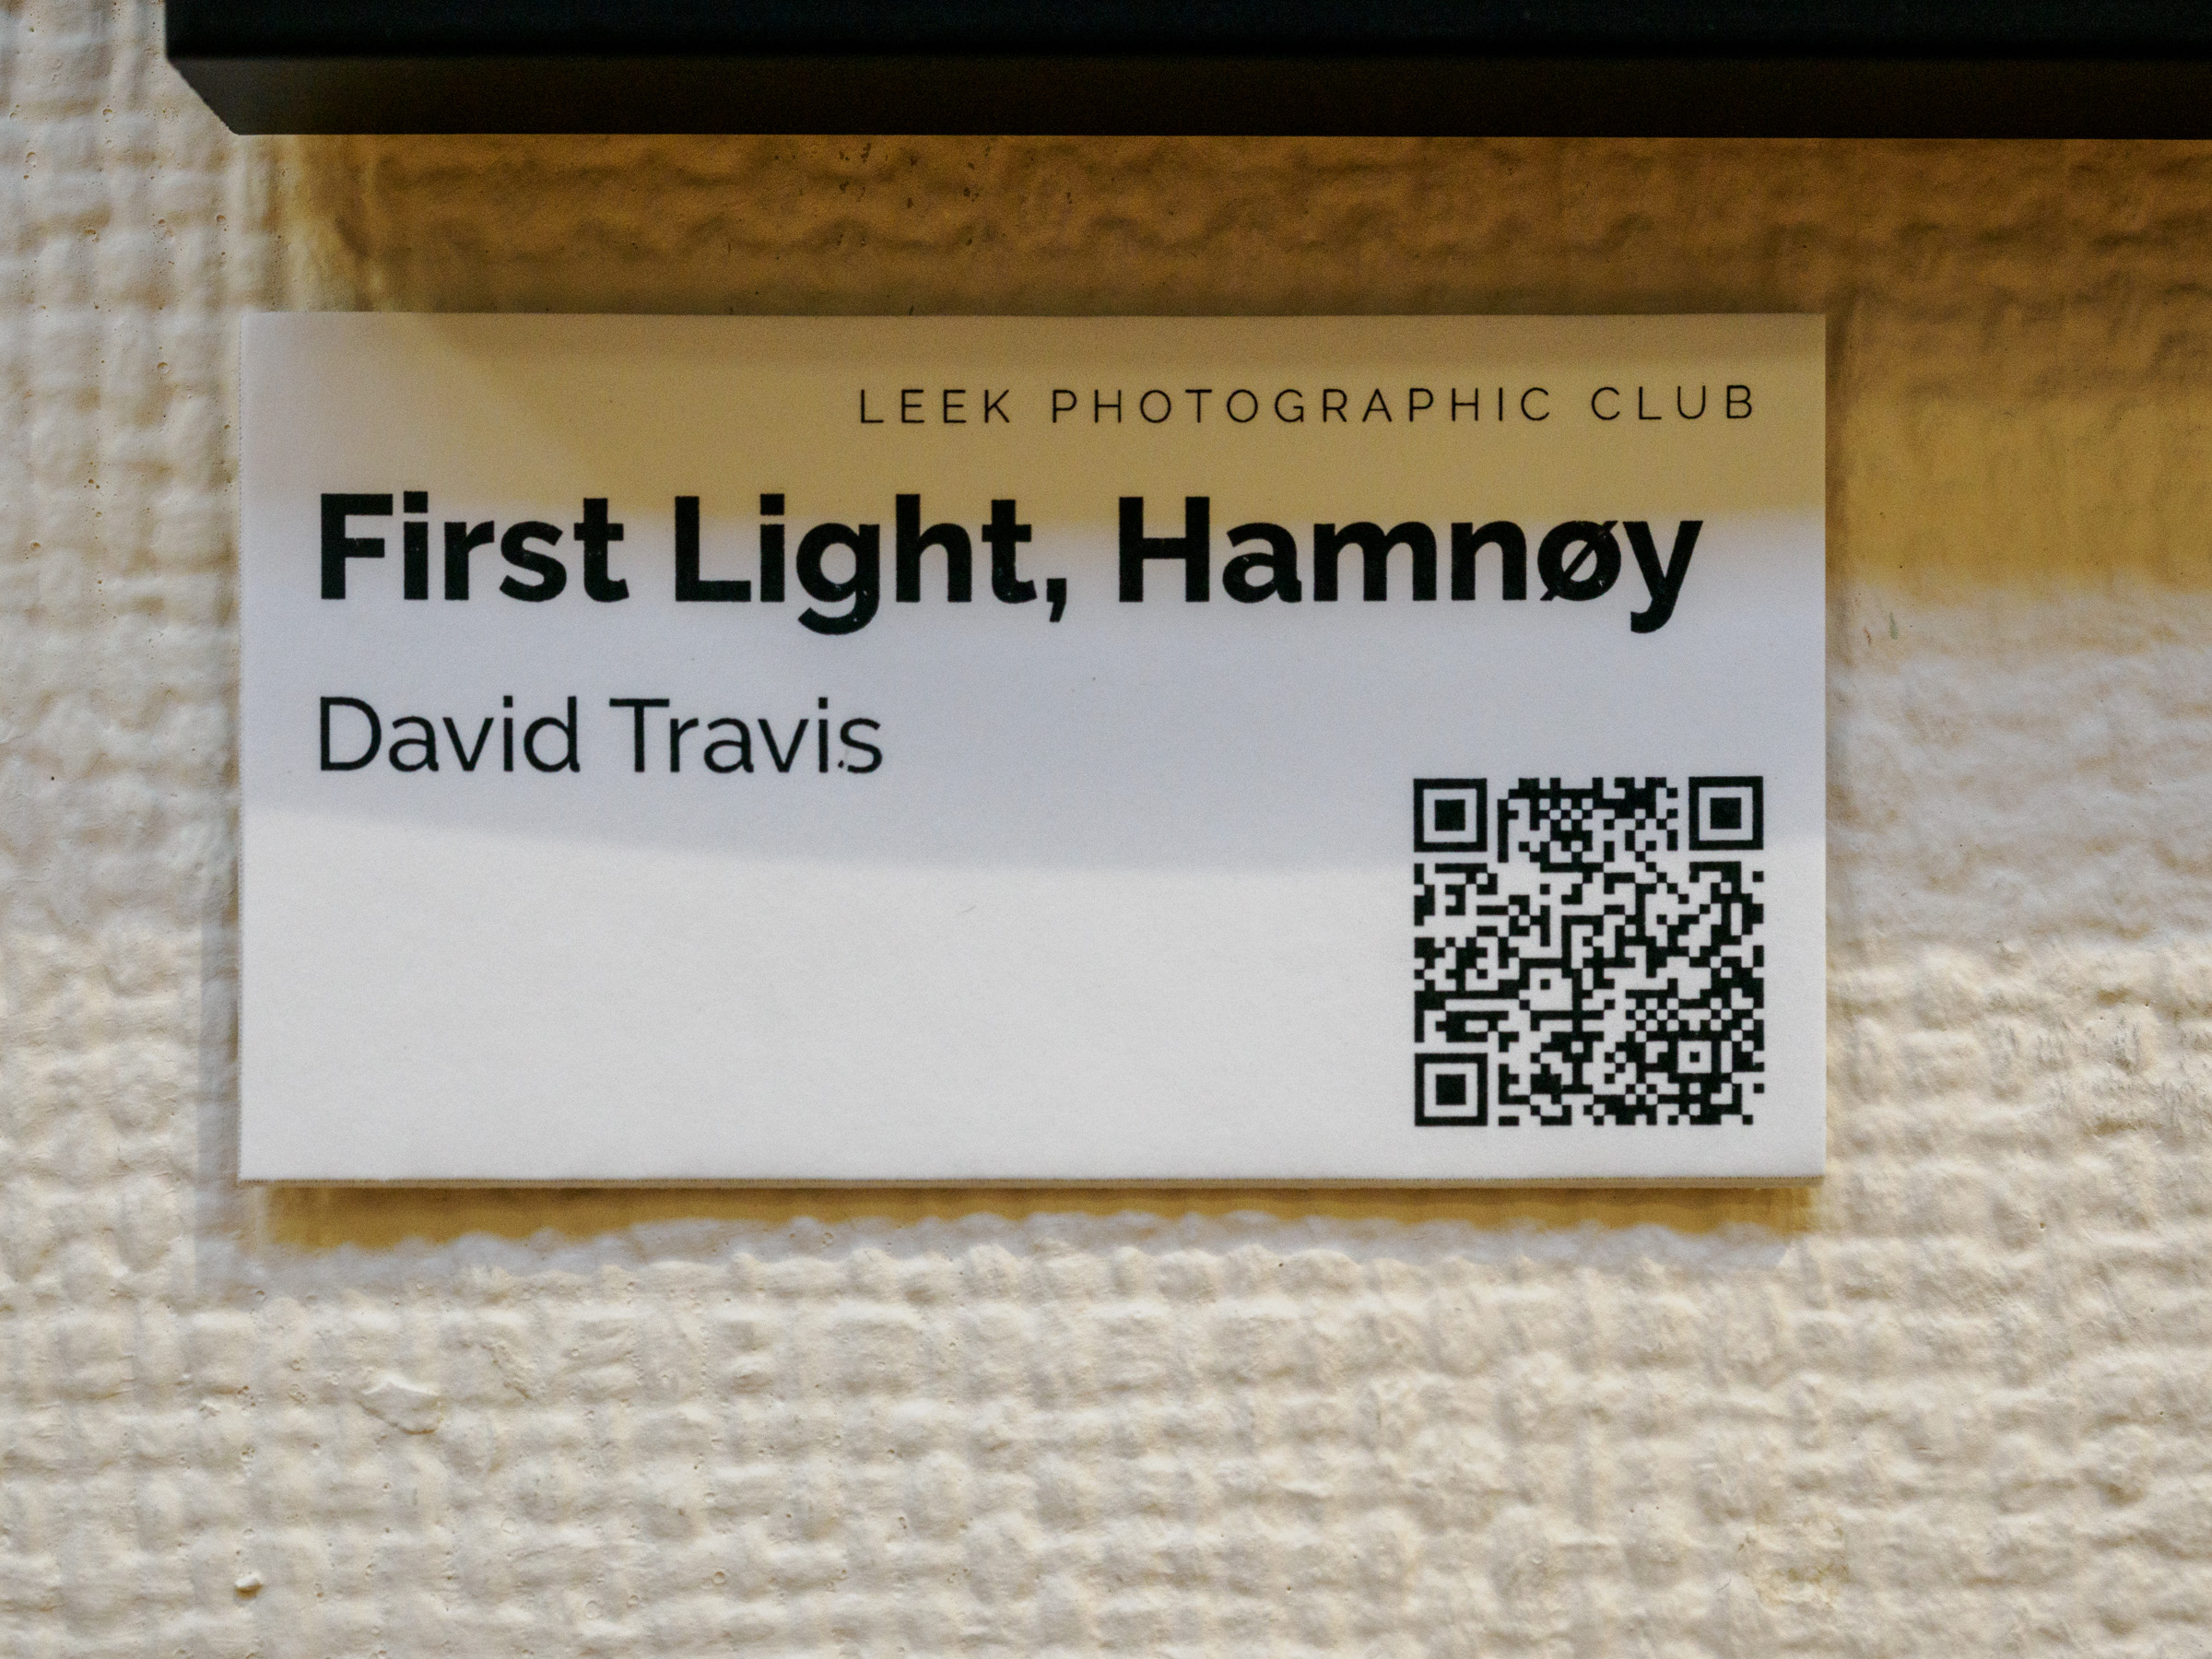
I wanted the labels describing the artworks to be as professional as the prints, so I printed them on sticky address labels and fixed them to left-over mount card. I added a QR code to each label so that, when scanned with a phone, it would take the visitor to a web page that described how the photographer got the shot (here's an example). This meant I needed to email each of the photographers and ask for the story behind the shot and create some rudimentary web pages to contain the necessary content. I knew that only a subset of people would use these QR codes but I thought it might encourage gallery visitors to spend longer with the images and not simply move from one picture to the next.
An example of the label with a QR code. Scanning the QR code took the visitor to a web page with more details behind the image.
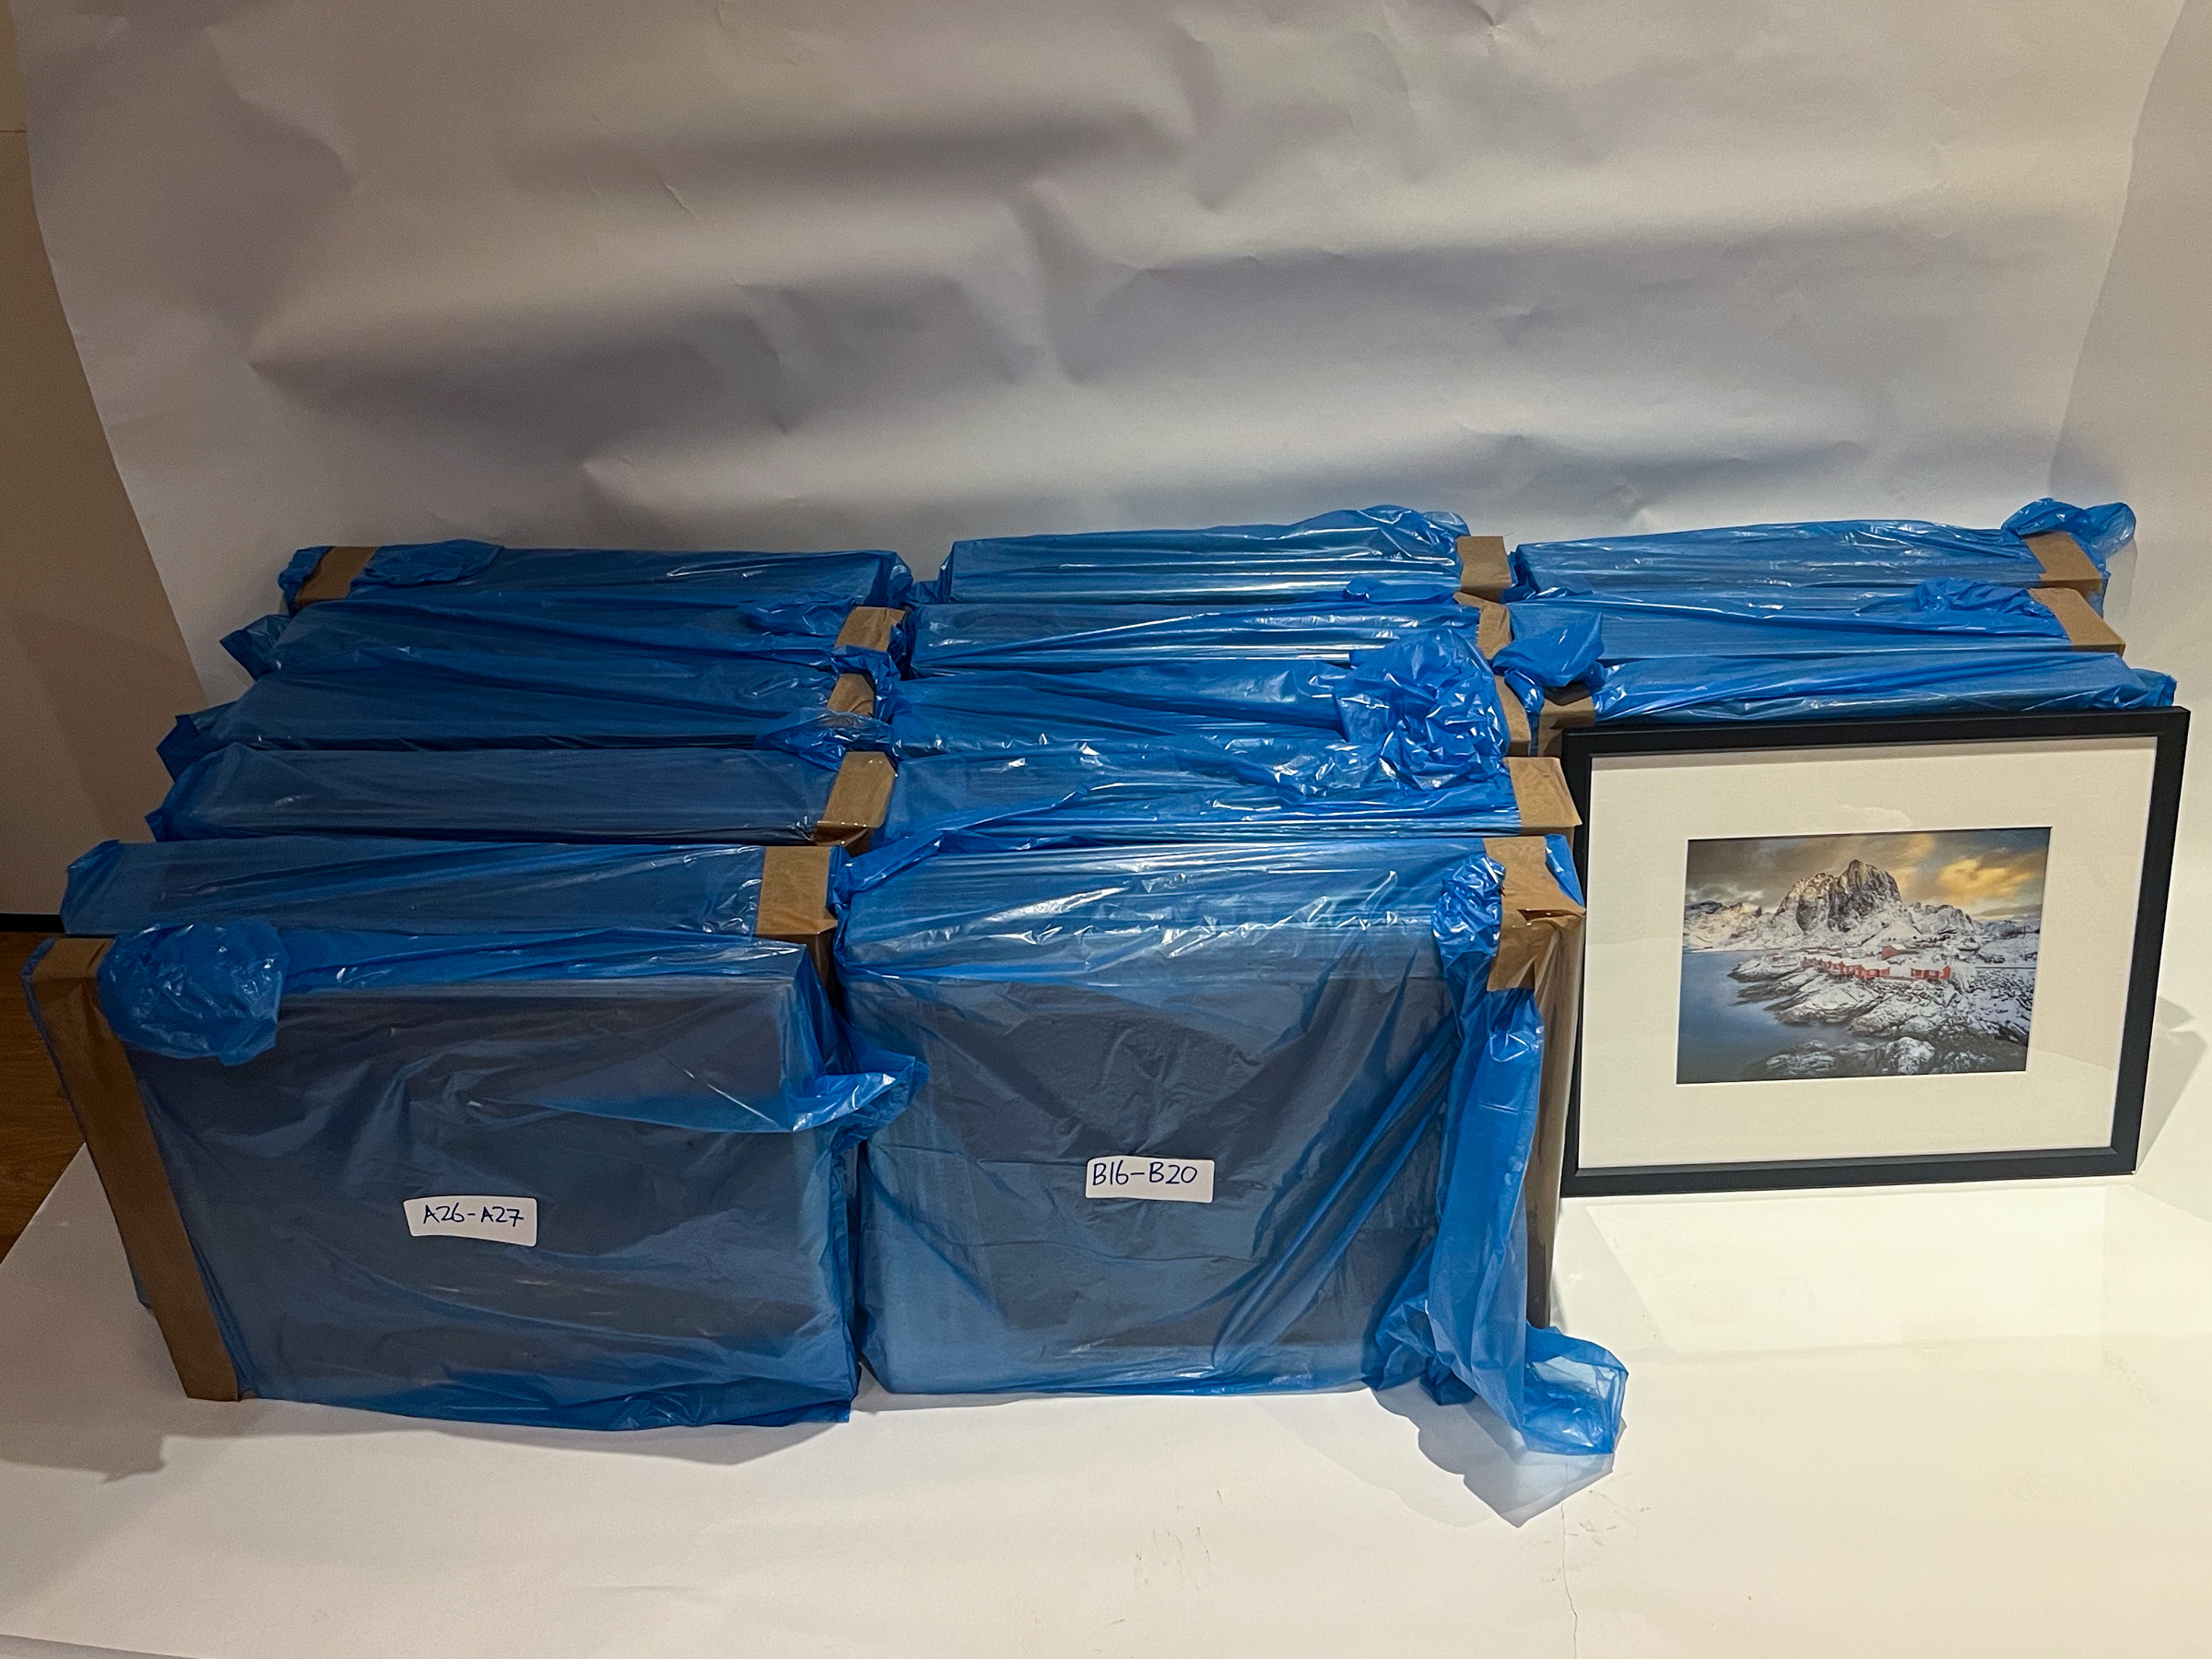
The final step was to protect the frames prior to the move to the exhibition space. I discovered that wooden picture frames are more sensitive than you might think to scratches and dents. You can cover small marks with boot polish but one way to avoid scuffing the frames in the first place is to stack them in a group of five or six and use pallet stretch shrink wrap film to protect the edges.
65 frames covered in shrink wrap and placed in plastic bags for further protection.
Hanging the exhibition
On the hanging day, I carefully put the shrink wrapped frames in my car and took them to the gallery. Over a dozen volunteers met me at the gallery and unloaded my car. During the move, the glass cracked in one of the frames. One damaged frame from 65 wasn’t bad and fortunately I did have a spare that we could use.
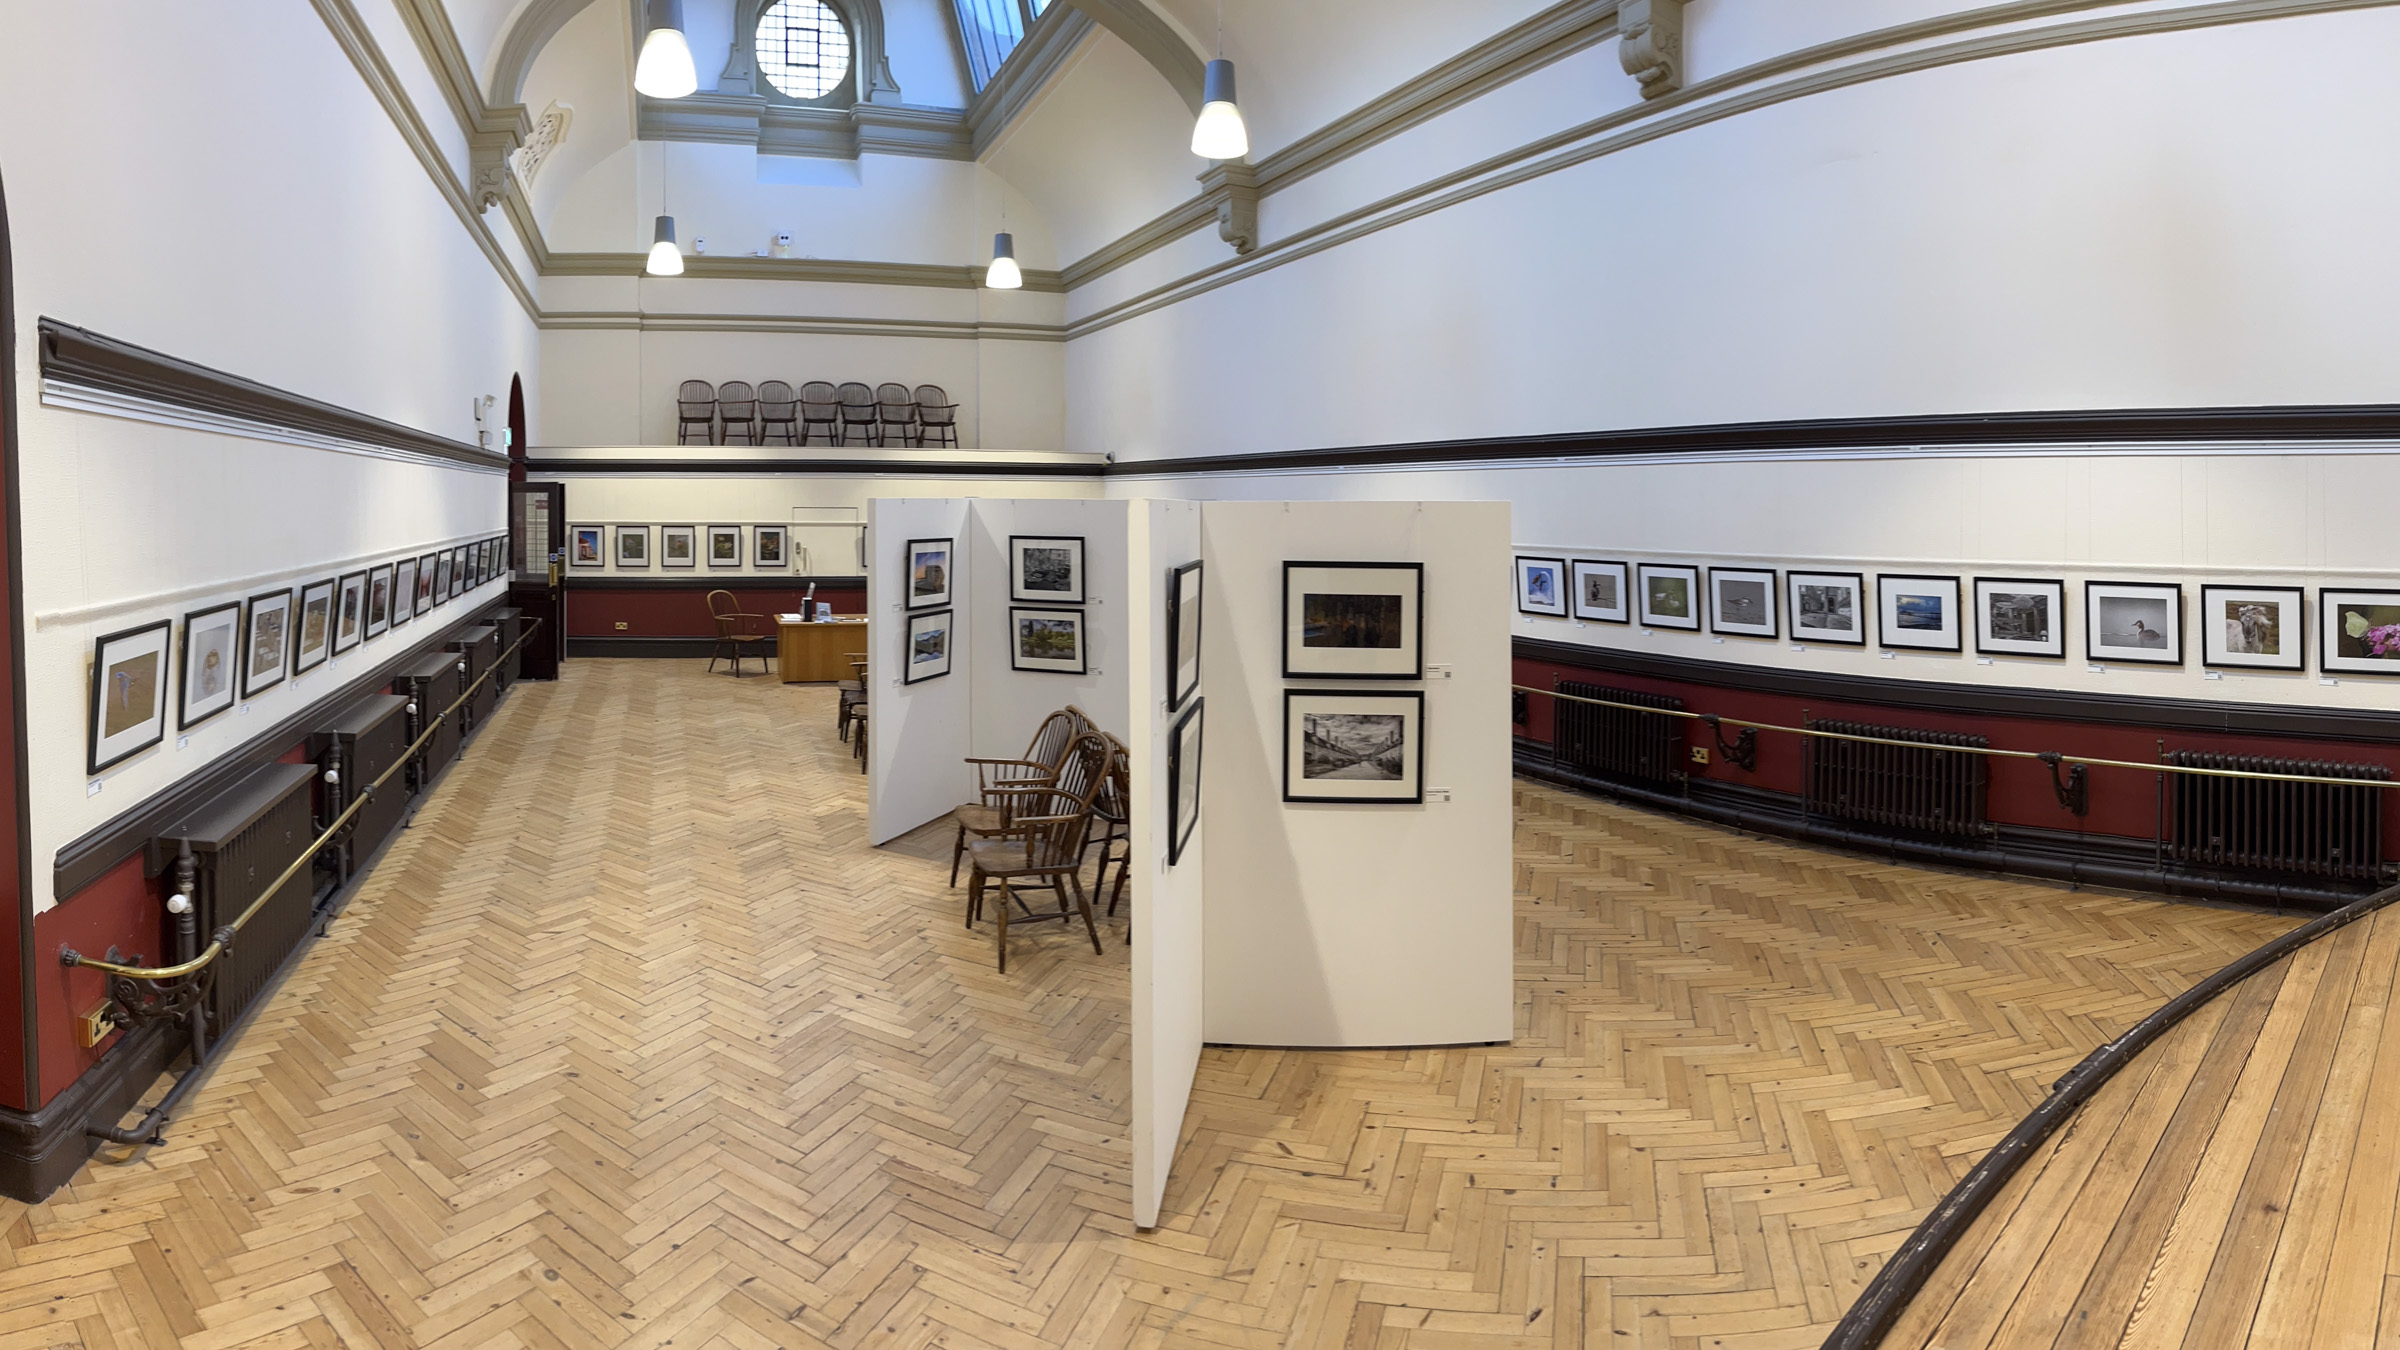
Volunteers from Leek Photographic Club hanging the pictures in the exhibition.
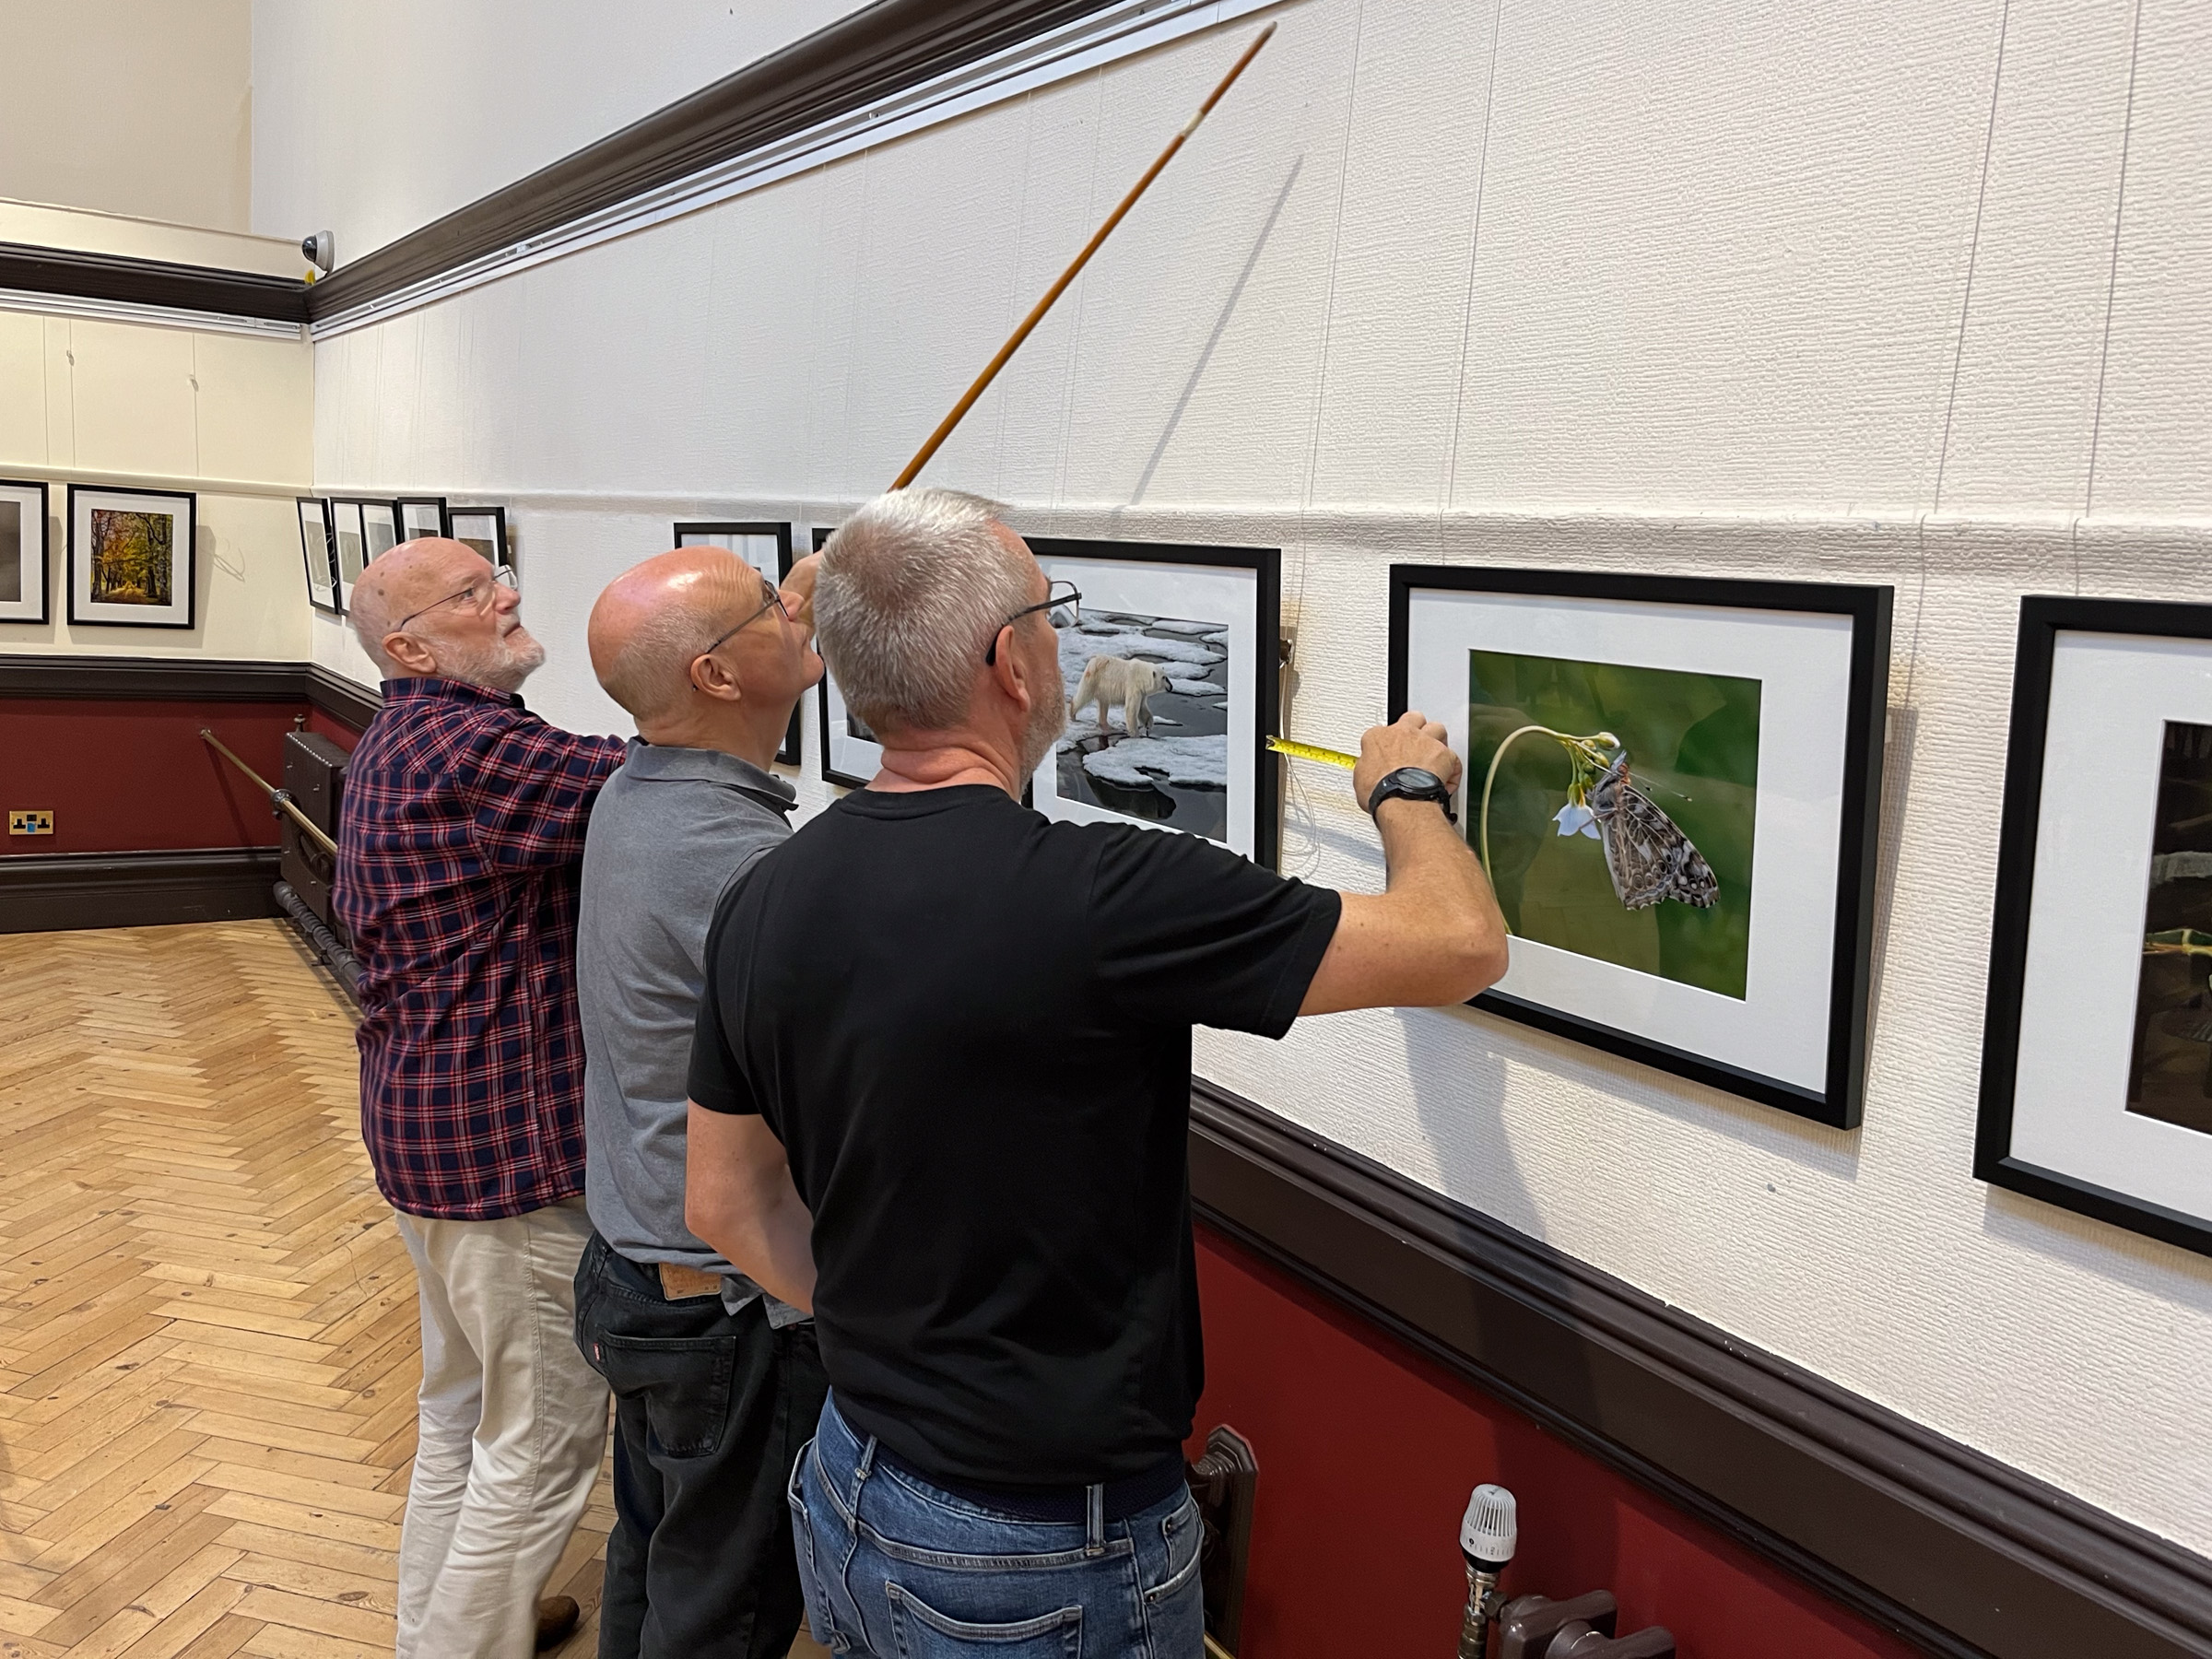
At this point, we discovered an issue with the hanging plan. The wall plan from the gallery omitted to mention a double door on one wall. It reminded me of that Mike Tyson quotation: “Everyone has a plan until they get punched in the mouth”. It meant that about four images wouldn’t fit on the wall.
We did have access to some additional hanging space in the centre of the room, but the space was too big for four pictures. So I had to ditch the original hanging plan and move pictures from elsewhere—all this while the volunteers were mounting them on the walls.
The opening ceremony.
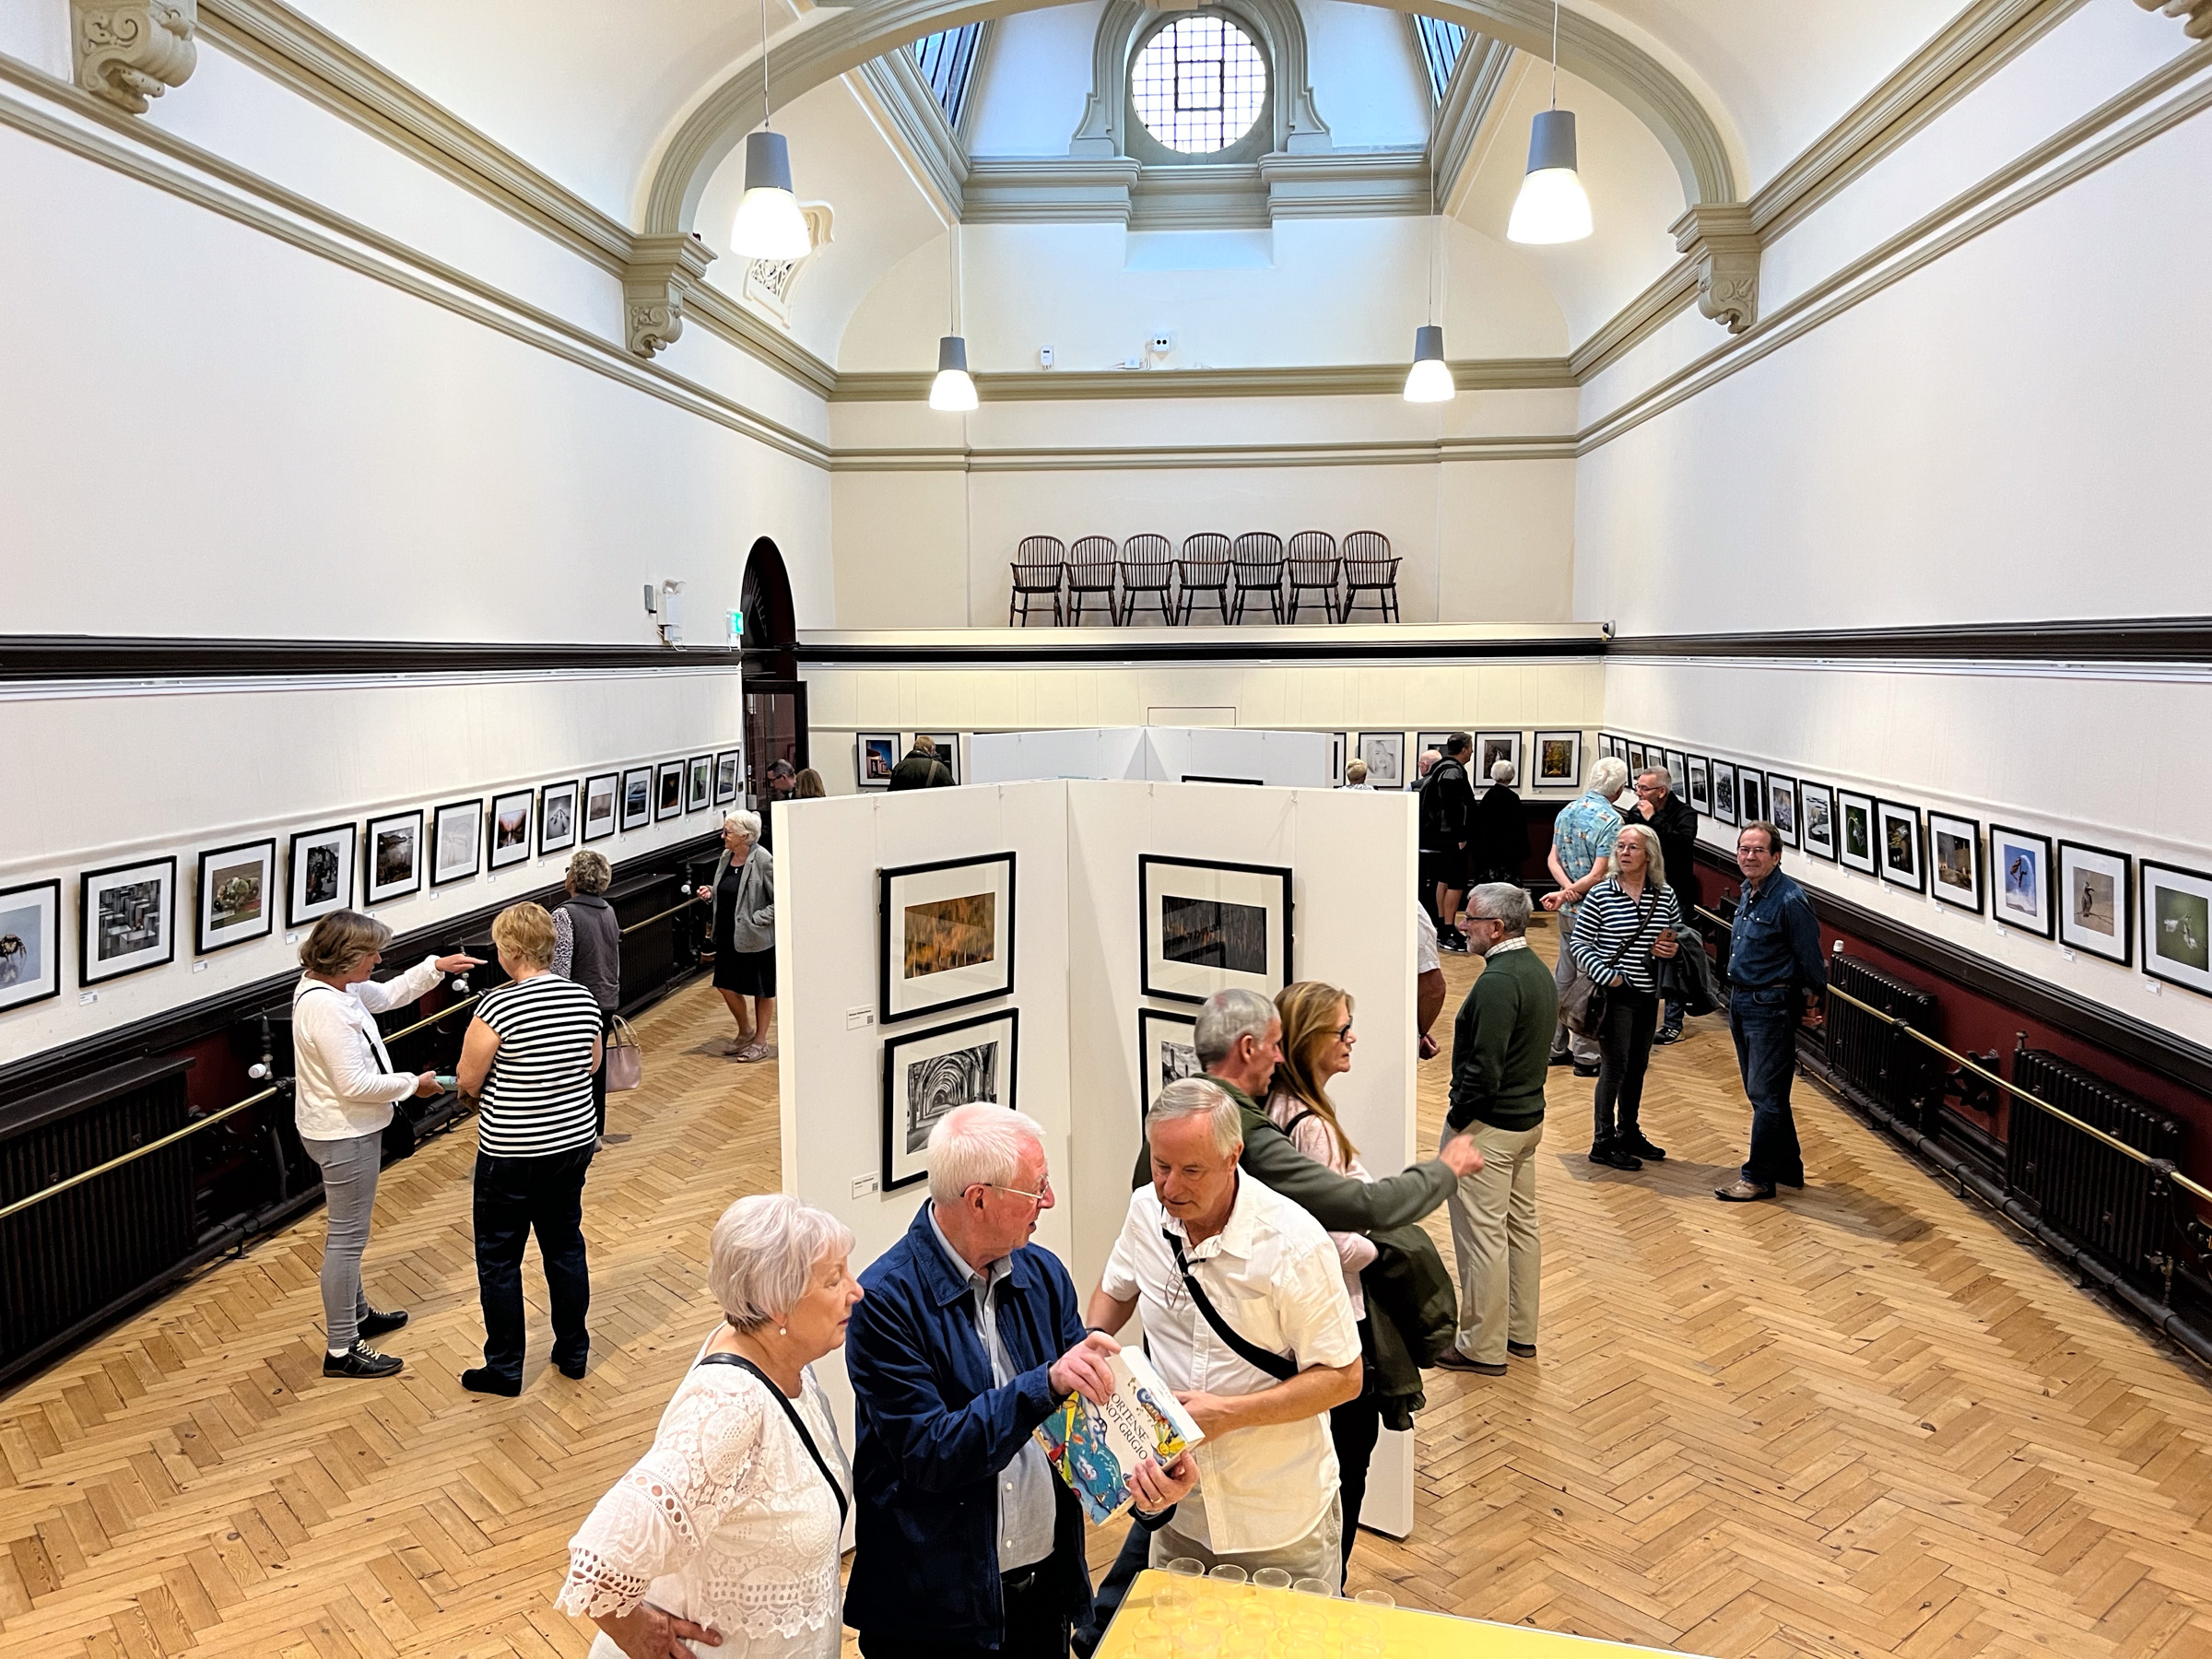
Encouraging visitors and building visitor engagement
On the launch day, I made sure to invite all club members and encourage them to bring friends and family along. To engage visitors, I added a ‘People’s Choice’ voting box and created an exhibition book. I produced printed flyers to publicise the exhibition and created a social media plan to publicise the exhibition on Facebook and Instagram. Marketing the exhibition paid off as it led to features in the local newspaper and on local radio, which in turn increased visitor numbers.
A flyer advertising the exhibition.
What did I learn and what would I do differently next time?
Overall, the exhibition was very well received and this is a testament to the sponsorship from Petrofer, the thorough planning I did beforehand and the help I had from the volunteers. If I was to distill what I learnt into a set of guidelines, they would be:
- Don’t expect everyone to support your idea unreservedly. Make a list of potential objections and decide how to deal with each one.
- Create a realistic budget. Get your funds in place before moving forward.
- Create an exciting vision and people will volunteer to help.
- Get a good feel for the number of images that will work in the space.
- Don’t take anyone’s word for it: visit the space and measure it yourself.
- Involve as many people as you can in the initial selection of the images, but then form a small team to ensure the final selection is properly curated.
- Before transporting the frames, place them back-to-back and glass-to-glass and then wrap them in shrink wrap.
- Create a marketing plan including flyers and social media posts that you’ll use over the period of the exhibition.
If I had my time again I would aim to make the exhibition more interactive. We partly achieved this with QR codes on the labels, as this allowed visitors to interact with the photographs. But in future, I would like to go further. For example, next time I would like to see talks by the participating photographers, guided tours of the exhibition, a photo booth where visitors could take their own photos inspired by the exhibition, and photo walks led by members of the photography club to connect the exhibition to the broader community.
Organising a photography exhibition is daunting, but with careful planning, sponsorship, and the support of volunteers, I discovered that it’s not just achievable but hugely enjoyable. It created a real sense of community amongst club members and raised the profile of the club, encouraging new people to join.